Hi everyone,
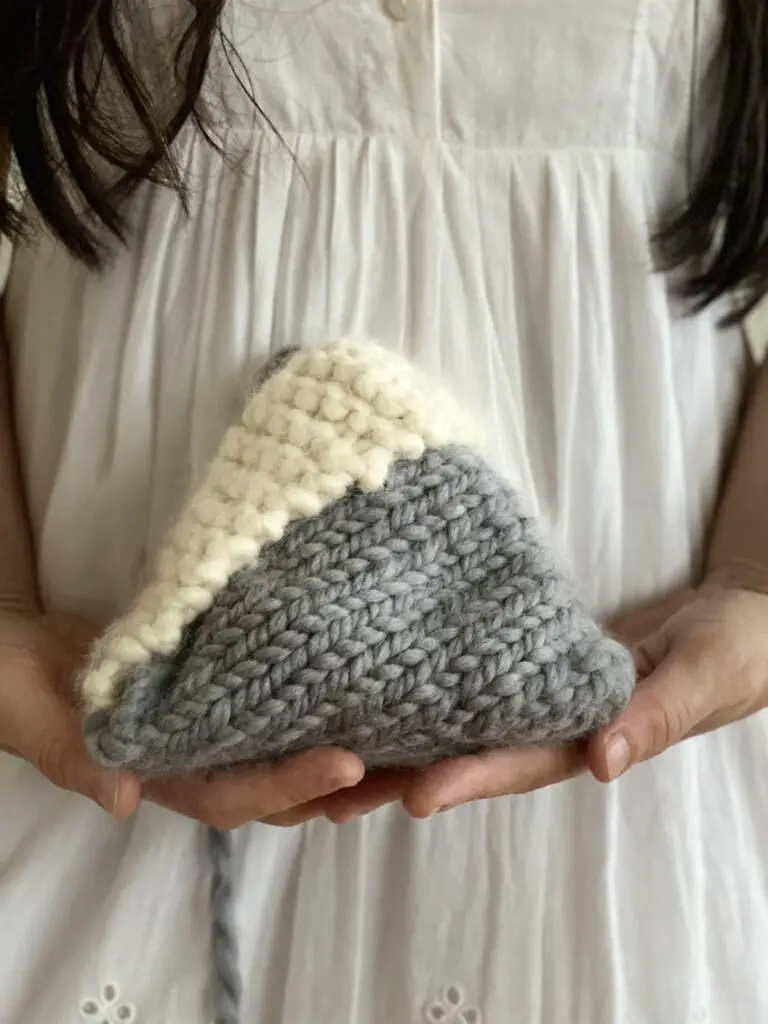
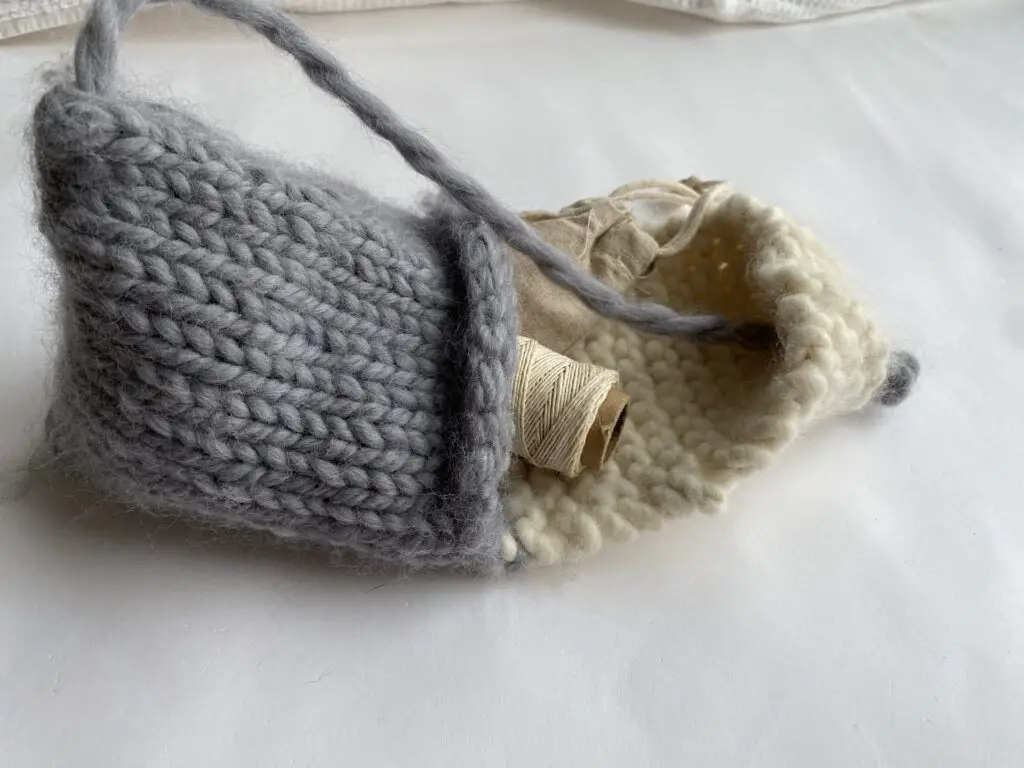
I did a crochet version of this pouch a long time ago and it was one of my more popular blog posts and videos. So, I thought I should also try making a knitted version for knitters. I used chunky wool yarn and am happy with the way it turned out, nice and cozy, also extremely soft. In part because of the chunky yarn it’s a quick and satisfying project–it took me less than a day to make.
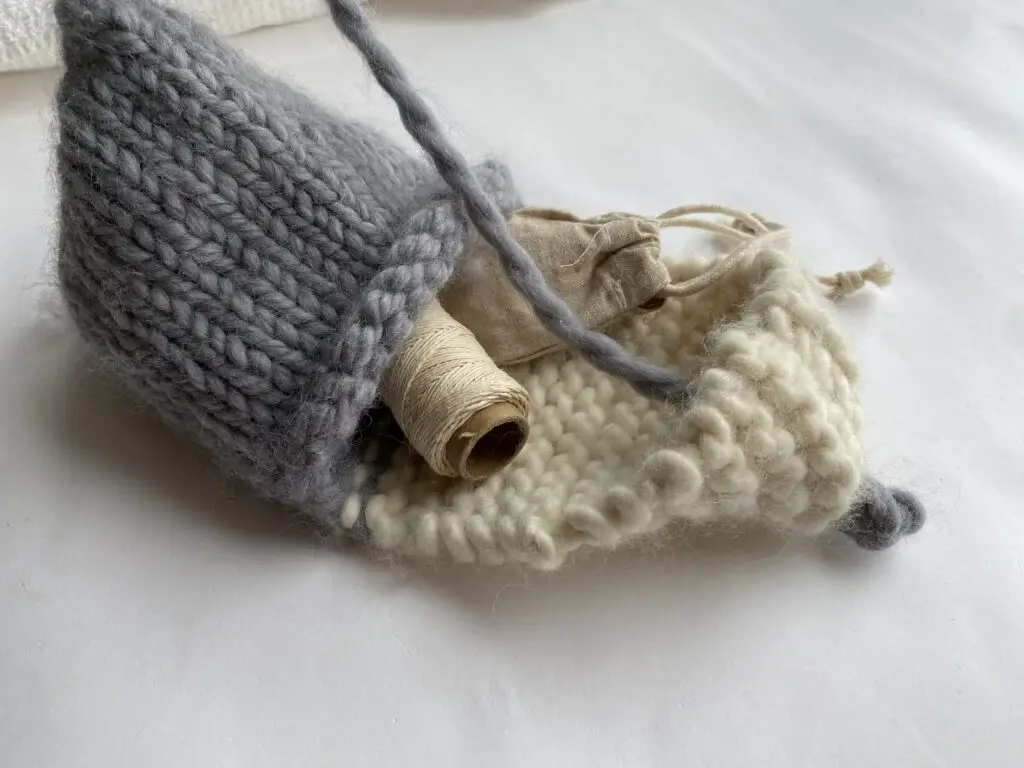
This pouch is bigger than the one I crocheted before, perfect for beginners.
Written detailed tutorial is below, I also attached the video tutorial.
Hope you like this project, and have fun making it!

Construction of the design:
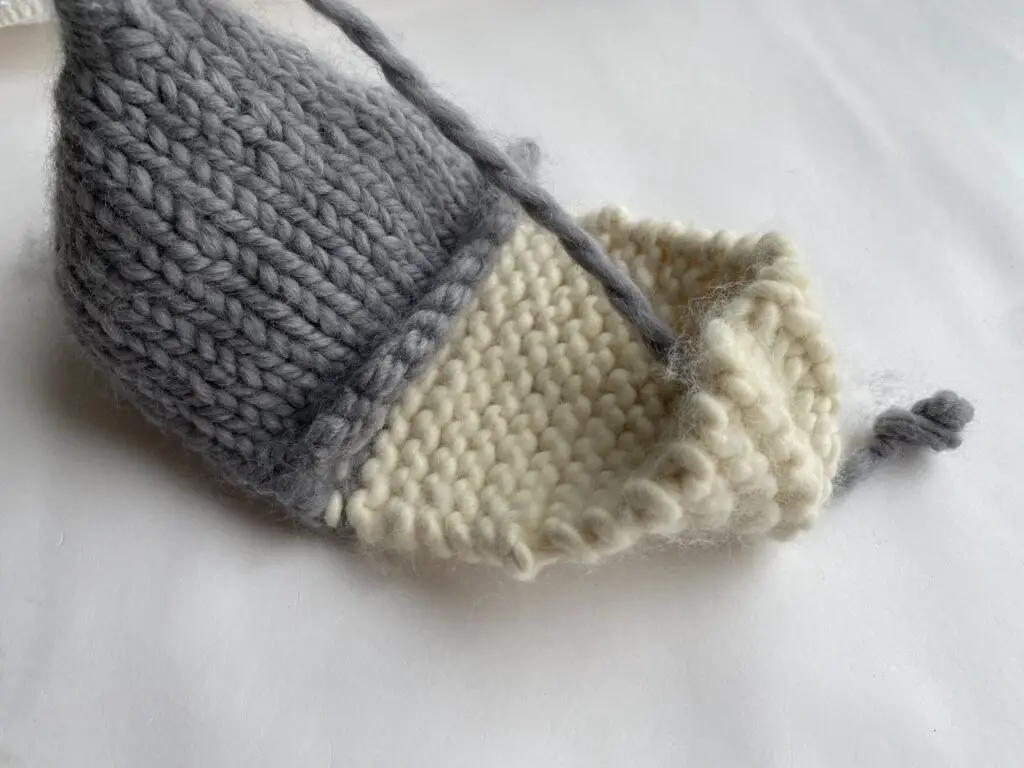
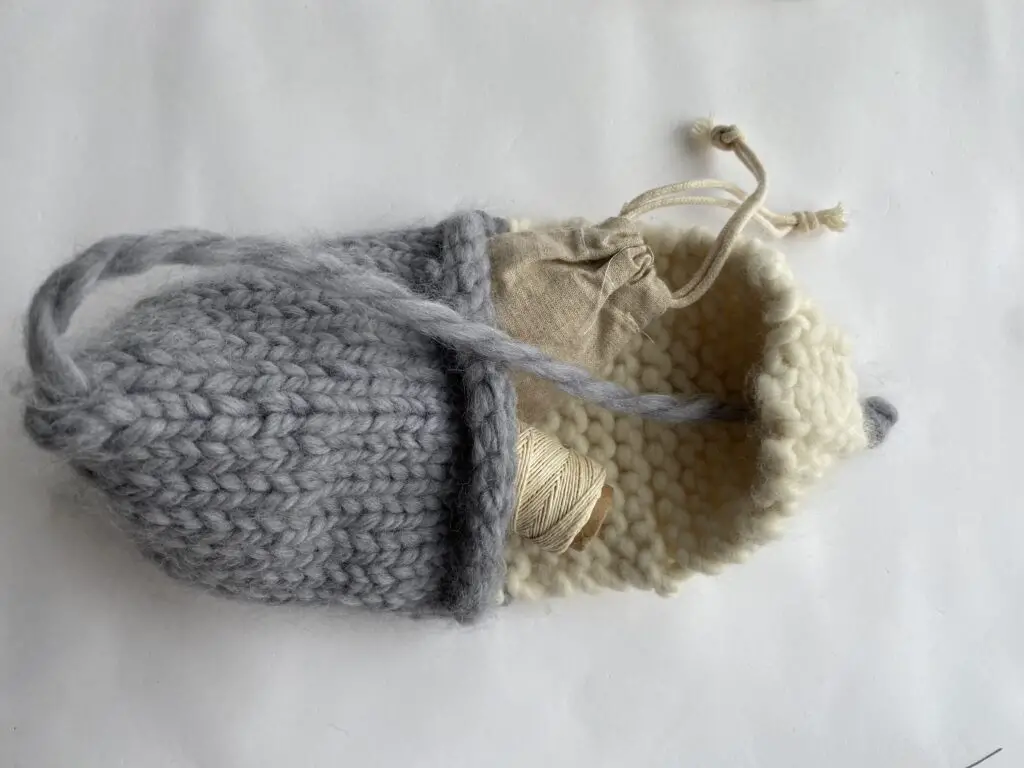
The pouch is started from the bottom, with Judy’s Magic Cast On method. As you know, or are learning about, this cast on method is used mostly for knitting socks (toe-up socks), because this method is used for two sided projects (socks, bags, mittens). These are all two -sided seams that you knit around. After you cast on, you knit in the round until you have your desired length. You then divide to half from the middle, place the stitches on one half to a waste yarn or to an extra needle, and continue knitting the stitches for the other half back and forth until you reach the given length, and then bind off at the end. The stitches on the other half would then be bound off. (This is complicated to explain in writing: please see the video tutorial as needed.)
A piece of yarn, it is there visible from the cast on, is then used for the handle.
Materials:
Yarns- https://amzn.to/4fN9CZ1
Circular Knitting needle- https://amzn.to/4acZeIQ
Scissors
Tapestry needle to weave the ends.
Abbreviations:
Co: Cast on
St (s): Stitch (es)
K: Knit
P: Purl
Written tutorial:
Make a slip not, place on one of the needles.
Judy’s Magic Co- 14 stitches on each needle. (using number 17 circular needle)
When you co, make sure the tail end i will be coming from the top and the working yarn will be coming from the bottom.
Pull out the front needle, pull the working yarn around the tail to secure it and k across the all sts
Turn the work, pull the front needle and continue knitting through the back loops.
Turn your work pull the front needle long and continue knitting across the sts.
Continue knitting like this until the piece measures 6 inches (15 cm) and fasten off.
Divide 14 stitches from the middle and place stitch markers to each end of 14 stitches.
Attach color b and k next 14 sts. Turn your work. K next 14 sts.
Continue knitting 14 sts for both wrong site and right side until the piece measures 6 inches (15 cm)
Bind off the top and connect at the same time (do this from the wrong side)
Attach the yarn and place the same circular needle (number 17 circular needle) back to 14 sts and bind off all 14 sts.
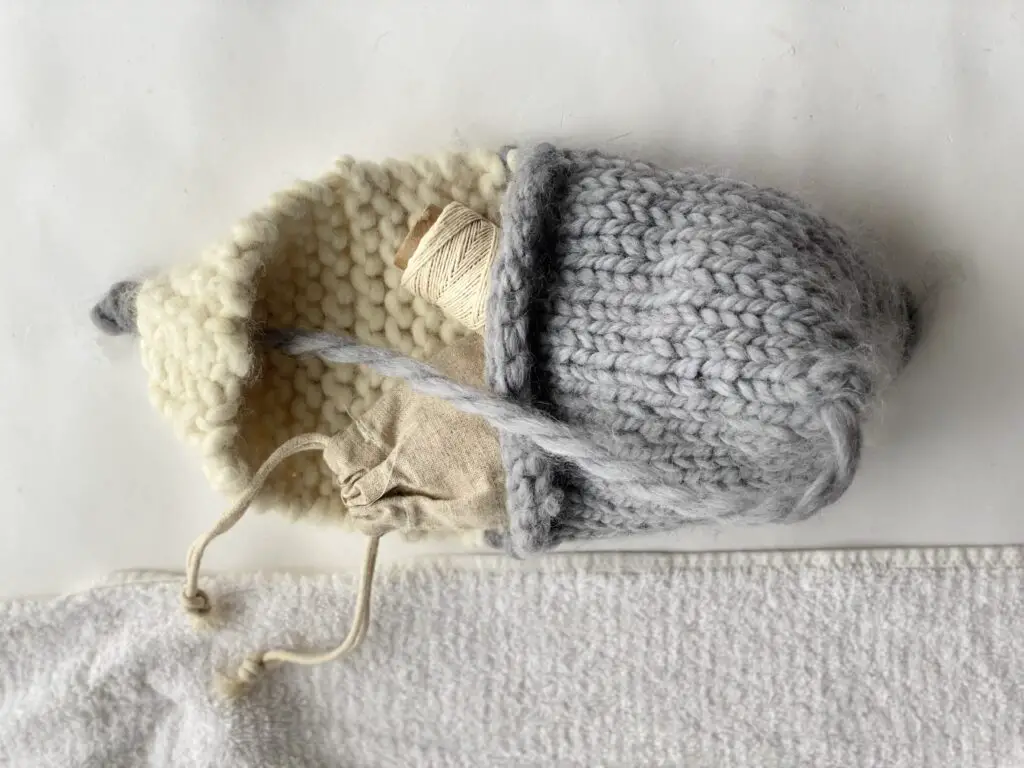
For handle, using the long yarn piece came from beginning cast on. Pull the yarn from inside to out with crochet hook. Attach the yarn, pull through inside to out of the top part.
Make a couple knot to secure.
Video tutorial of this knitted pouch:
.
Leave a Reply