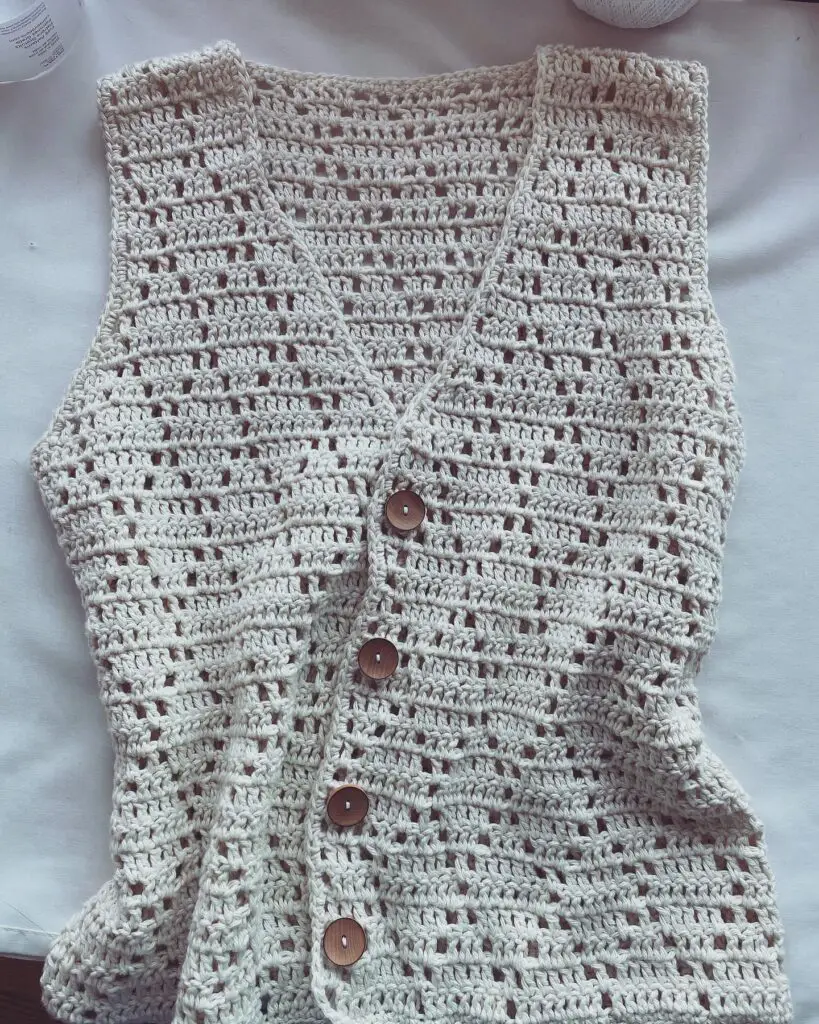
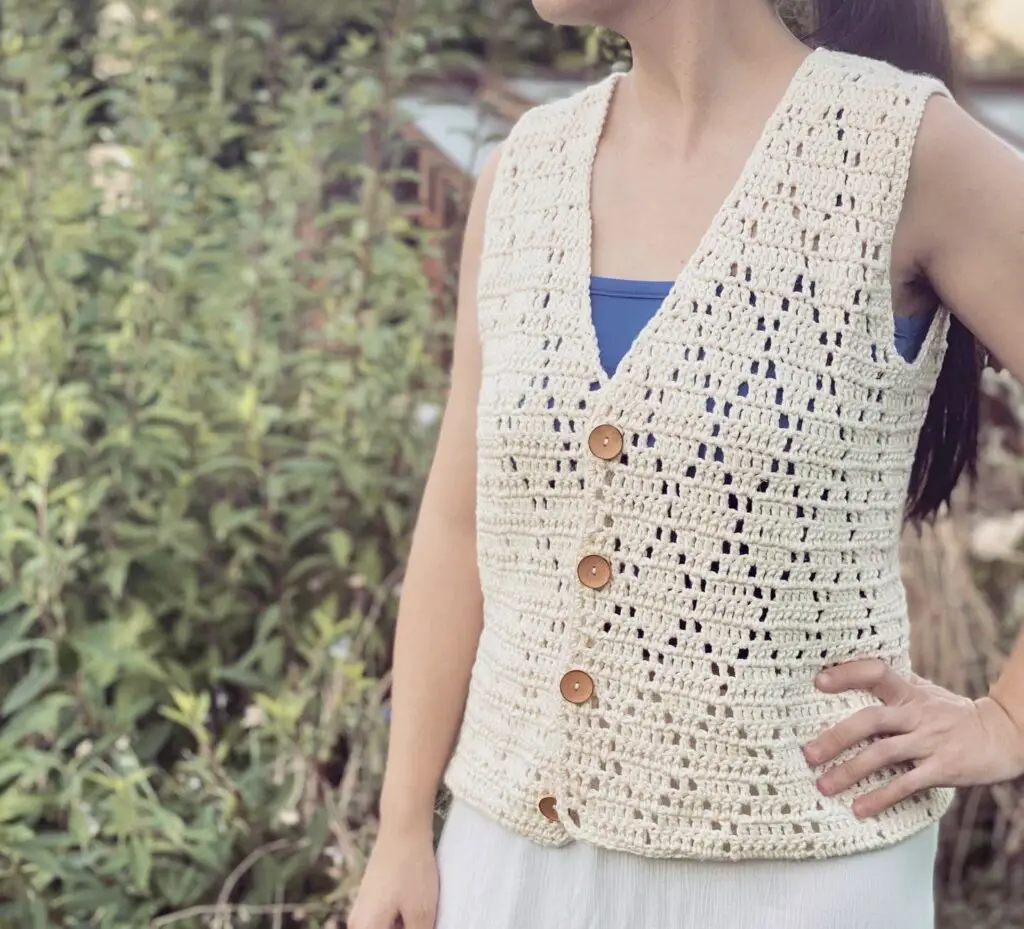
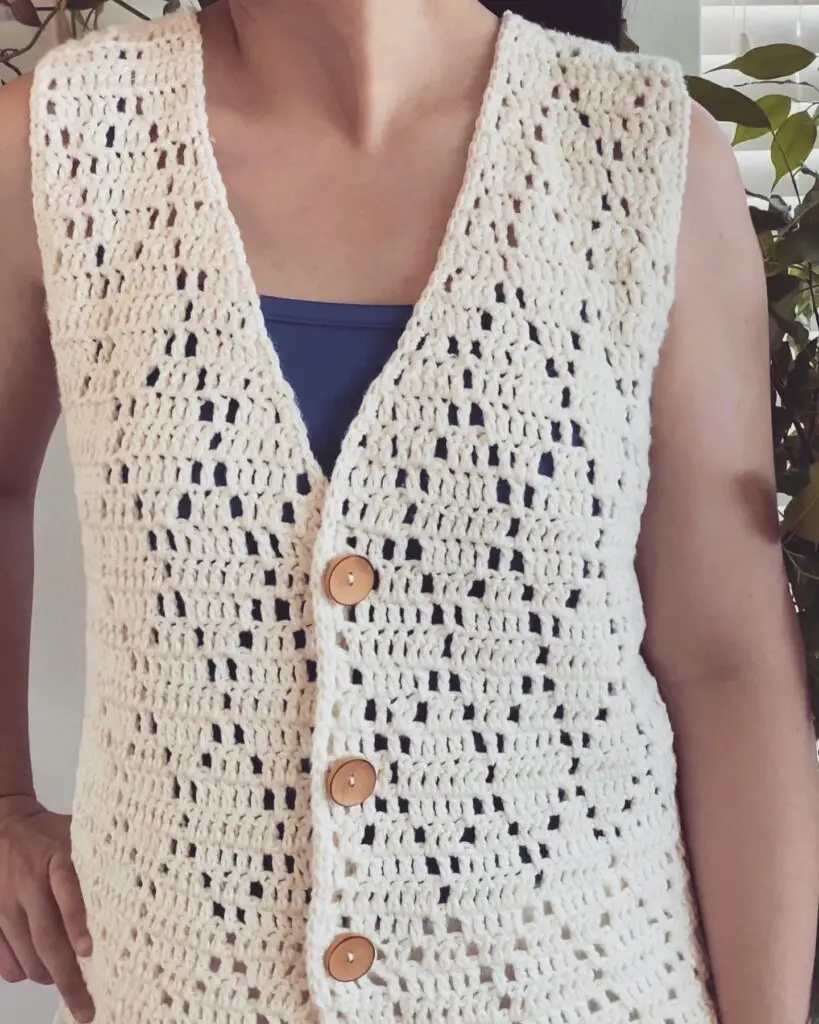
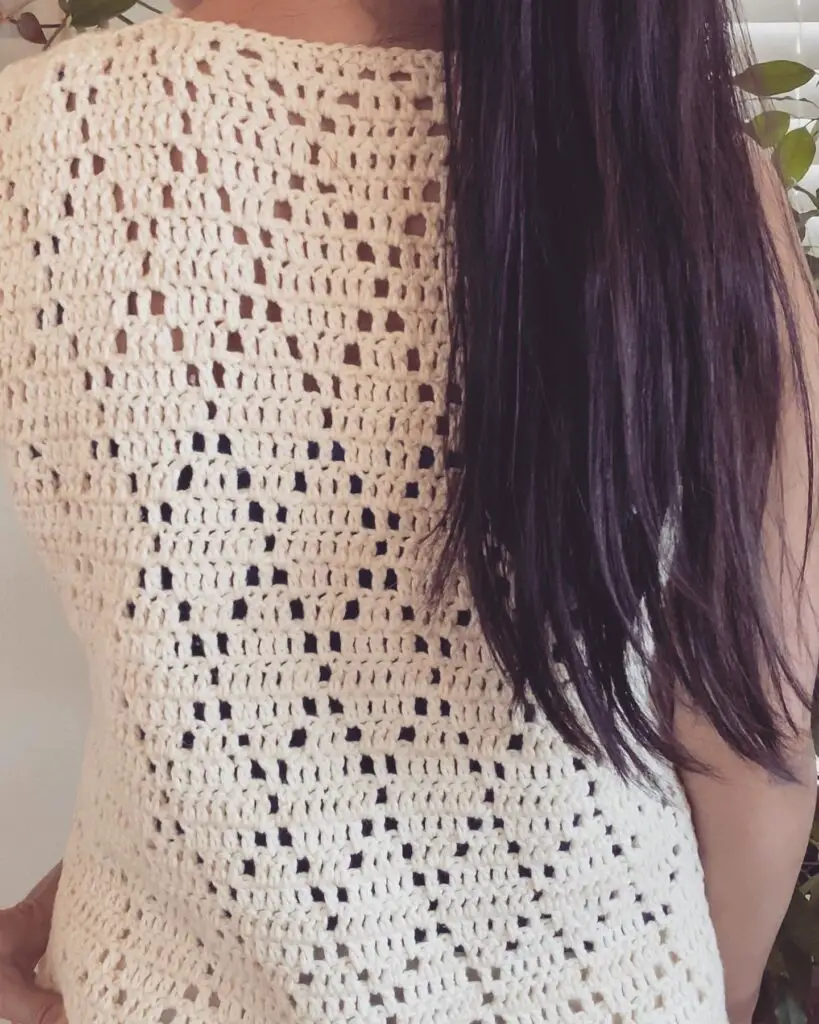
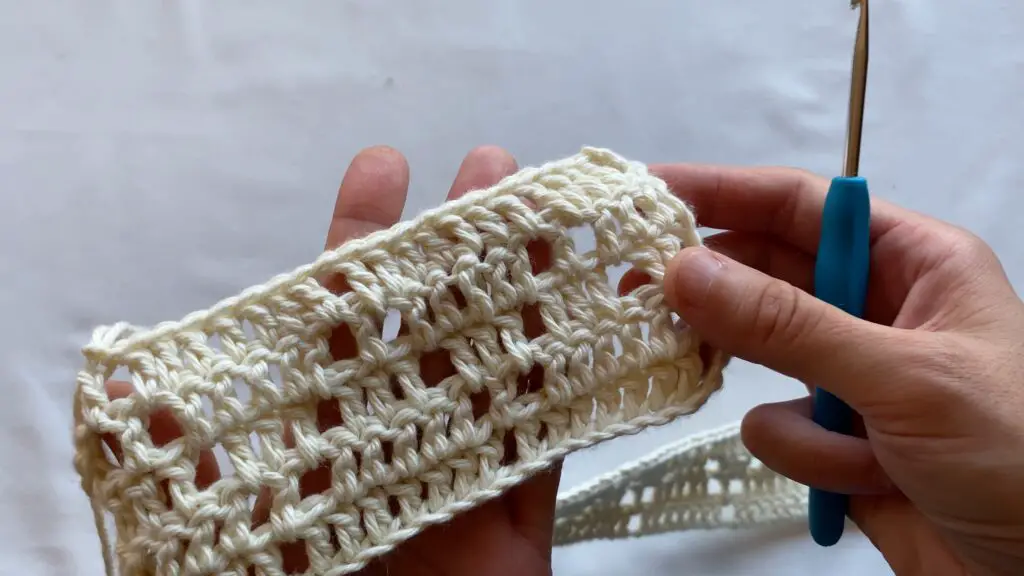
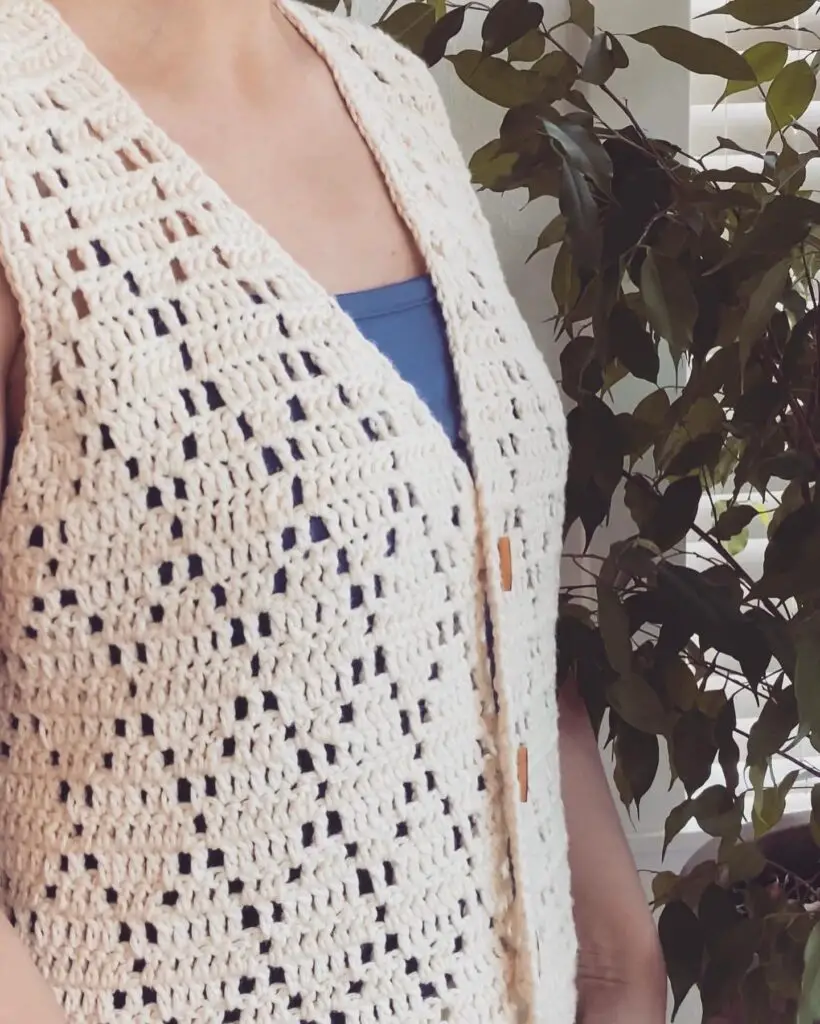
Hi there. Hope you like this diamond lace pattern summer top. You can wear this over a tank or swimming suit. If you like you can make it longer. It is extremely easy and I used 3.5 balls of yarn for this small size top and it took less than a day to make it. Written instructions are below.


MATERIALS
The yarn, https://amzn.to/458LoUx
Crochet hook 4 mm https://amzn.to/45brnMQ
Scissors
Tapestry needle
ABBREVIATIONS:
Ch: Chain
SM: Stitch Marker
St: Stitch
Sl st: Slip Stitch
Sc: Single Crochet
Dc: Double Crochet
Dc2tog: Double Crochet two together
Some of my favorite yarns below that would be great option to make this summer top.
YARN SUBSTITUTIONS:
https://amzn.to/3qzYJpS I love love love cotton yarn for projects like this and Lion Brand Pima cotton yarn is one of my favs. It’s a 100 % Pima cotton yarn, extremely soft and lightweight. If you use this yarn, you will see how incredible to crochet or knit with this yarn, it flows very comfortably.
https://shareasale.com/r.cfm?b=1435396&u=3680099&m=59159&urllink=&afftrack= I just love Dishie yarn by Knit Picks. This yarn is an another great cotton option for this sweater/summer top. Its very soft, and lightweight. I have used this yarn many times and loved it.
GAUGE: 16 sts and 7 rows = 10 cm (4 inch) in dc and ch 1 space stitch.
Positive ease: About 4 inch (10 cm)
Written Instructions:
Written instructions are for size S [bust measurement 35 inch (89 cm)].
Ch 156 (Multiples of 2 and plus 6)
Round 1: Skip 5 sts, 1 dc to the 6th st (to create a space), 1 dc to next 6 sts. *Ch 1, skip 1 st, 1 dc to next 7 sts. Rep. from * until the end.
Round 2: Ch 3 and turn your work. 1 dc to next st. *Ch 1, skip one st, 1 dc to next 5 sts, ch 1 skip 1 st, 1 dc to next st (space), ch 1 skip 1 st, 1 dc to next st. Rep. from * until the end.
Round 3: Ch 3 and turn your work. 1 dc to next 2 sts (one of the sts is a space). *Ch 1, skip 1 st, 1 dc to next 3 sts. Rep. from * until the end.
Note: If the next st is ch 1 space, you can either go into the space or into the ch 1 st that creates the space.
Round 4: Ch 3 and turn your work. 1 dc to next 3 sts . *Ch 1, skip 1 st, 1 dc to next st, Ch 1 skip 1 st, 1 dc to next 5 sts. Rep. from * until the end.
Round 5: Ch 3 and turn your work. 1 dc to next 4 sts . *Ch 1, skip 1 st, 1 dc to next 7 sts, Rep. from * until the end.
Round 6 = Round 4: Ch 3 and turn your work. 1 dc to next 3 sts . *Ch 1, skip 1 st, 1 dc to next st, Ch 1 skip 1 st, 1 dc to next 5 sts. Rep. from * until the end.
Round 7 = Round 3: Ch 3 and turn your work. 1 dc to next 2 sts (one of the sts is a space). *Ch 1, skip 1 st, 1 dc to next 3 sts. Rep. from * until the end.
Round 8 = Round 2: Ch 3 and turn your work. 1 dc to next st. *Ch 1, skip one st, 1 dc to next 5 sts, ch 1 skip 1 st, 1 dc to next st (space), ch 1 skip 1 st, 1 dc to next st. Rep. from * until the end.
Round 9 = Round 1: Skip 5 sts, 1 dc to the 6th st (to create a space), 1 dc to next 6 sts. *Ch 1, skip 1 st, 1 dc to next 7 sts. Rep. from * until the end.
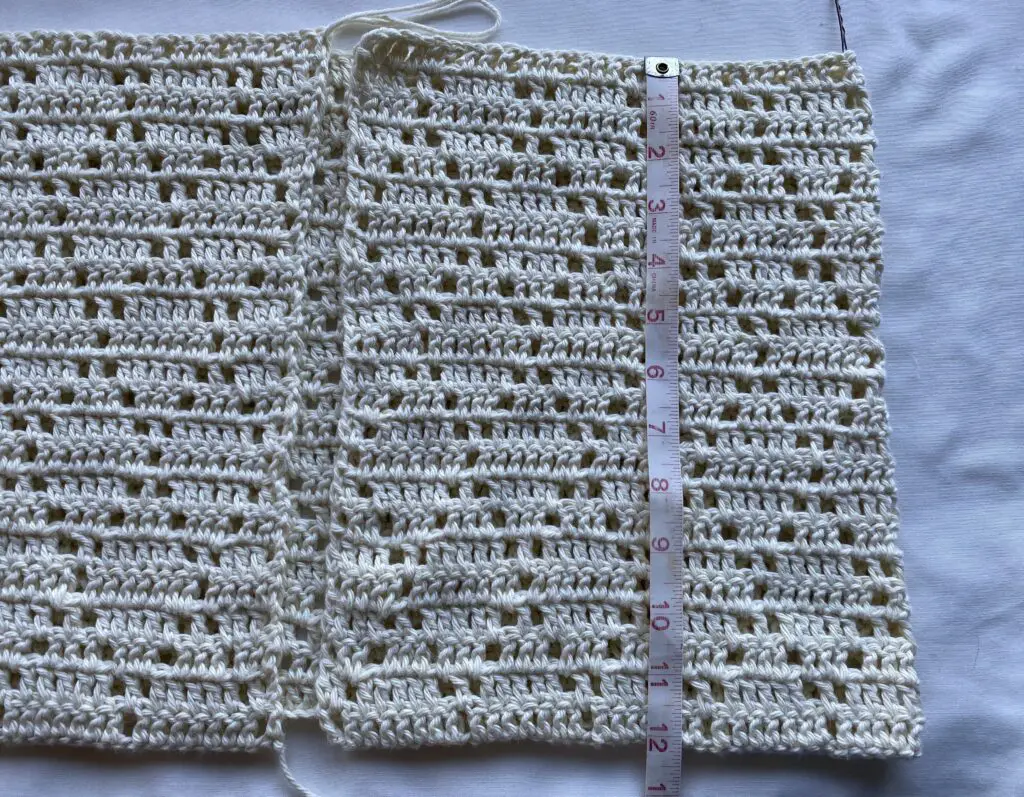
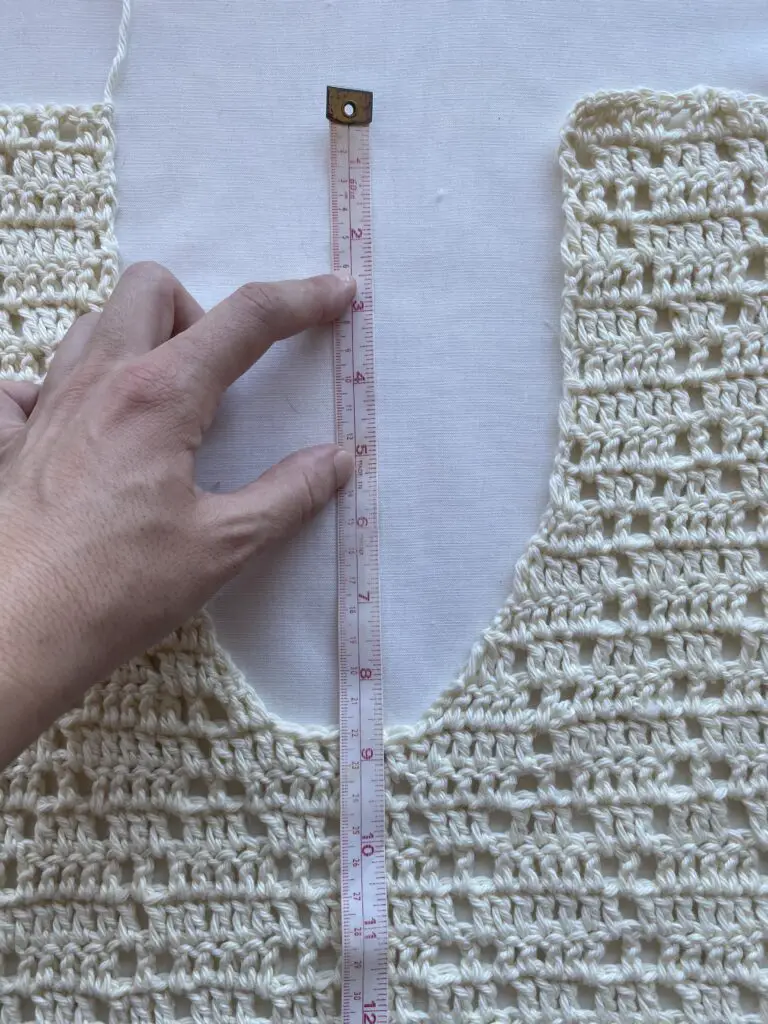
Repeat Rounds 1-9 until the body part measures about 12 inches (30 cm) or desired length.
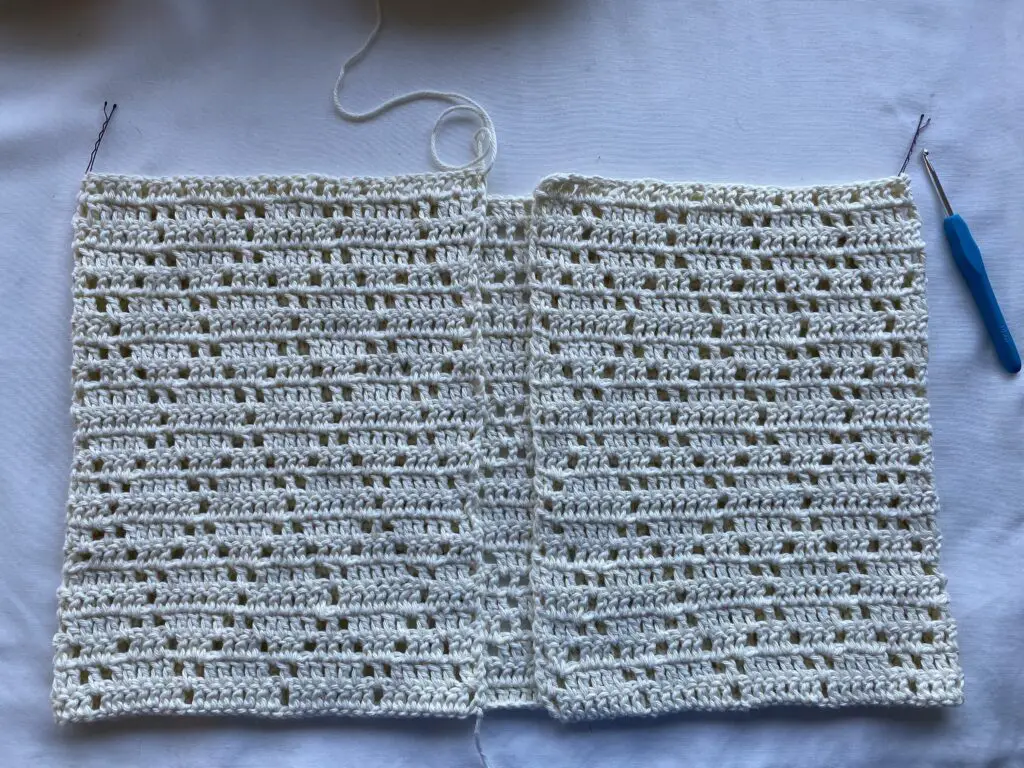
Using SM divide the one piece to 3 pieces (2 front pieces and one back piece). Use SM for 2 underarms. Total sts 150: 40 sts x2 (2 front pieces), 70 sts for the back. We will start shaping the neckline about 2 cm- 1 inch before shaping the armhole.
Row 24: Ch 3 turn your work, dc2tog, ch 1, skip one st, 1 dc to next 4 sts. *Ch 1 skip 1 st, 1 dc to next st (space), ch 1 skip 1 st, 1 dc to next 5 sts. Rep. from * until the last 2 sts, dc2tog to last st to decrease.
Row 25: Ch 3 turn your work, dc2tog, 1 dc to next 4 sts.ch 1, skip 1 st, 1 dc to next 7 sts. Rep. from * until the last 2 sts, dc2tog to last st to decrease.
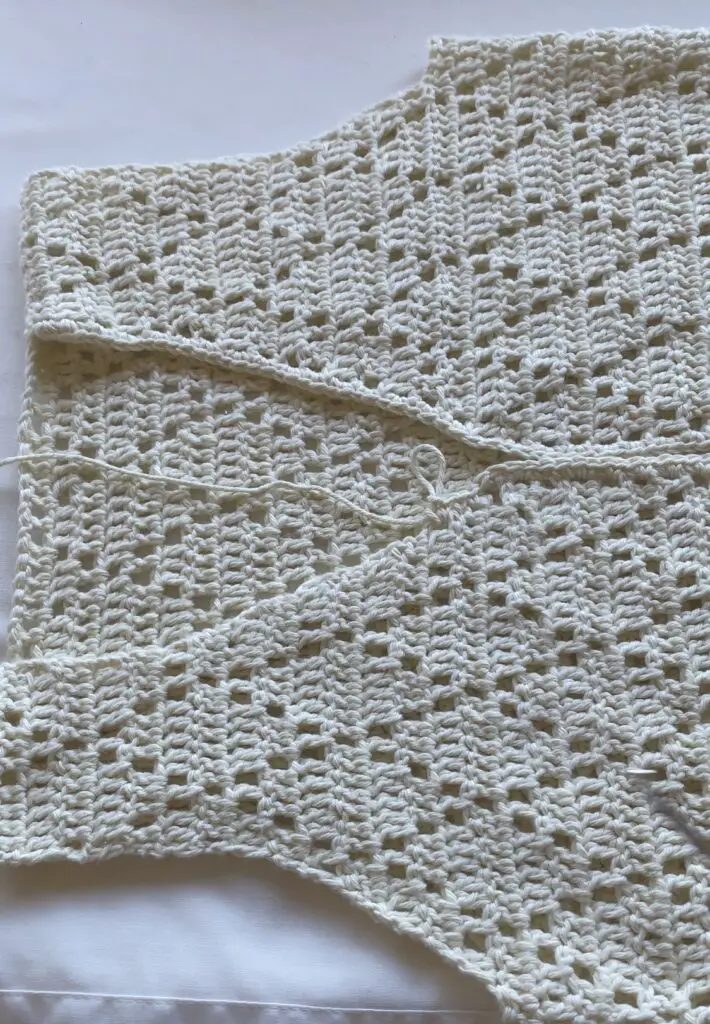
In Row 26, we will decrease for both armhole and the necklines, so we will work all 3 parts separately.
Row 26 left neckline and armhole: Dc2 tog, 1 dc to next 3 sts, *Ch 1, skip one st, 1 dc to next st. Ch 1, skip one st, 1 dc to next 5 sts. Rep. from * until the last 3 sts. Leave 3 sts for the armhole decrease. Ch 3 and turn your work.
Row 27: Dc2tog, 1 dc to next 3 sts. *Ch 1 skip one st, 1 dc to next 3 sts. Rep. from* until last 2 sts, dc2tog last 2 sts to decrease.
Row 28: Dc2tog, 1 dc to next 3 sts *ch 1 skip 1 st, 1 dc to next st , ch 1 skip 1 st, 1 dc to next 5 sts. Rep. from * until the last 2 sts, dc2tog to last st to decrease.
Row 29: Dc2tog, 1 dc to next 3 sts *ch 1 skip 1 st, 1 dc to next 7 sts. Rep. from * until the last 2 sts, dc2tog to last st to decrease.
Rw 30- 35. Continue decreasing for the neckline only. No more armhole decreasing. When decreasing make sure to follow the diamond pattern.
Row 35- 40: No more decreases, Continue with pattern and fasten off.
Decreases for the right neckline and the armhole are same as left side. Continue making decreases like the left side. For the back, just do the armhole decreases same as front pieces.
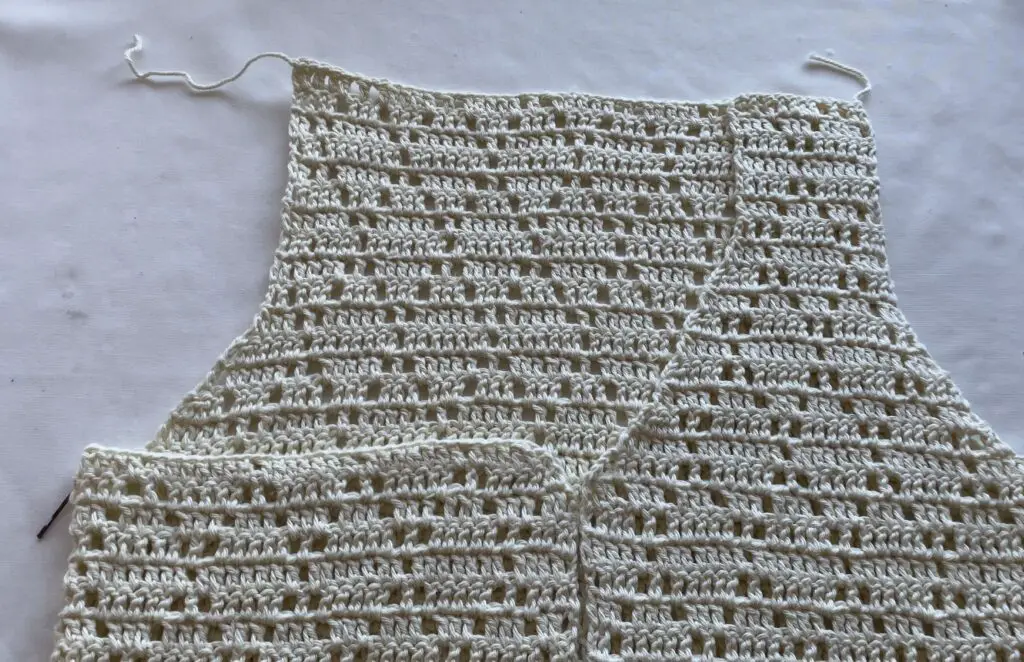
Connect the shoulder pieces with tapestry needle.
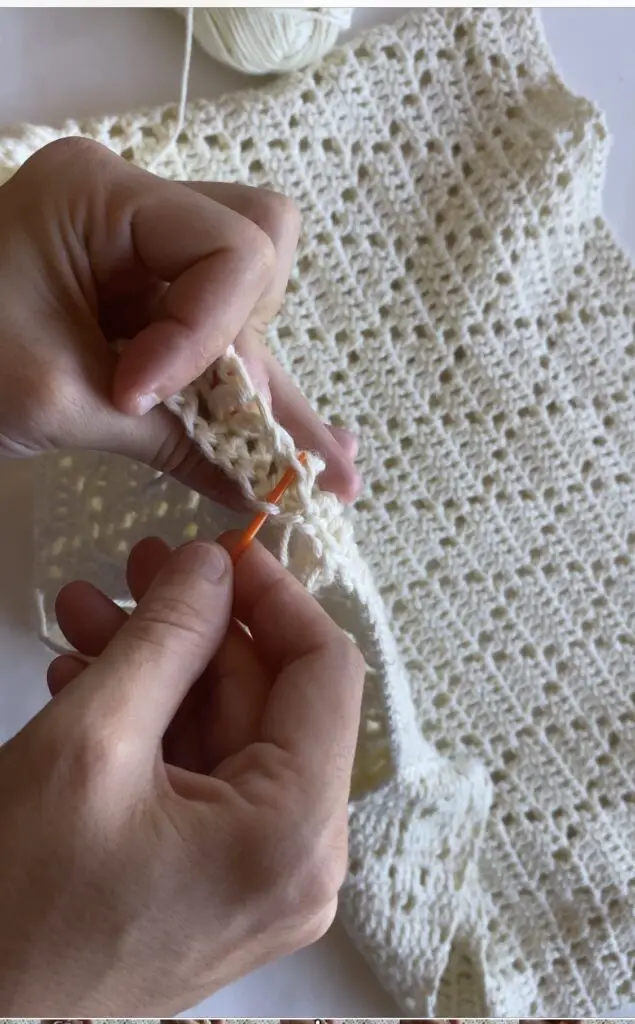
Neckline and the bottom lining, 2 sc to each dc sts and 1 sc to each sc sts and shoulder lining also sc lining. Make sure to do sc sts evenly for the neckline pieces for both right and left neckline.
Leave a Reply