Hello everyone,
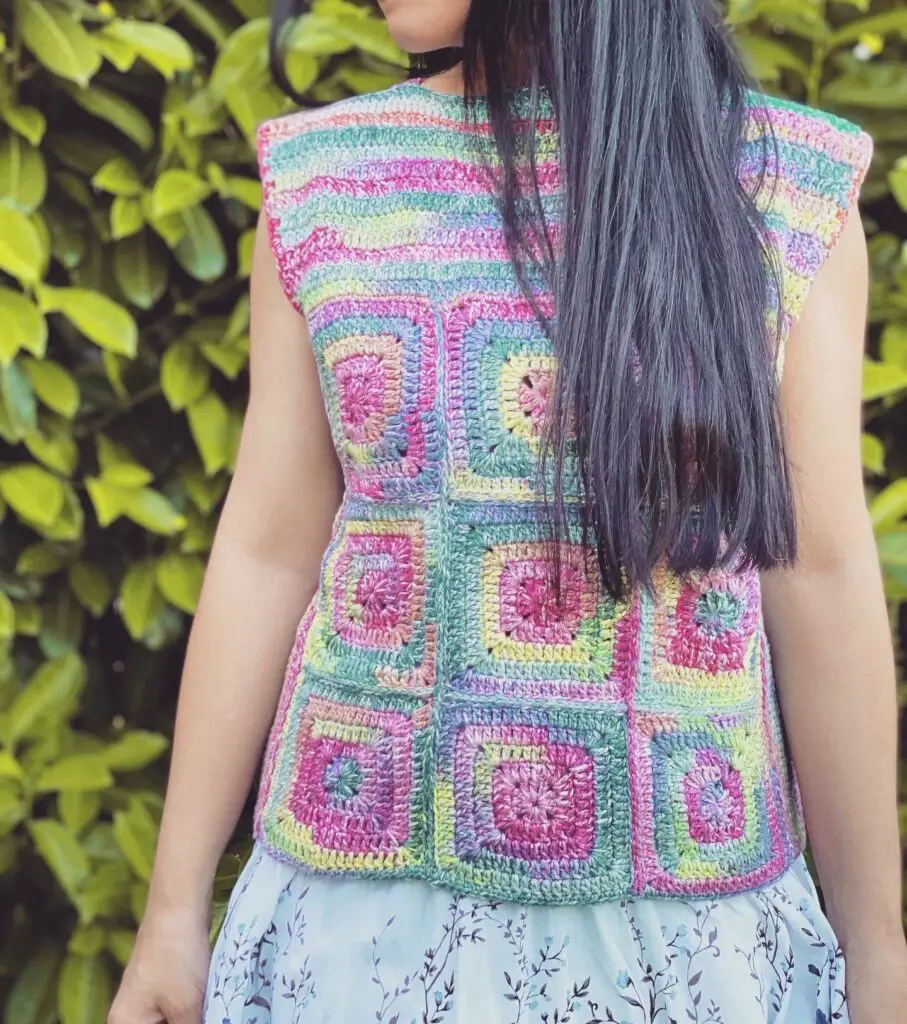
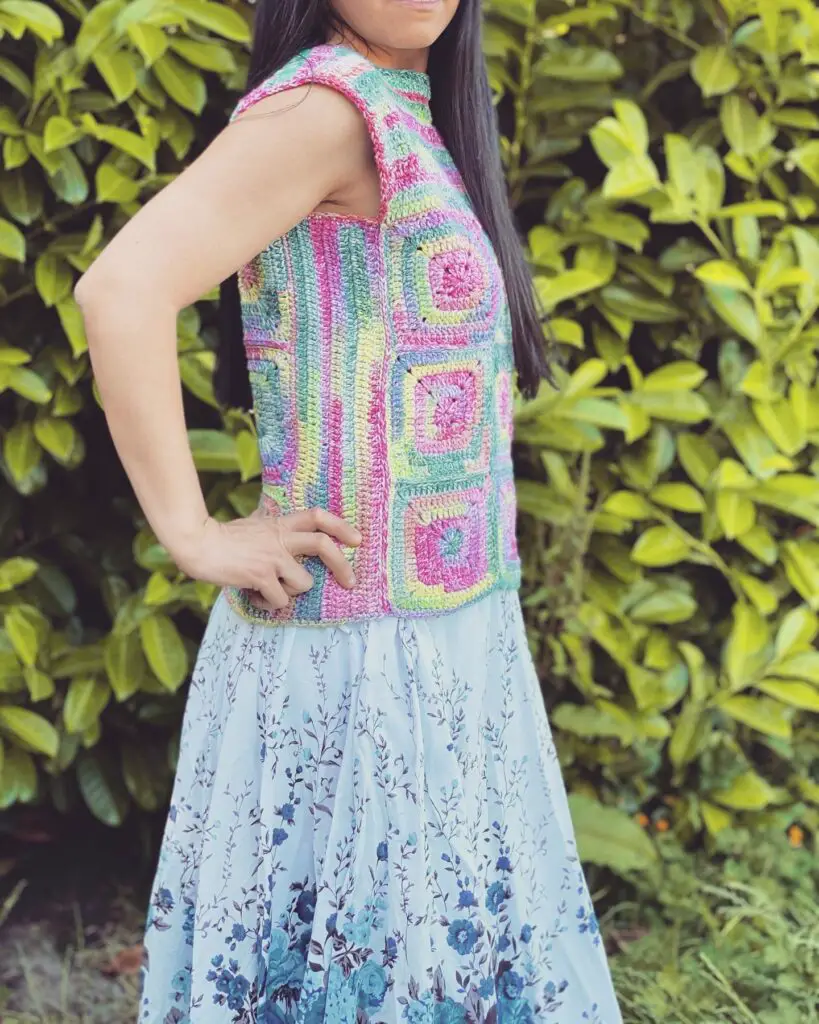
Here is a new recent work: a crochet granny square summer top. I call it the Hippy Granny Summer Top because of its vibrant psychedelic colors. (I’m going to wear this the next time I visit San Francisco. Wear it with some beautiful faded blue jeans, along with some sandals, as well as some knitted socks if the fog is out. And take a ride on the cable cars in cool 21st century hippy style!) I think the pattern turned out really nice, and the bright color squares remind me of stained glass windows. Most important, this top passes what I call The Me Test: It was not too difficult to make, it fits well, is comfortable to wear, and I am happy with it. The written instructions and materials are found below.
***NOTE: Colors are always personal choices, so color substitutes are always an option. When I made this top, I used vibrant multicolor yarns, but if you like, you can also use solid color yarn with different color options. That would be nice too. Hope you like it.
***ADDITIONAL NOTE FOR BEGINNERS: Mastering the skill of crocheting a granny square is important if you want to do a lot of crocheting, simply because there are so many crochet projects that use the granny square: blankets, bed covers, throw rugs, sweaters, skirts, bags, pillow covers, stuffed animal children’s toys, etc.


Materials
The yarn I used to make this sweater, https://amzn.to/43tavQO
Crochet hook, https://amzn.to/43qFHjZ
Scissors
Tapestry needle
I’ve listed some of my favorite yarns below that would be great option to make this sweater.
YARN SUBSTITUTIONS:
https://amzn.to/3NkZ9sz. Pima cotton yarn from Lion Brand. I love love love this yarn. It’s a 100 % Pima cotton yarn, luxurious and very soft . This is a great yarn option for someone who likes to crochet or knit with soft yarn. When you crochet with this yarn, it flows very easily and comfortably. It’s also reasonably priced. I very much recommend this yarn.
https://amzn.to/45VLq2B I also love Dishie yarn by Knit Picks. Its also very soft, and very easy to crochet or knit. I have used this yarn many times and loved it. This would be a great option! It’s also a 100% cotton yarn.
Abbreviations
Ch: Chain
Sc: Single crochet
Dc: Double crochet
St (s): Stitch (es)
Sl st: Slip stitch
Written Instructions
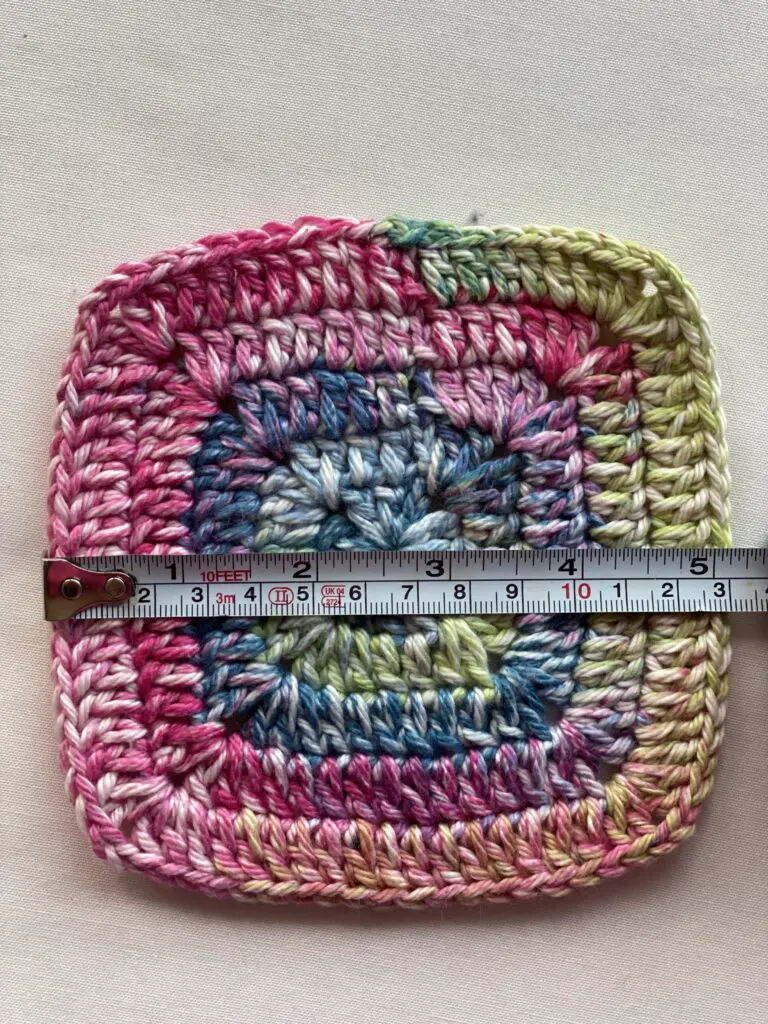
Making the granny square:
Ch 4, close the circle with sl st to last ch.
Round 1: Ch 3, 2 dc inside the circle, (ch 2, 3 dc in the circle) x3, ch 2 sl st to top of dc st to close the round.
Round 2: Ch 2, 1 dc to next 2 sts, 2 dc inside the ch2 space, ch 2, 2 dc in the same space, (1 dc to next 3 sts, 2 dc in the ch2 space, ch 2, 2 dc inside the same space) x3, sl st to top of dc to close the round.
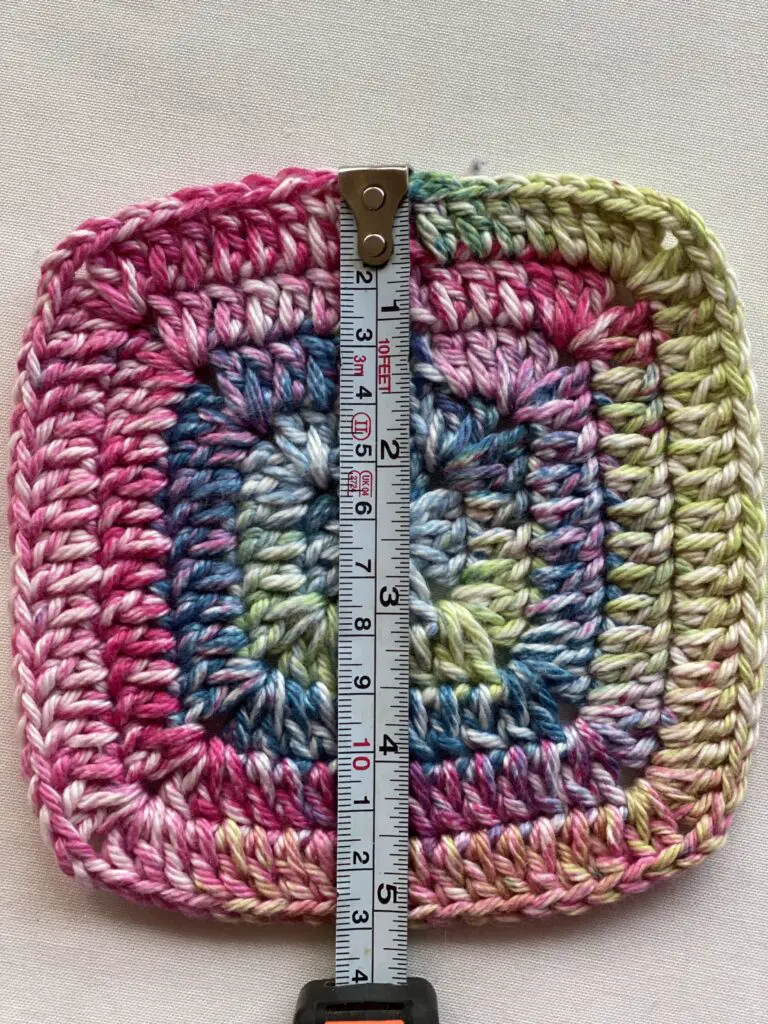
Round 3: Ch 2, 2 dc to next 5 sts, 2 dc inside the space, ch 2, 2 dc to same space, (1 dc to next 7sts, 2 dc inside the space, ch 2, 2 dc inside the same space)x3, 1 dc to next 2 sts, sl st to close the end.
Round 4: Ch 2, 2 dc to next 6 sts, 2 dc inside the space, ch 2, 2 dc to same space, (1 dc to next 11sts, 2 dc inside the space, ch 2, 2 dc inside the same space)x3, 1 dc to next 5 sts, sl st to close the end.
Round 5: Ch 2, 2 dc to next 7 sts, 2 dc inside the space, ch 2, 2 dc to same space, (1 dc to next 15sts, 2 dc inside the space, ch 2, 2 dc inside the same space)x3, 1 dc to next 6 sts, sl st to close the end.
Connecting the pieces to make the blouse/summer top
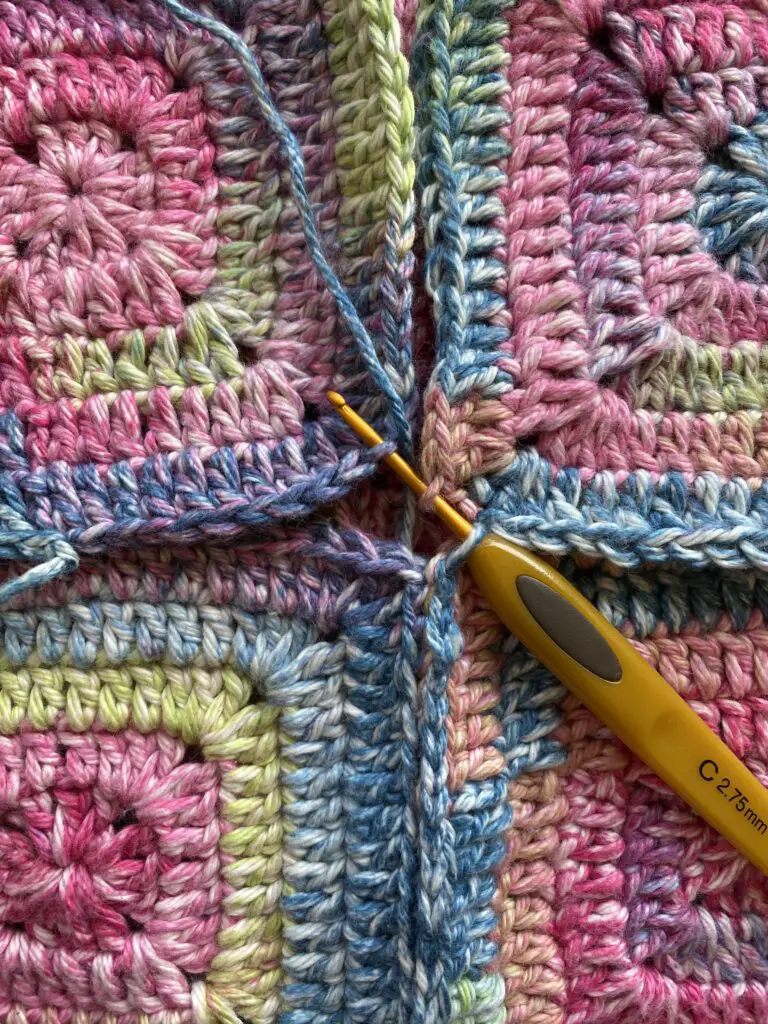
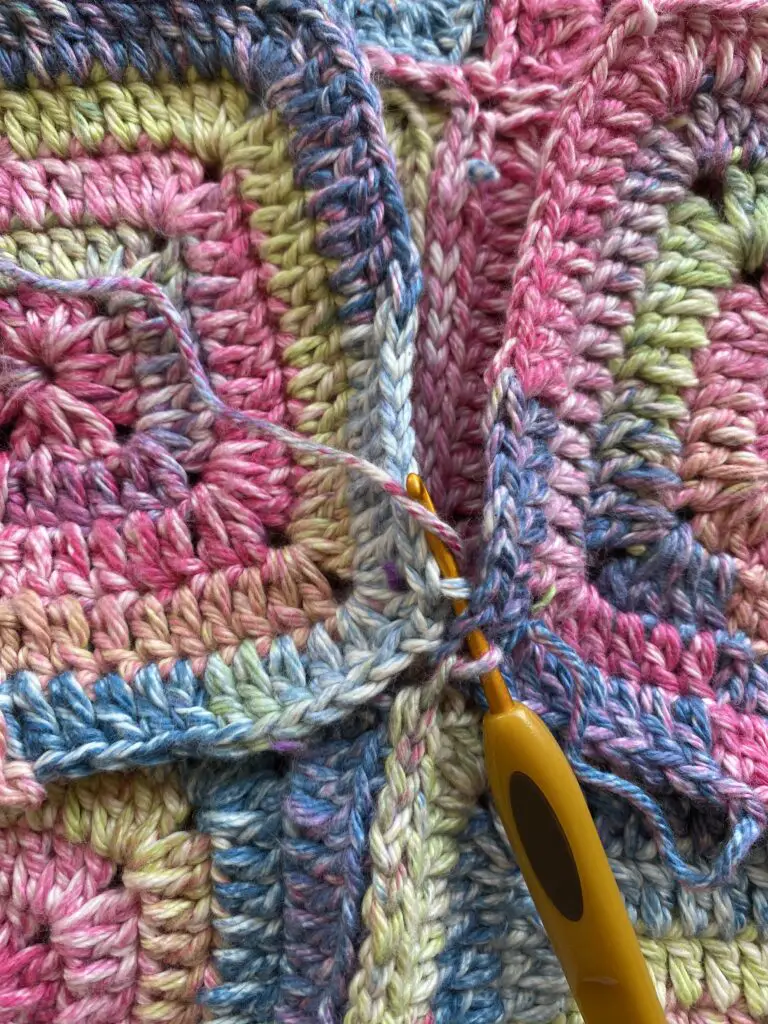
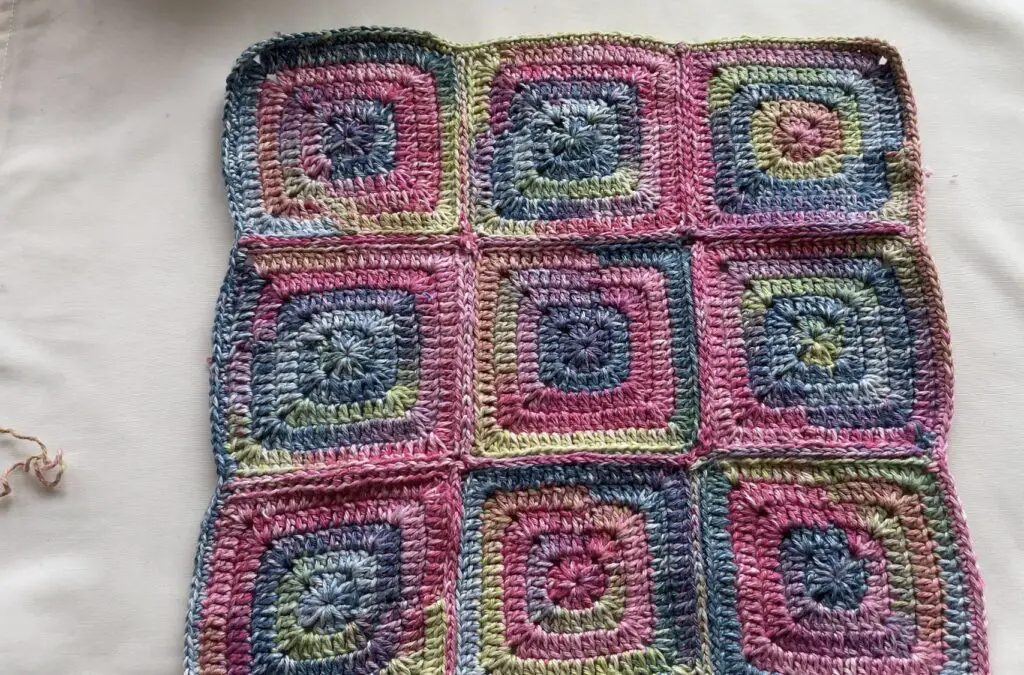
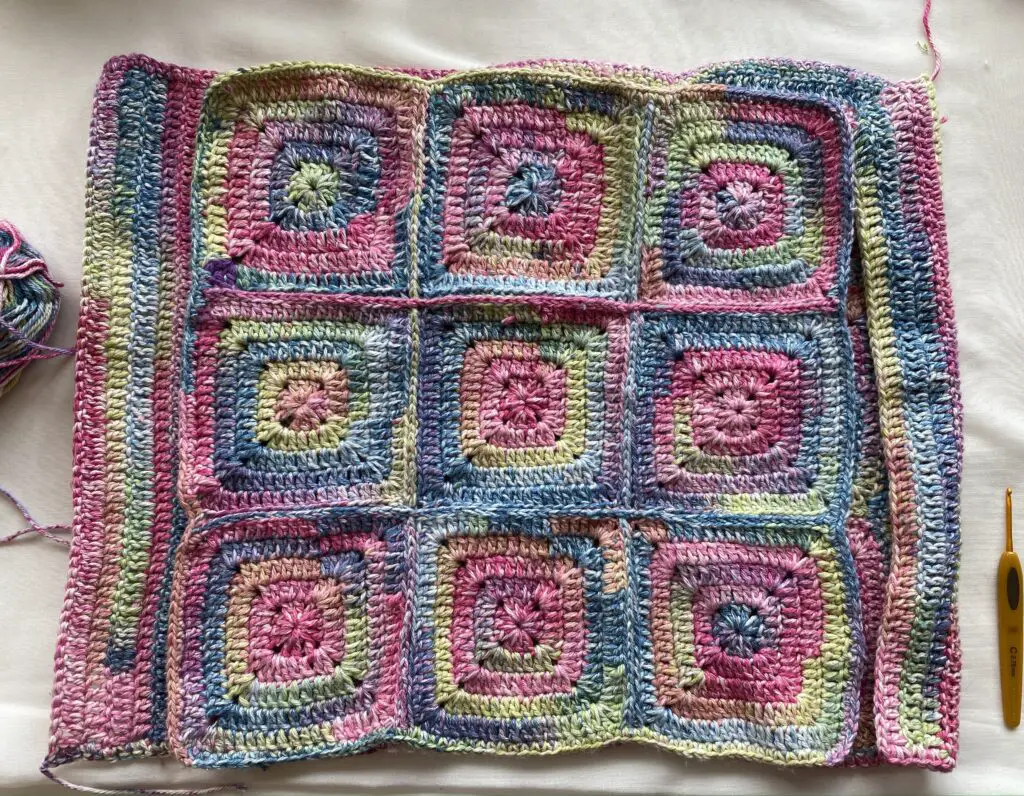
After connecting 9 pieces together, 1 sc to each st around the big square piece.
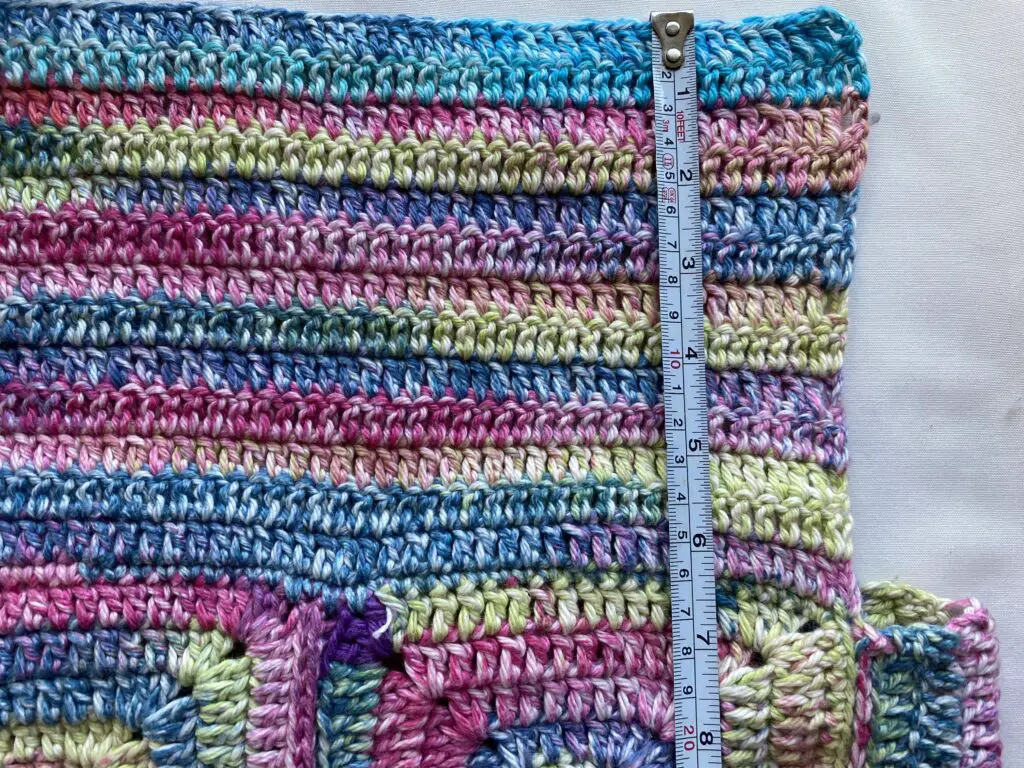
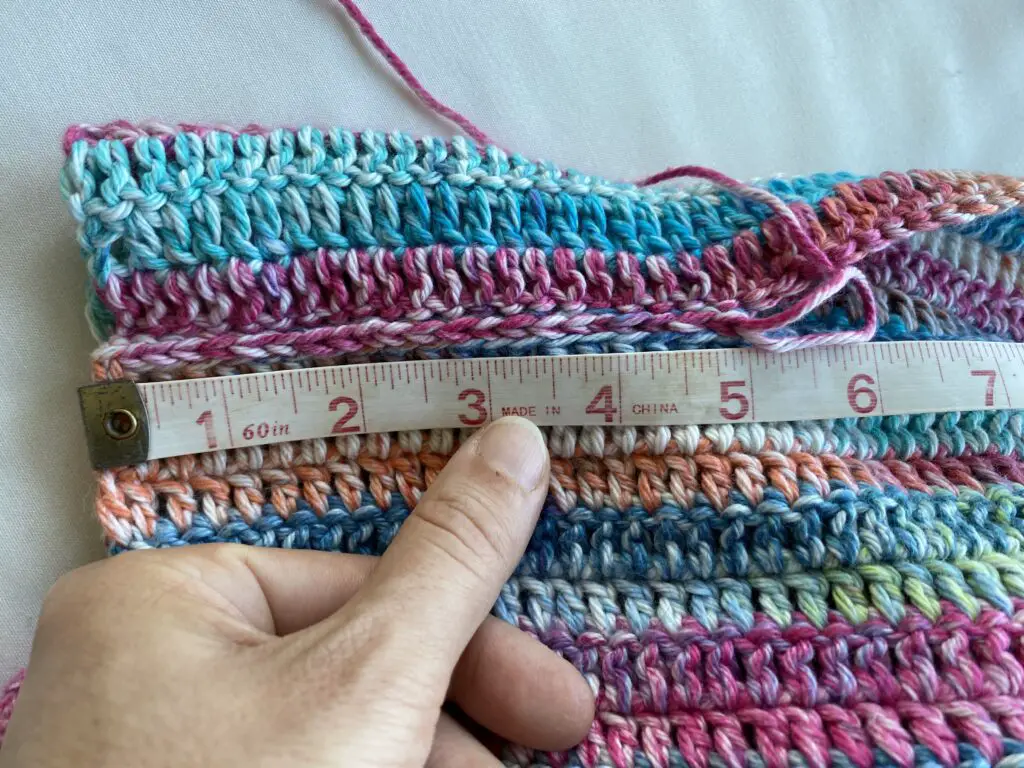
Tip: The size measurements in this written tutorial are XS/S, but you can make it bigger, by adding more granny squares or adding more dc sts on both sides of the body piece, also adding more dc sts on the chest piece.
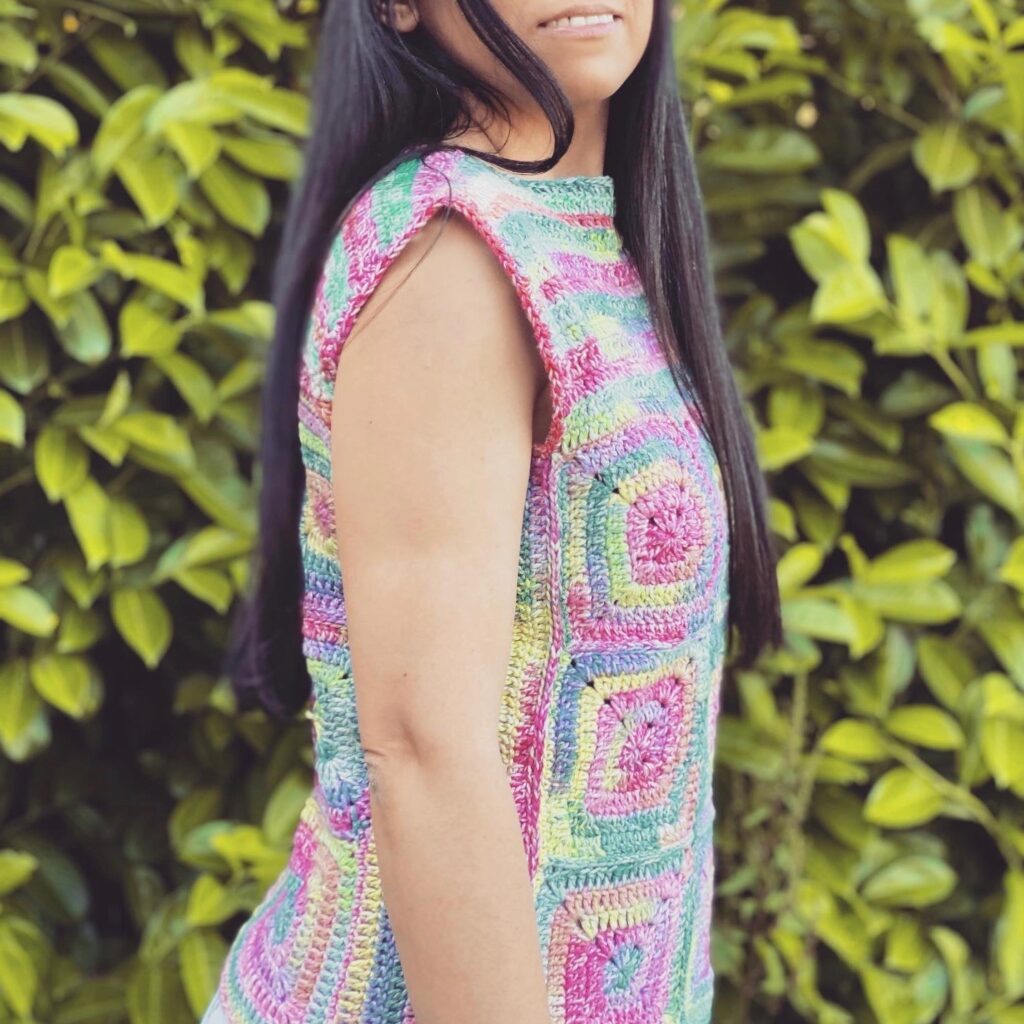
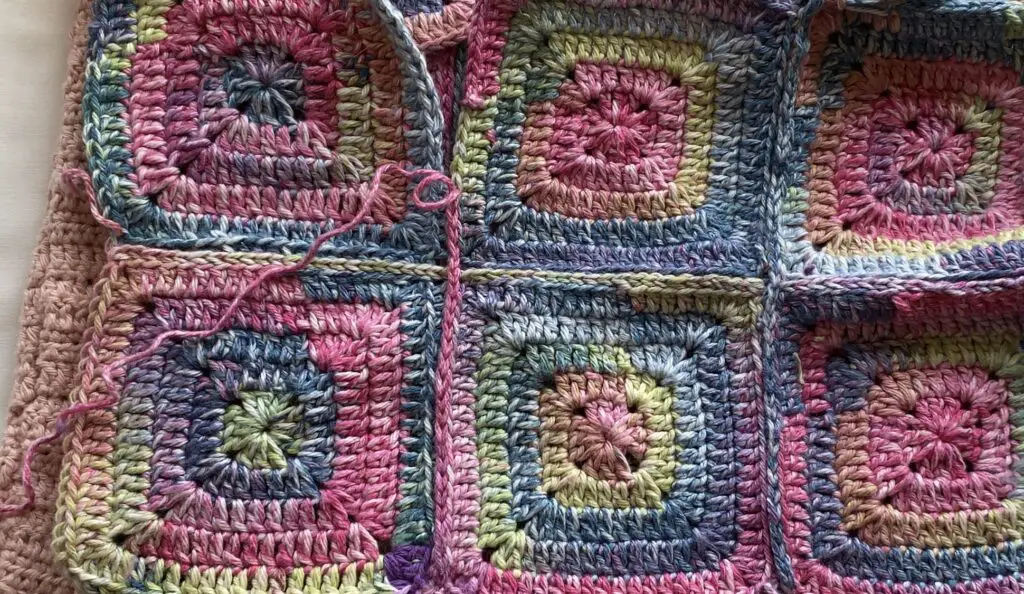
***NOTES: This crochet granny square summer top was started with making granny squares ( 9 granny squares for the front and 9 granny squares for the back) And the granny squares were done with double crochets and chains to separate at the corners. First, these granny squares were sewed together and then I added 7 rows to both the right and left sides of the back piece only. After finishing with the sides, the front piece (with 9 granny squares) was sewed on to the back piece. And lastly, the chest piece was done by adding rows to the top of both front and back pieces. The armholes were left open and the shoulder parts were sewed together.
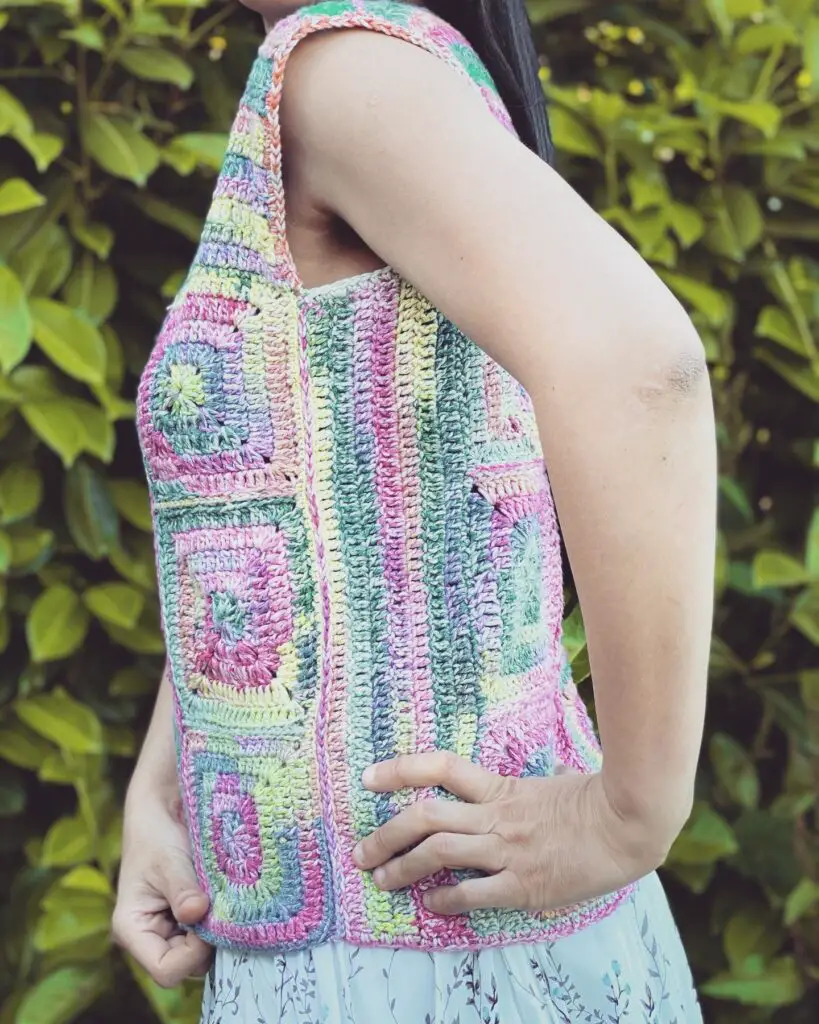
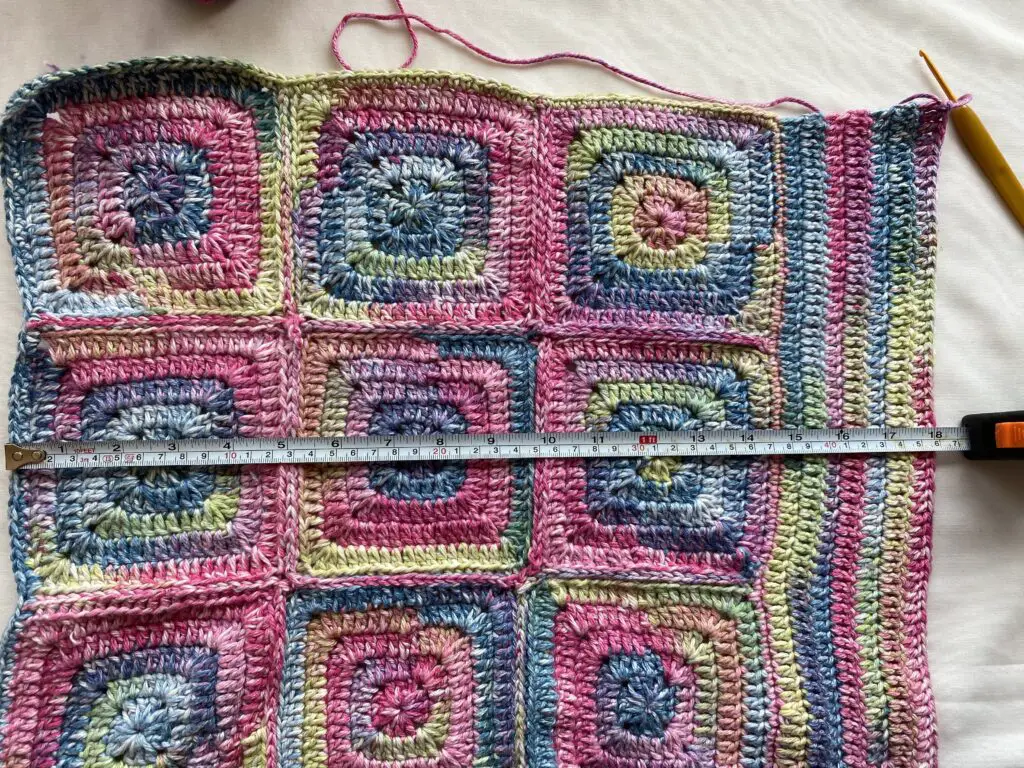
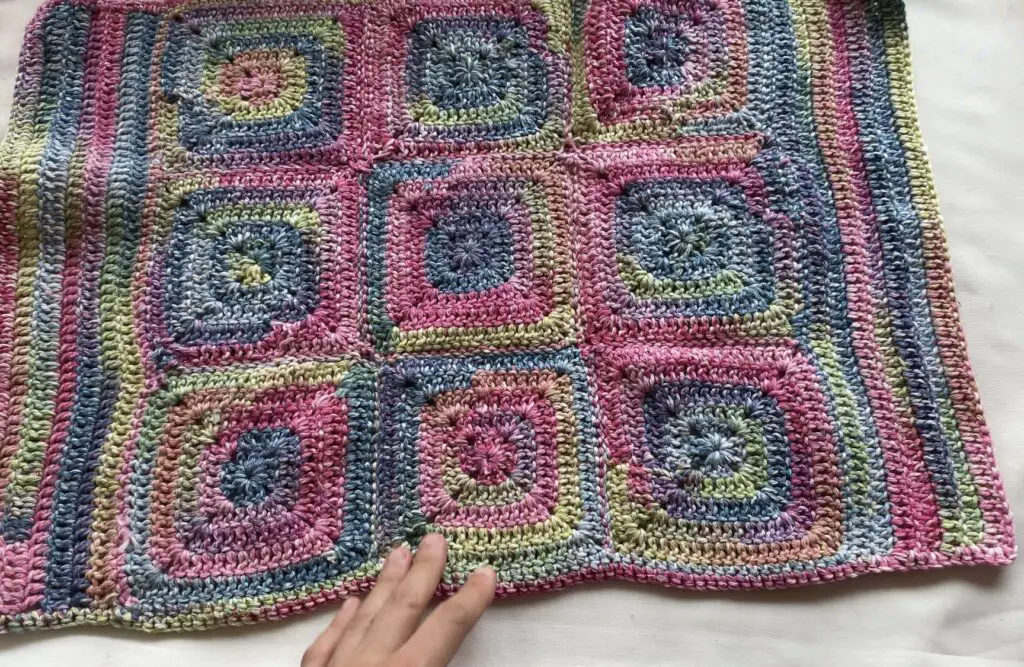
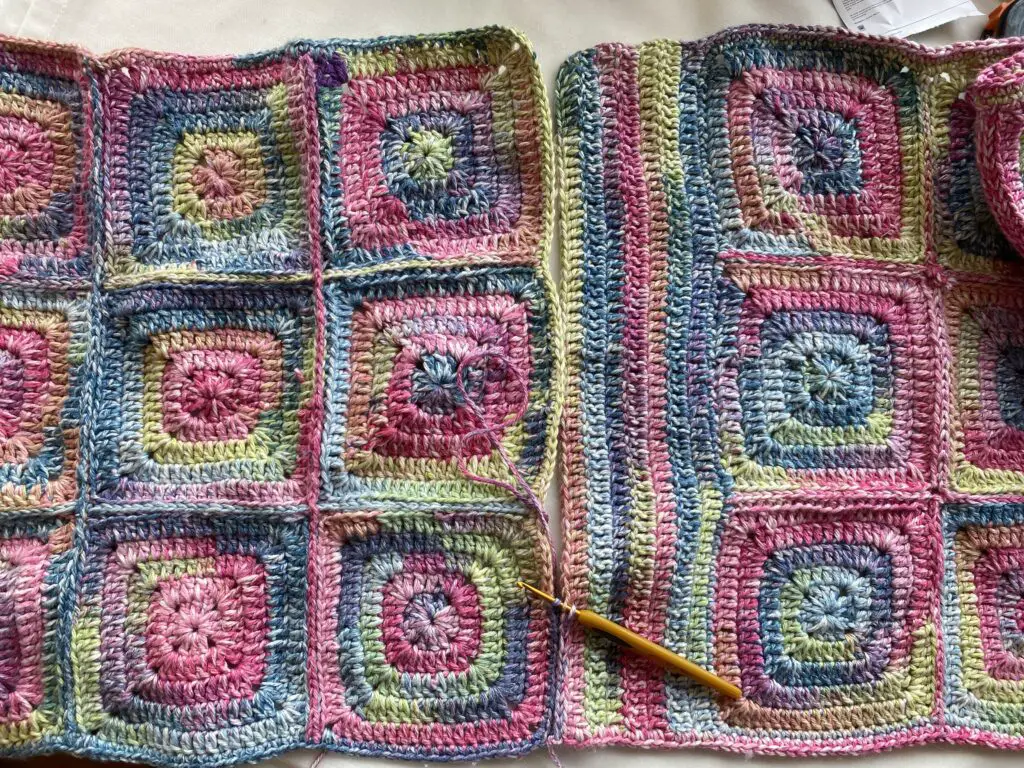
We are going to add 7 rows to each of the right and left sides of the big square, but we are only going to add these 7 rows to one of the big square pieces, (to either the back or front piece). Easy to make minor size adjustments can be made here by simply adding or deleting the number of rows
Working on the right side of the big square piece (back piece)
(Ch 2, 1 dc to each st on the right side- 64 dc) x7 rows
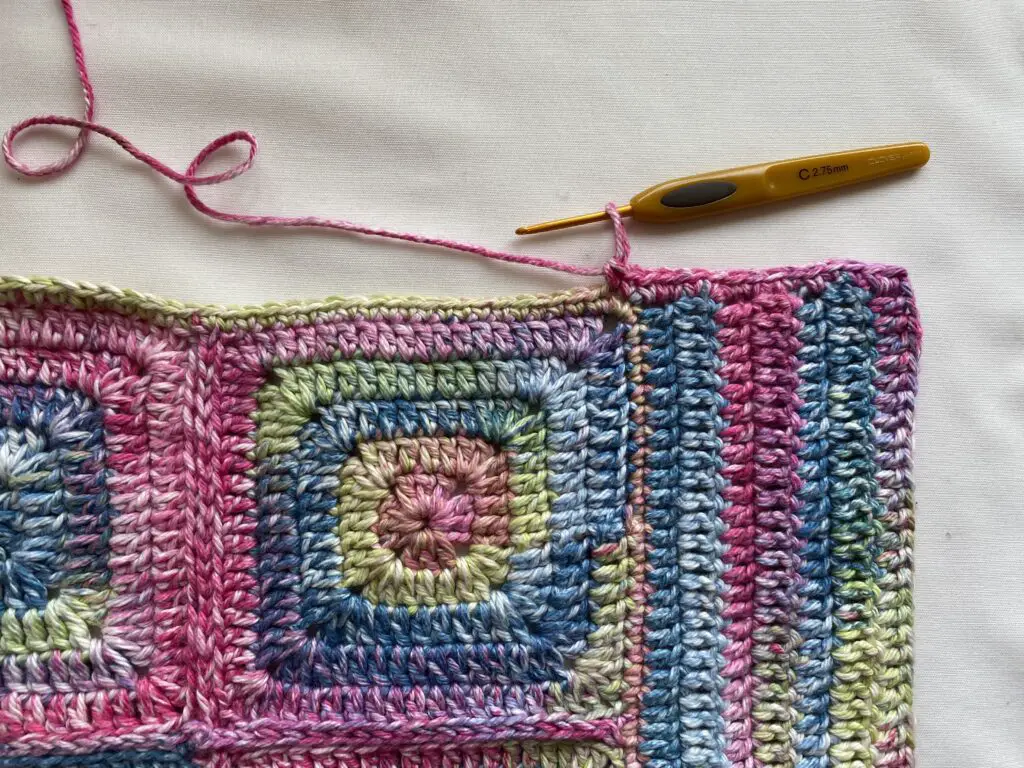
Continue to work to left side of same big square
(Ch 2, 1 dc to each st on the right side-64 dc) x7 rows
Making the chest, neck, arm piece part
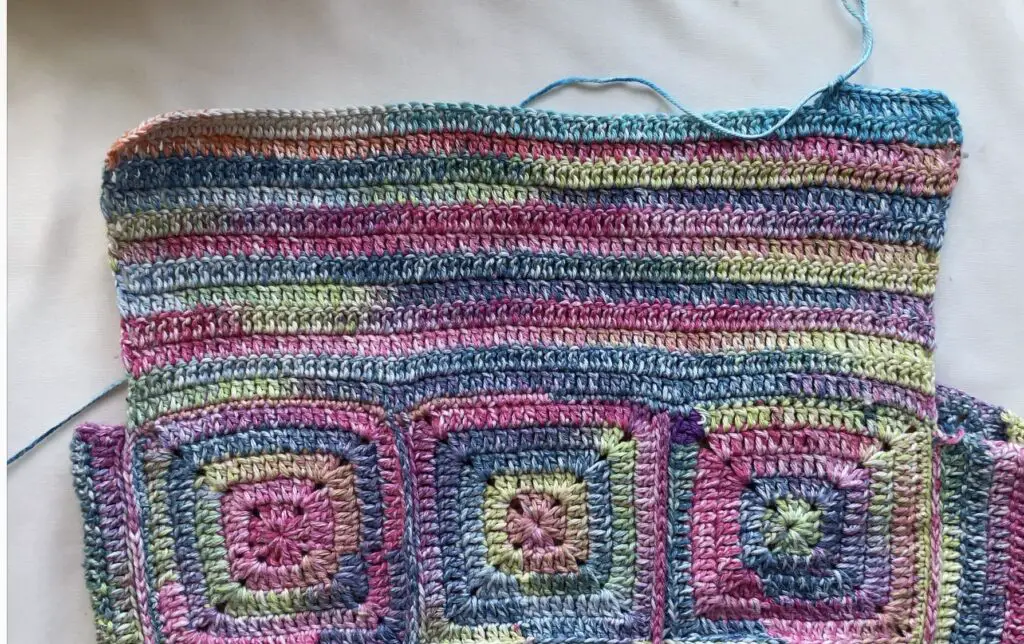
Working on top, in the middle, 1 dc to each st -70 dc for 12 rows (this is going to be done for both sides, front and back)
Sew the top, and shoulder pieces, leaving the armholes open.
For the armhole edges, 1 sc to each st. Fasten off. Weave the ends.

Leave a Reply