Hi everyone,
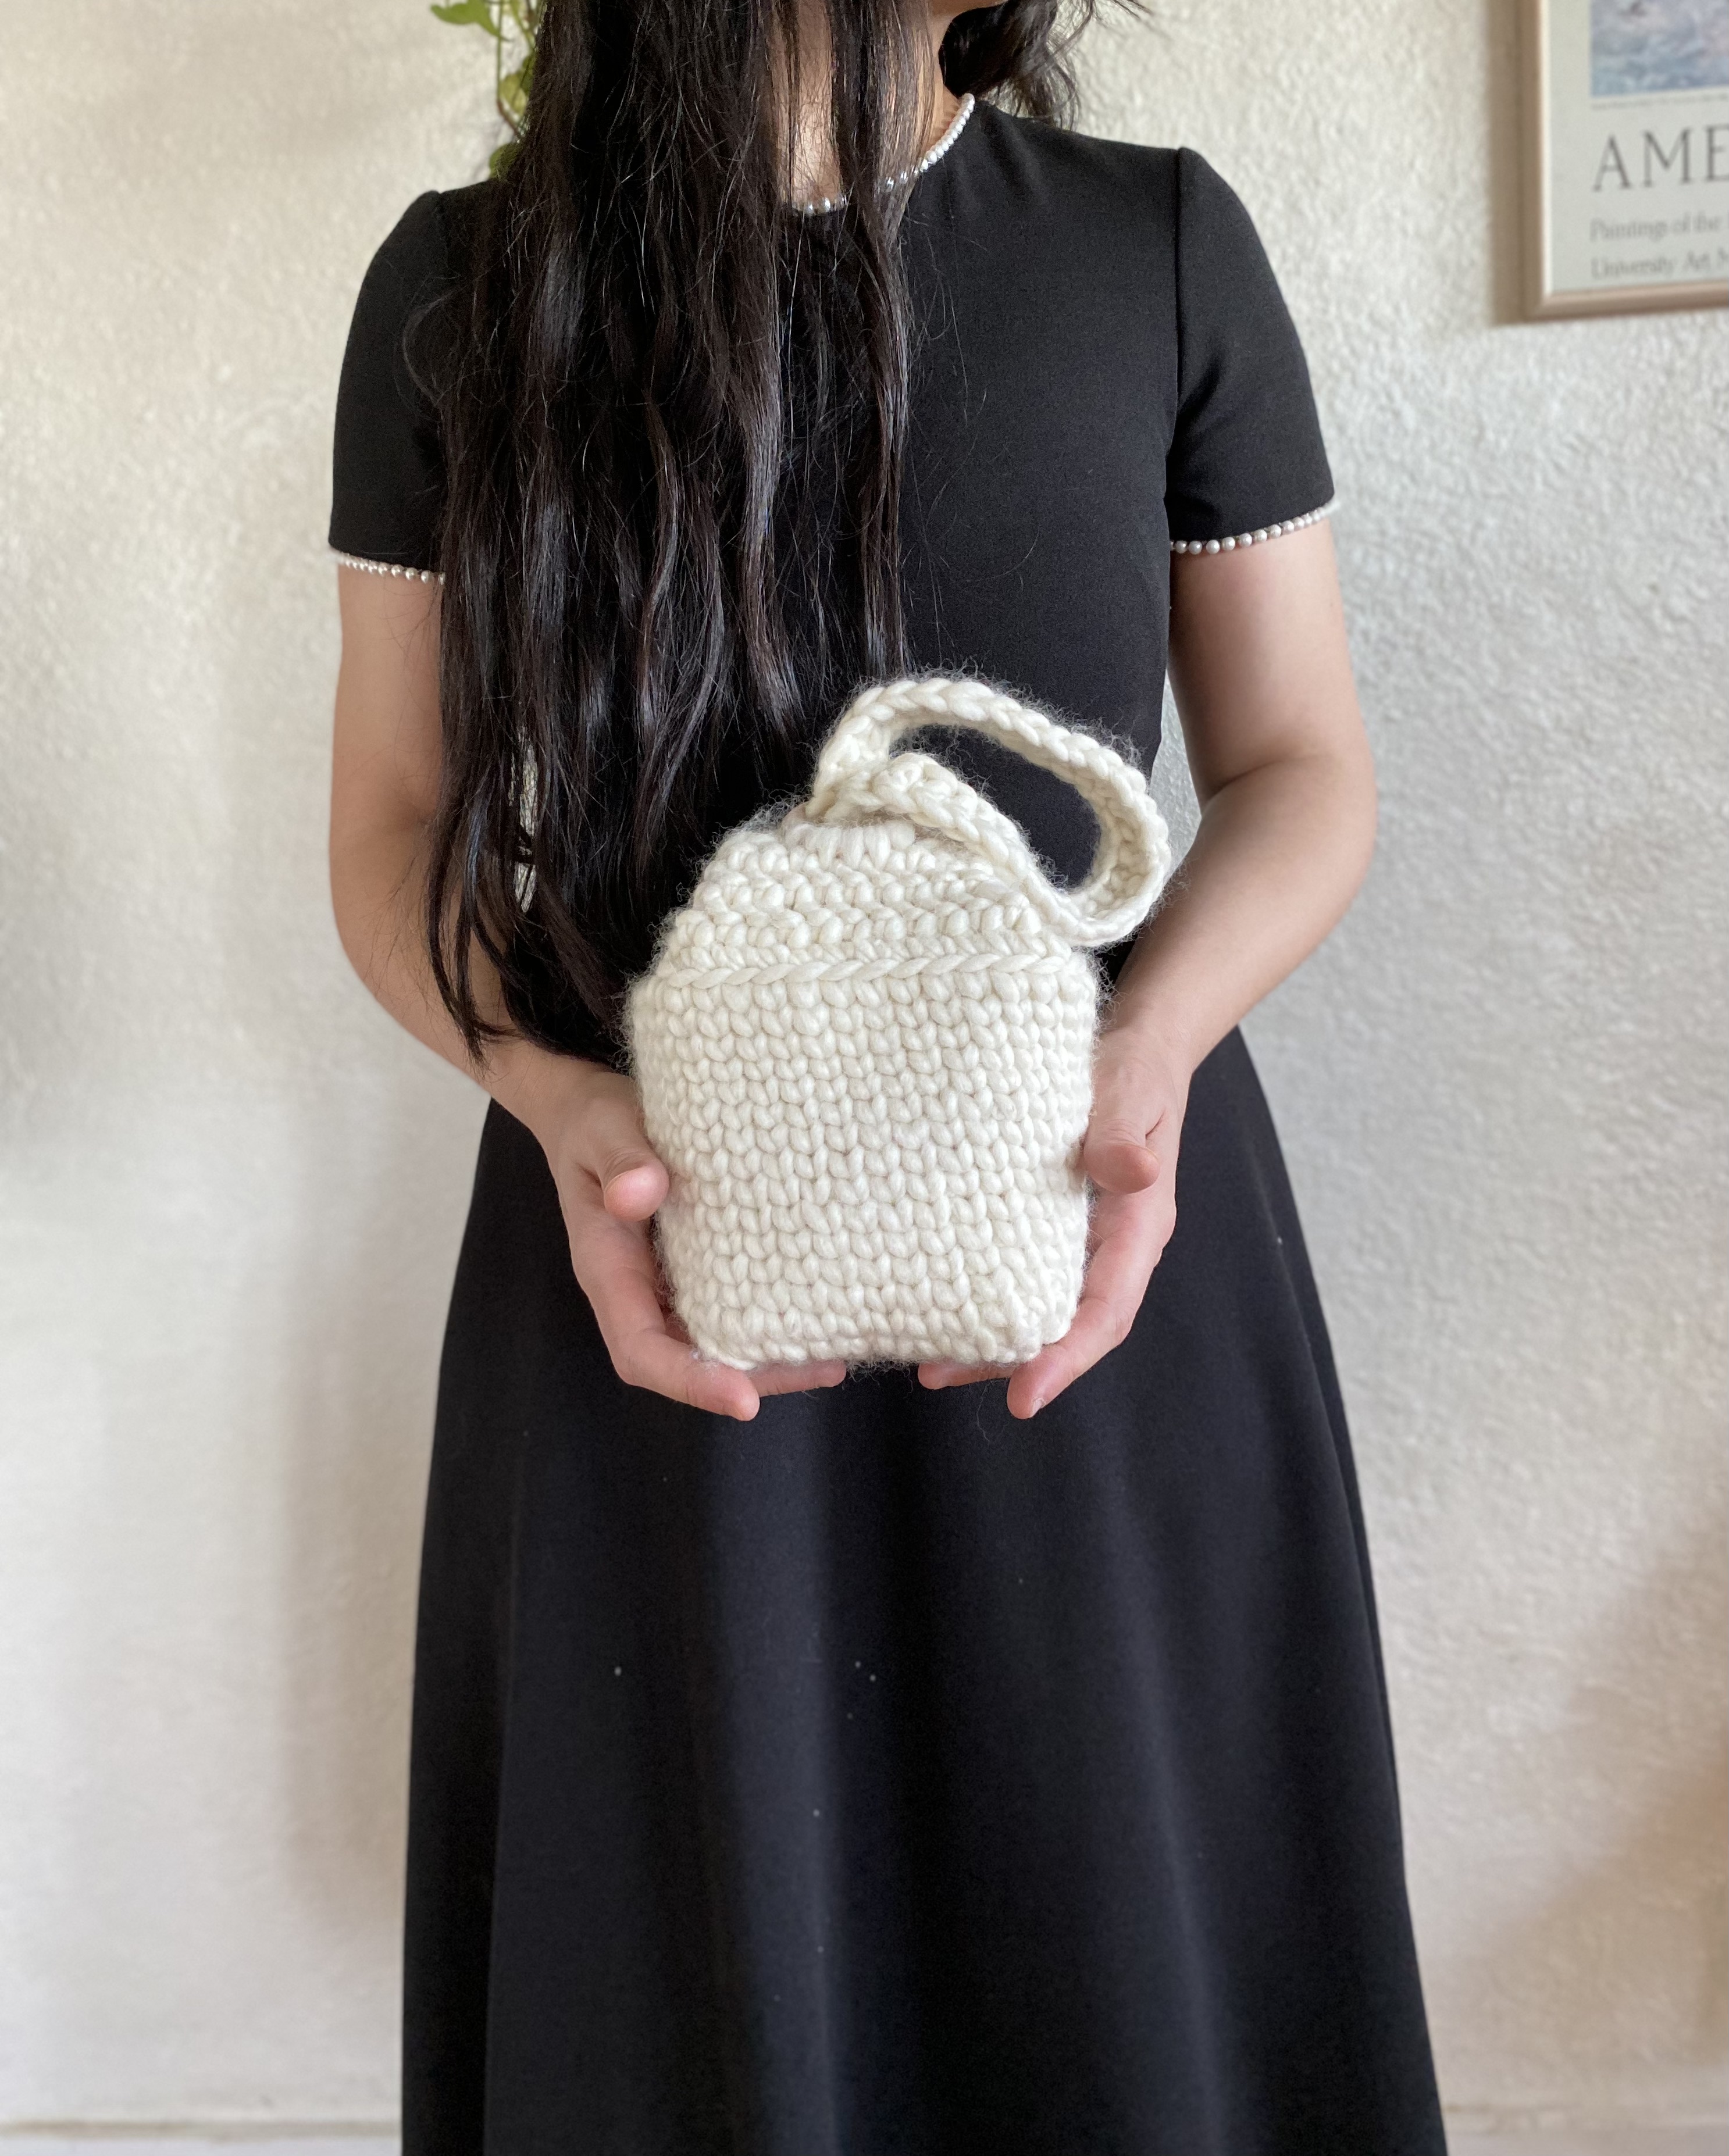
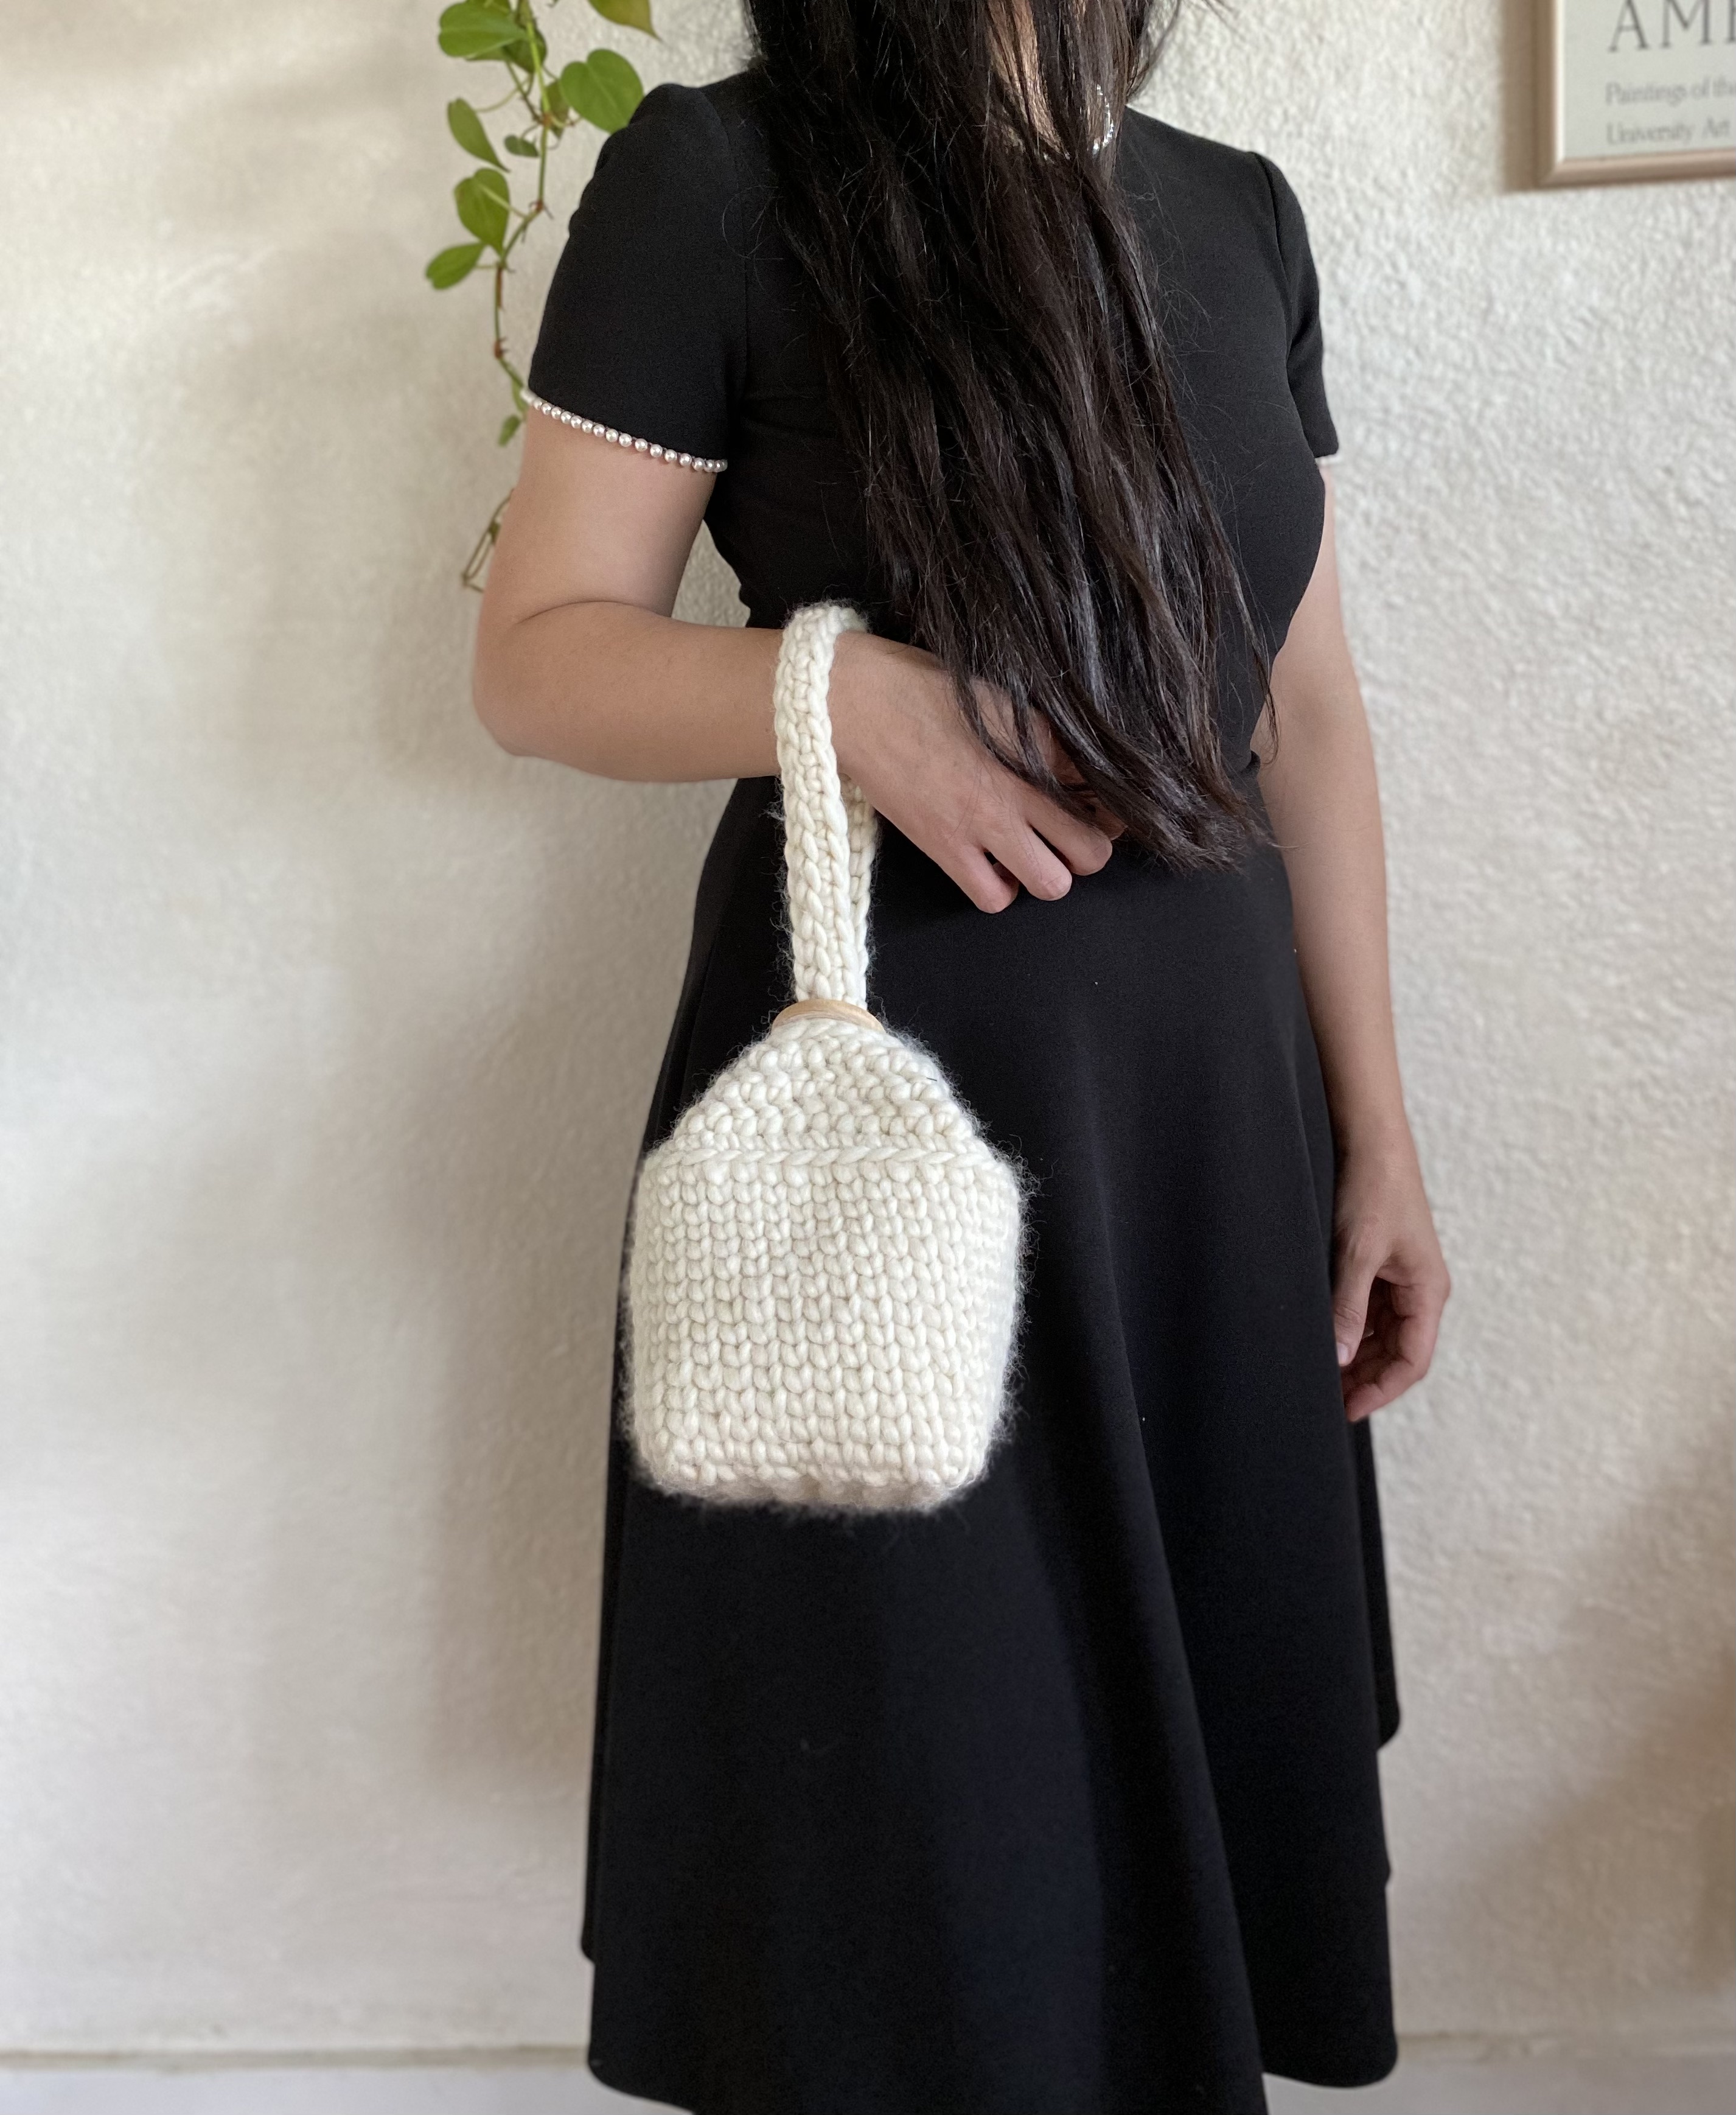
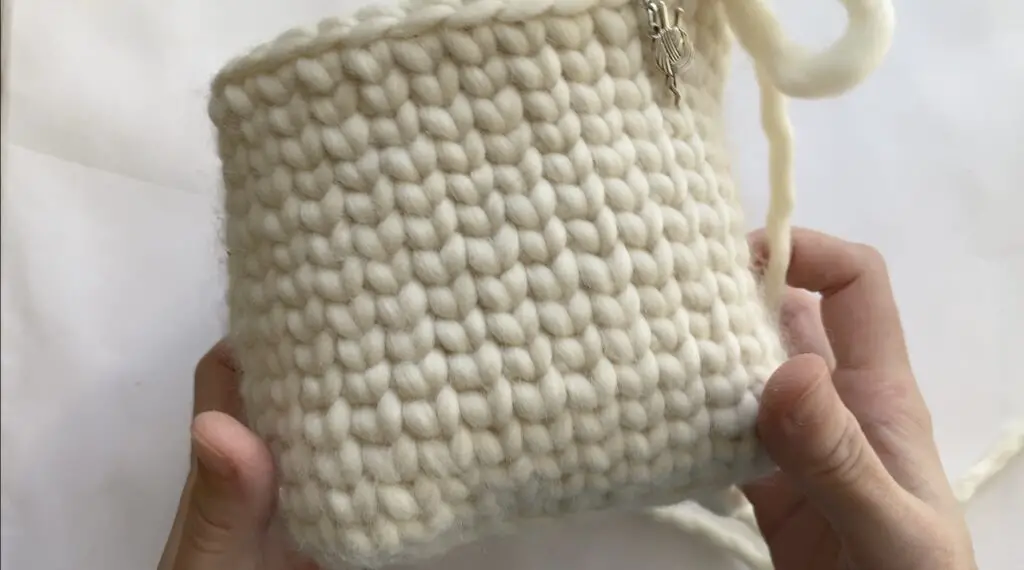
This crochet bucket handbag is very strong, durable, and attractive. (“It’s lovely.”) It’s made with chunky 100 % wool yarn, and because the yarn is chunky, the process was very quick; it flows very comfortably when you crochet or knit. Wool yarn is very soft and lightweight. The step by step tutorial is below, and I also attached the video tutorial if you would like to watch.
Happy Crocheting!
Materials:
Yarn: https://amzn.to/4hWoSV6
Crochet hook: https://amzn.to/4h3nf6Y
Wooden button https://amzn.to/41iwNoN (this is similar to the one I used)
Wooden ring https://amzn.to/4ijKryP (this is similar to the one I used)
Yarn needle to weave the ends and scissors
Abbreviations:
Ch: Chain
Sl st: Slip stitch
St (s): Stitch (es)
Sc: Single crochet
Sm: Stitch marker
Yo: Yarn over
Blo: Back loop only
Scblo: Single crochet back loop only
Hhdc: Herringbone half double crochet
Tss: Tunisian simple stitch
Written Tutorial:
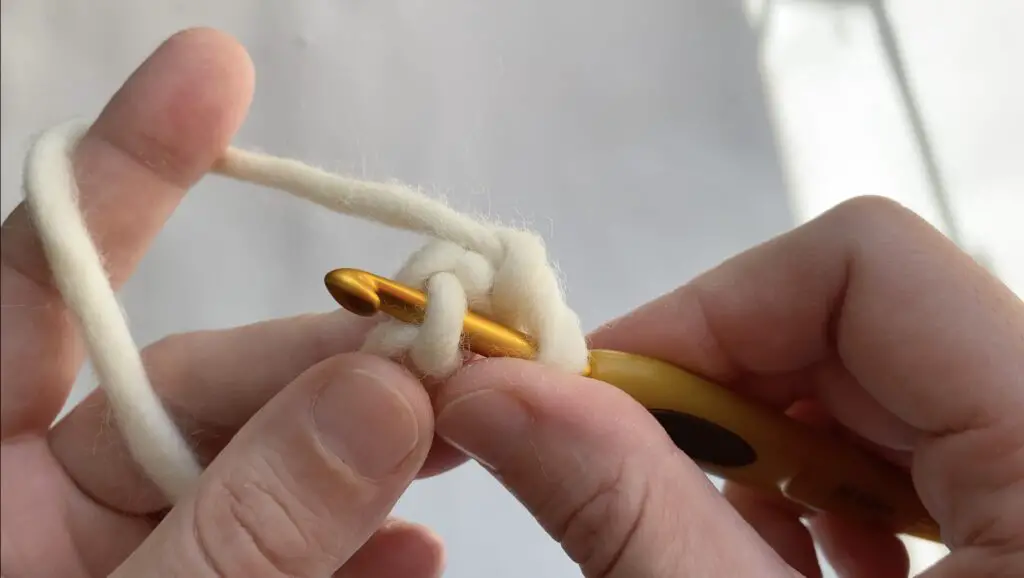
Make a Slip knot, and ch 11
Row 1: Sl st to each back bump of ch, starting from the back bump of 2nd chain. 10 sl st.
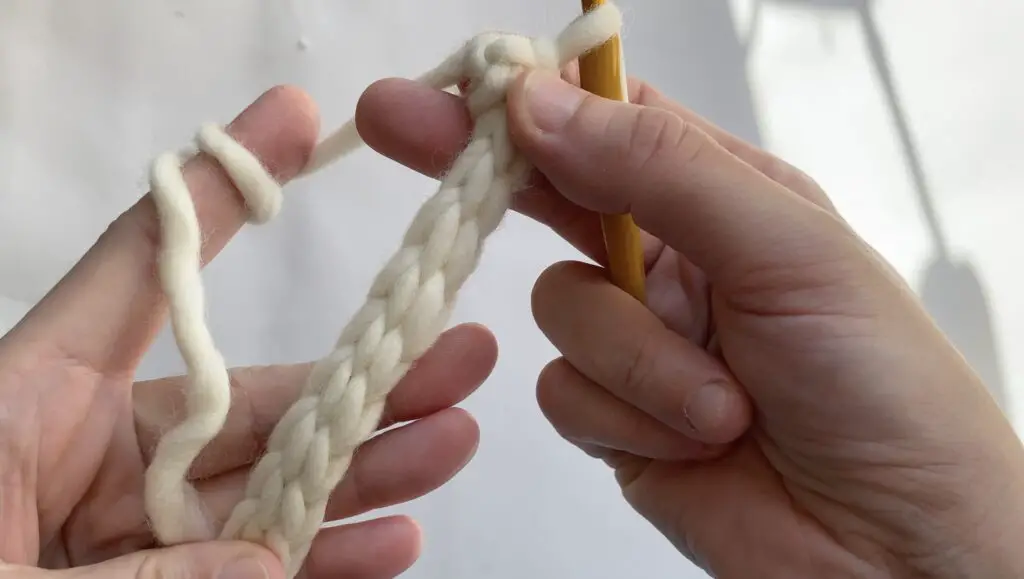
Chain 1 and turn your work.
Row 2: 1 sc to each st.. 10 sc. Ch 1 and turn your work.

Row 3: 1 sl st to each st. 10 sl st. Ch 1 and turn your work.
Rows 4-10: Repeat rows 2 and 3.
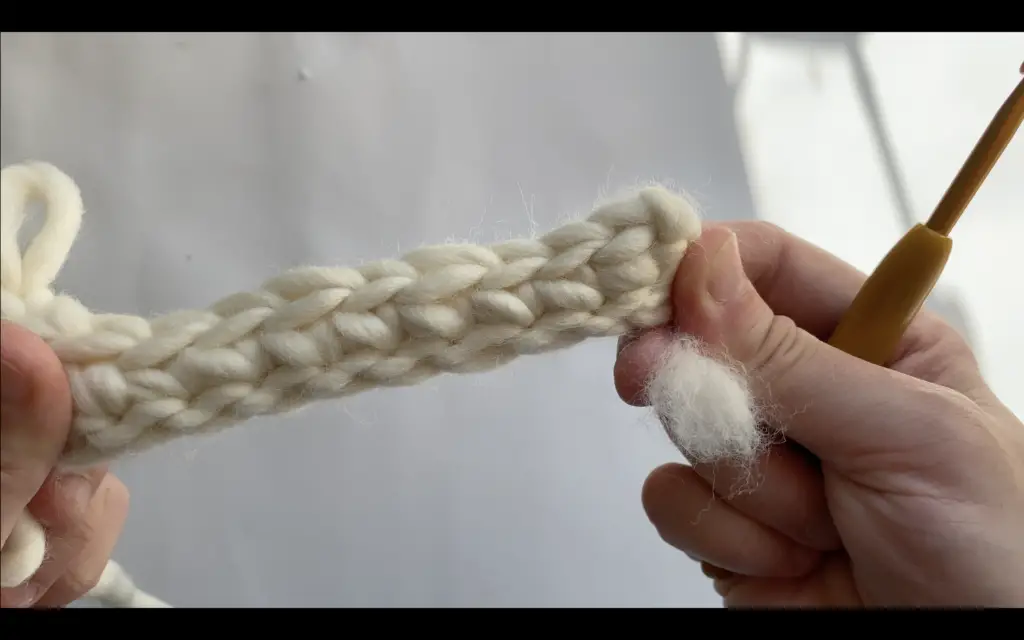
Row 10 should be single crochet row.
Continue to Round 10 in the round with 1 sc to each st, 2 sc on each edge (4 edges). Total sts : 40 sc. Sl st to close the round and ch 1.
Place a sm for the beginning st.
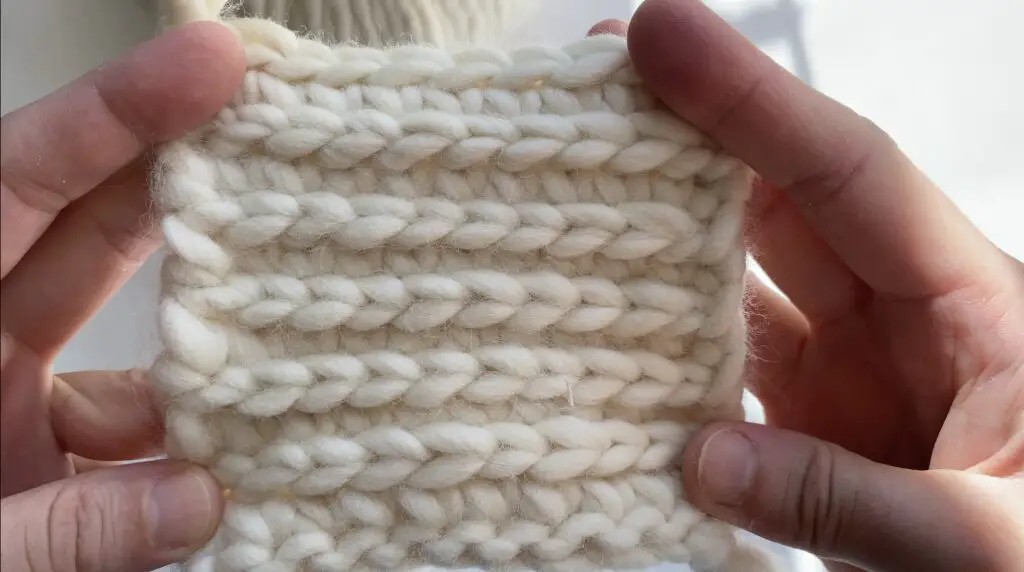
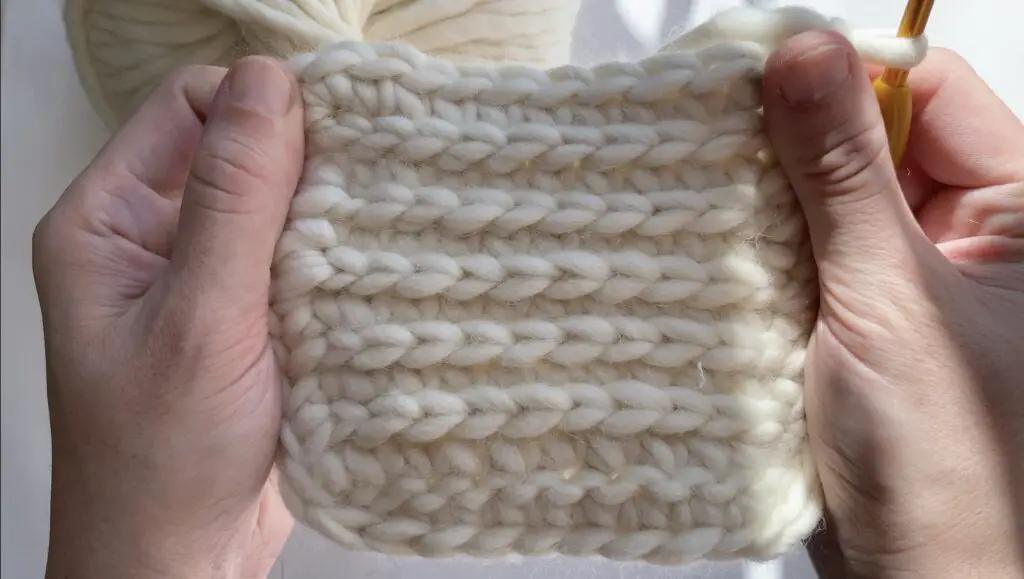
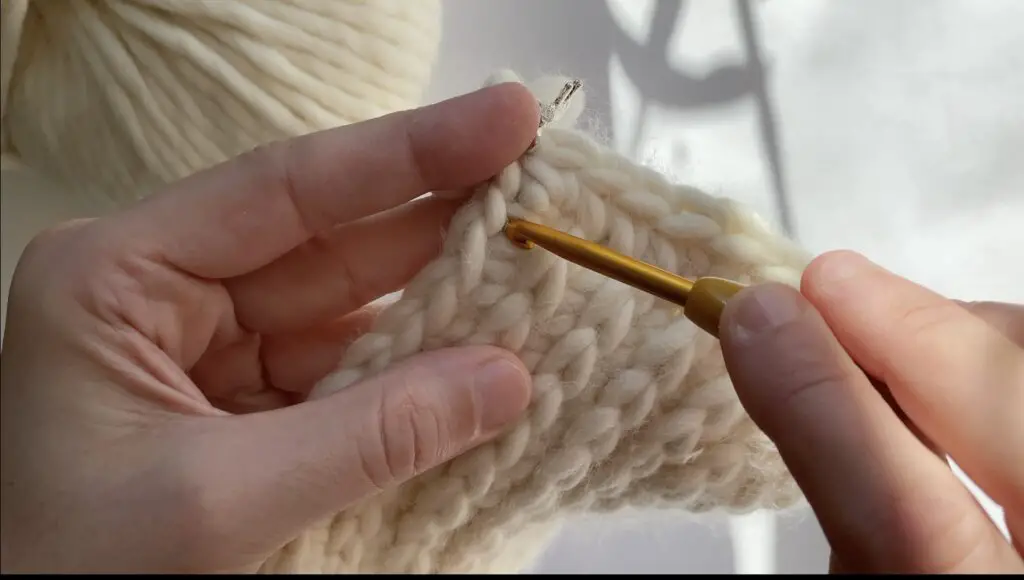
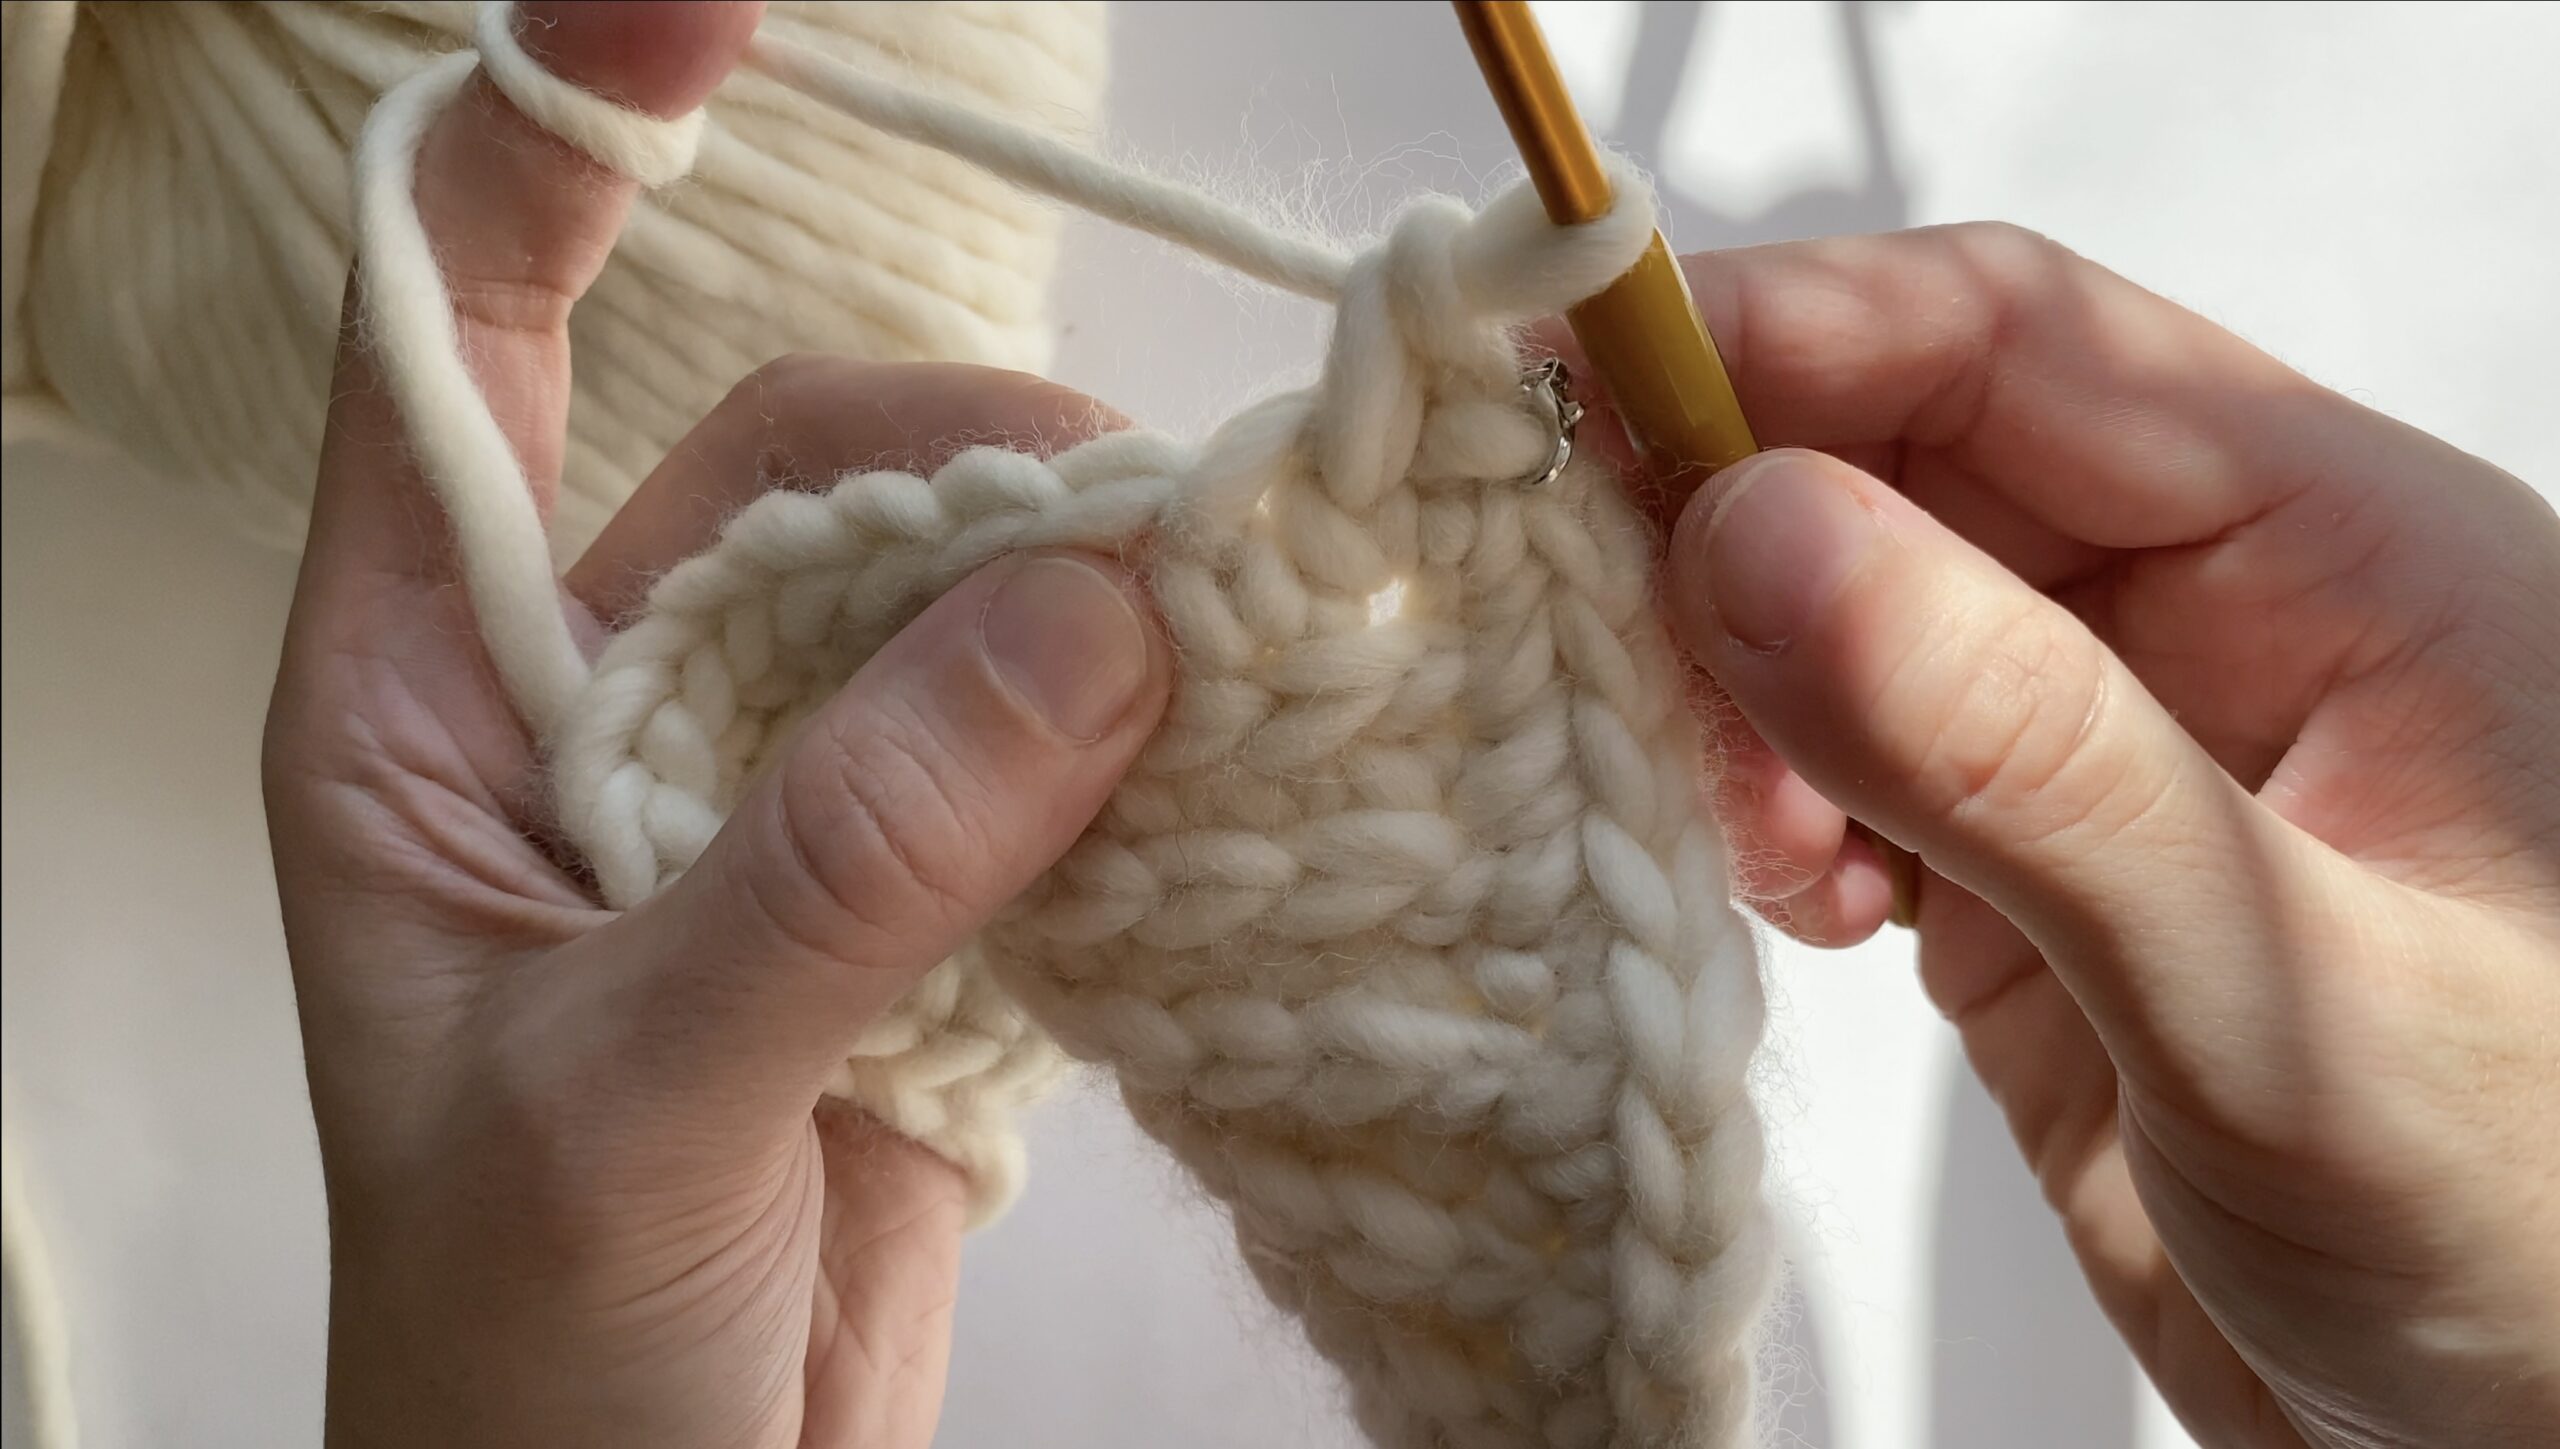
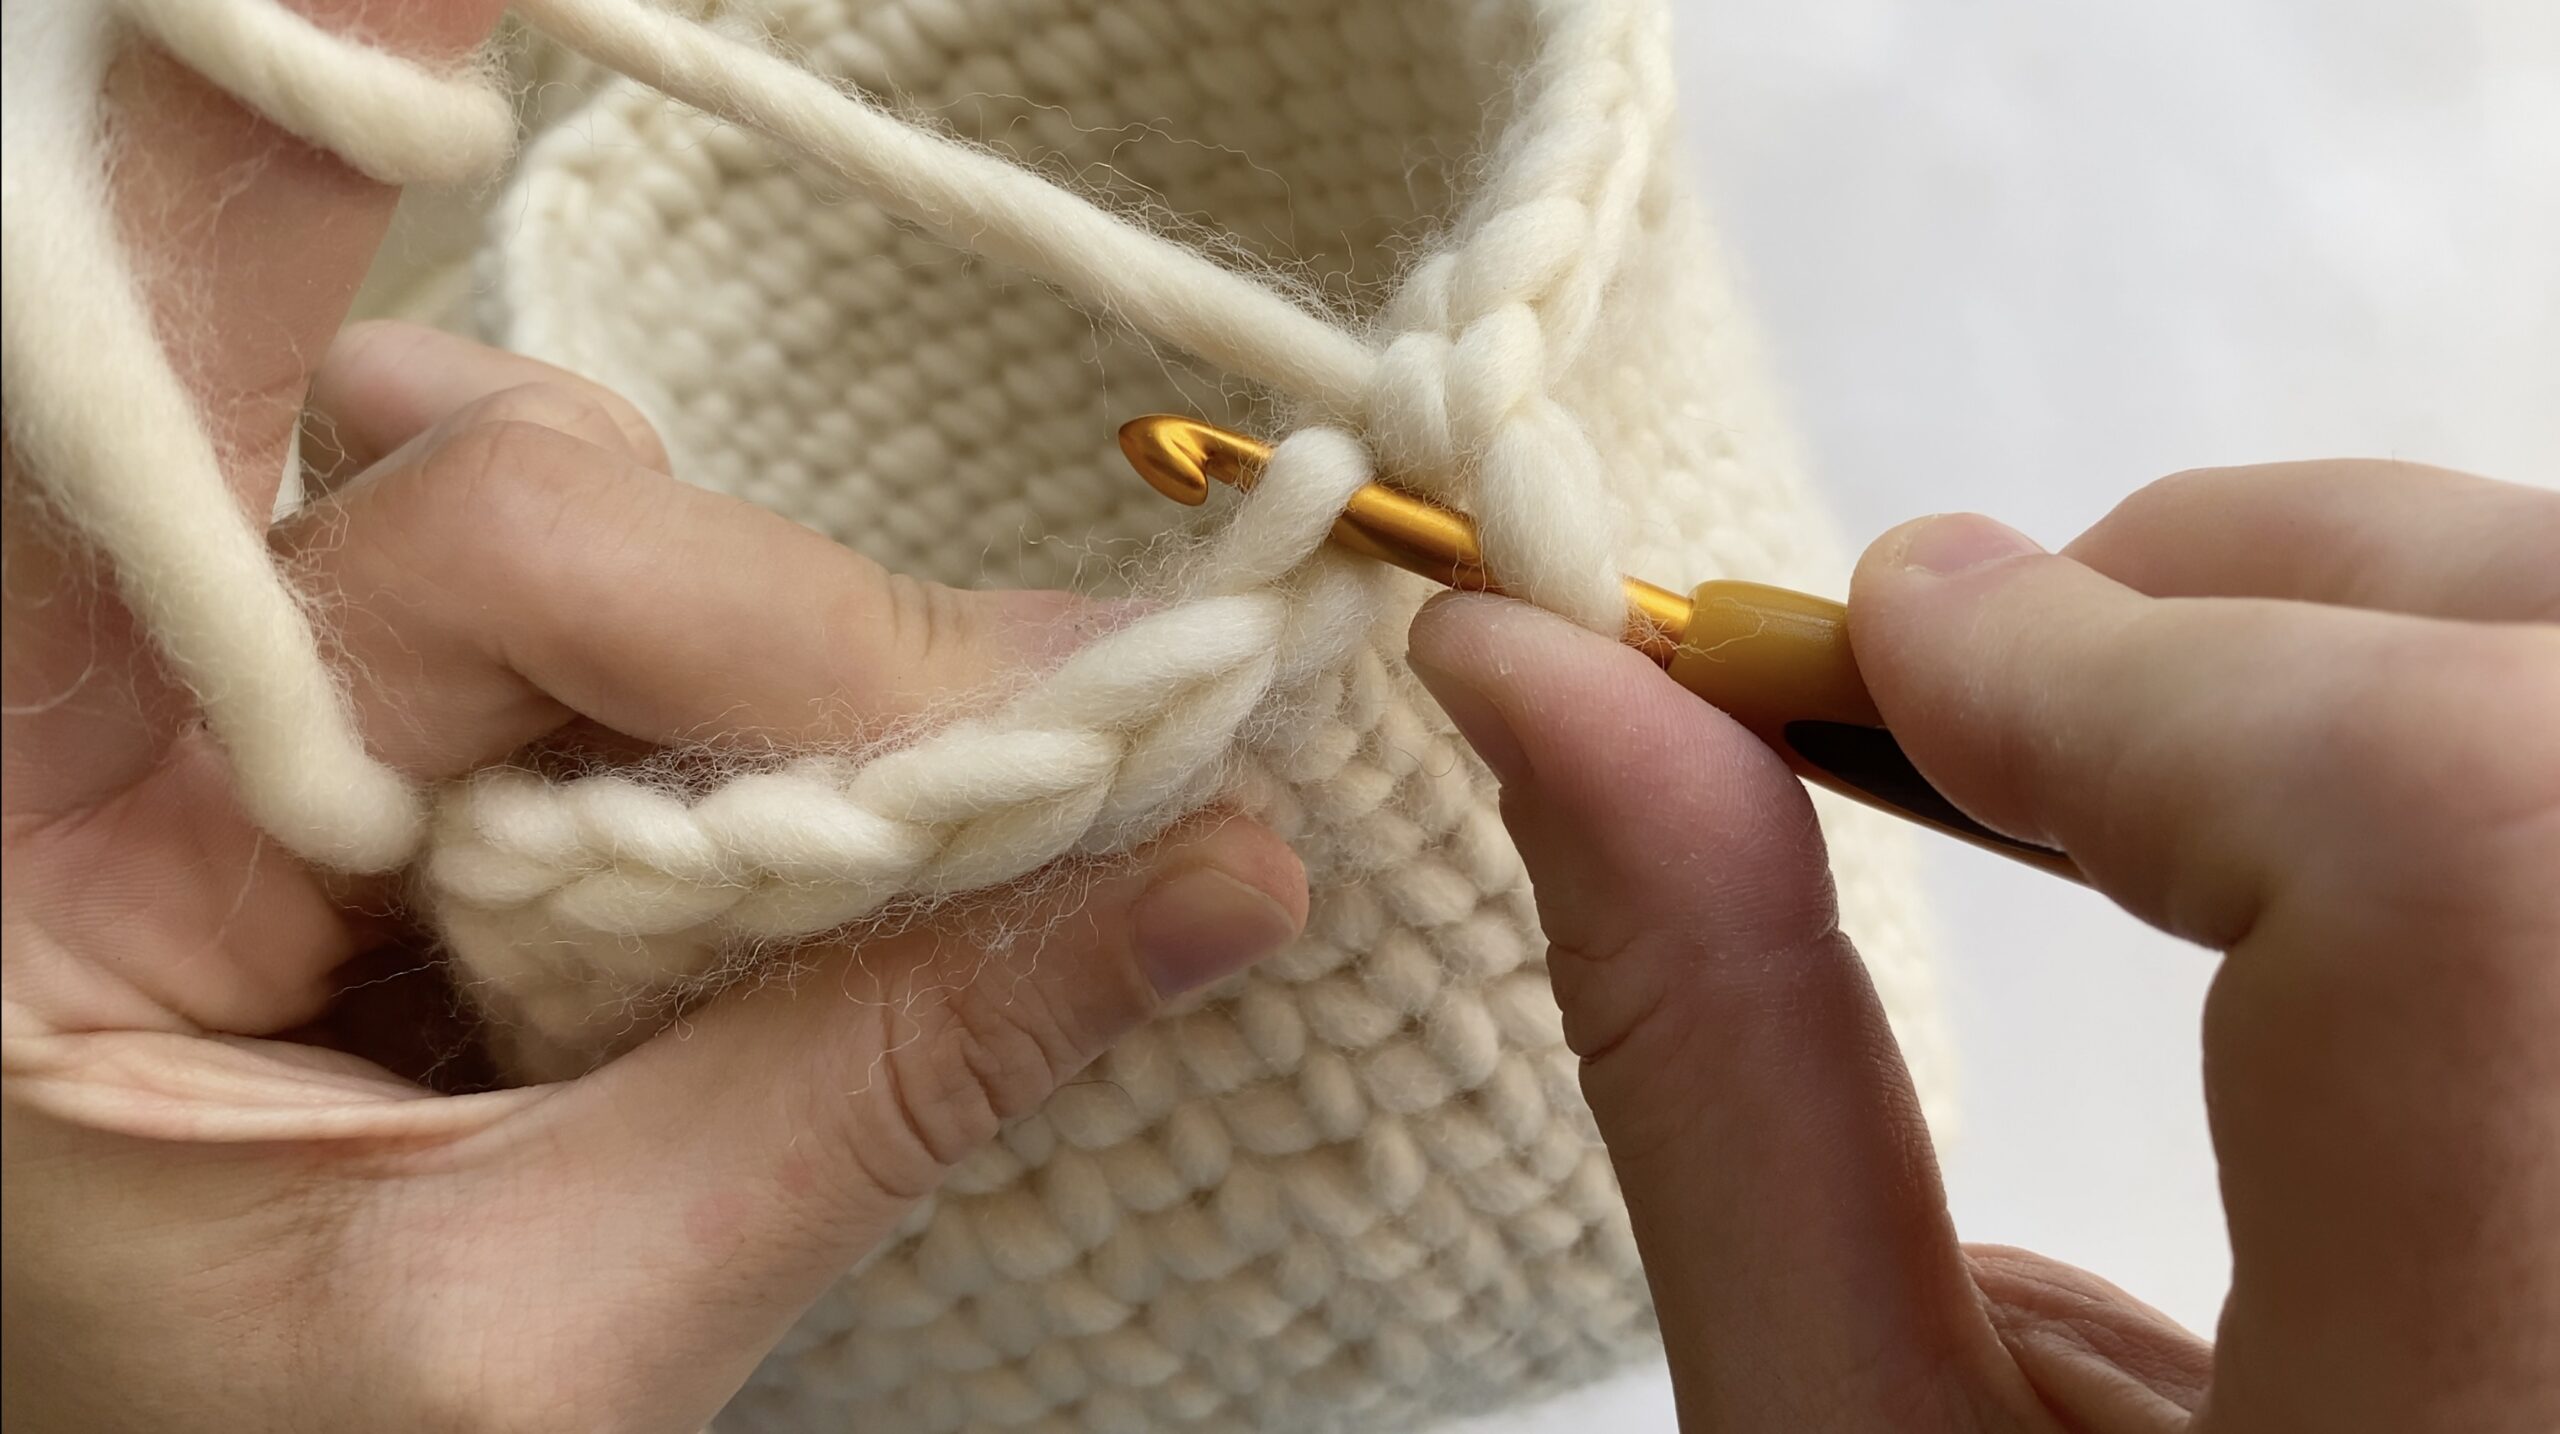
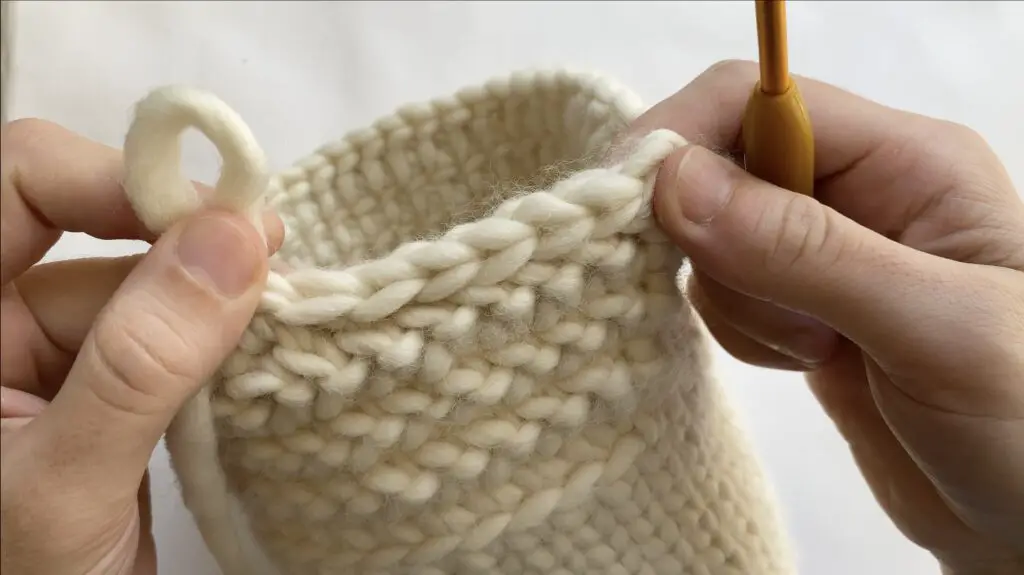
Waistcoat Stitch: It’s similar to sc. The difference is with this stitch is to insert your hook in the middle of the post, in the middle of “v” shape. Then, fimish the stitch same as sc (pull up the loop, yo, pull through both loops on the hook.
Round 11: 1 waistcoat stitch to each st around. 40 waistcoat stitch.
Do not sl st at the end, continue crocheting with waistcoat stitch to each st around. Place sm for the beginning st.
Rounds 11-25: 1 waistcoat stitch to each st around. 40 waistcoat st.
Round 26: Working on the blo. 1 scblo to each st around. 40 sts. Sl st to close the round and ch 2.
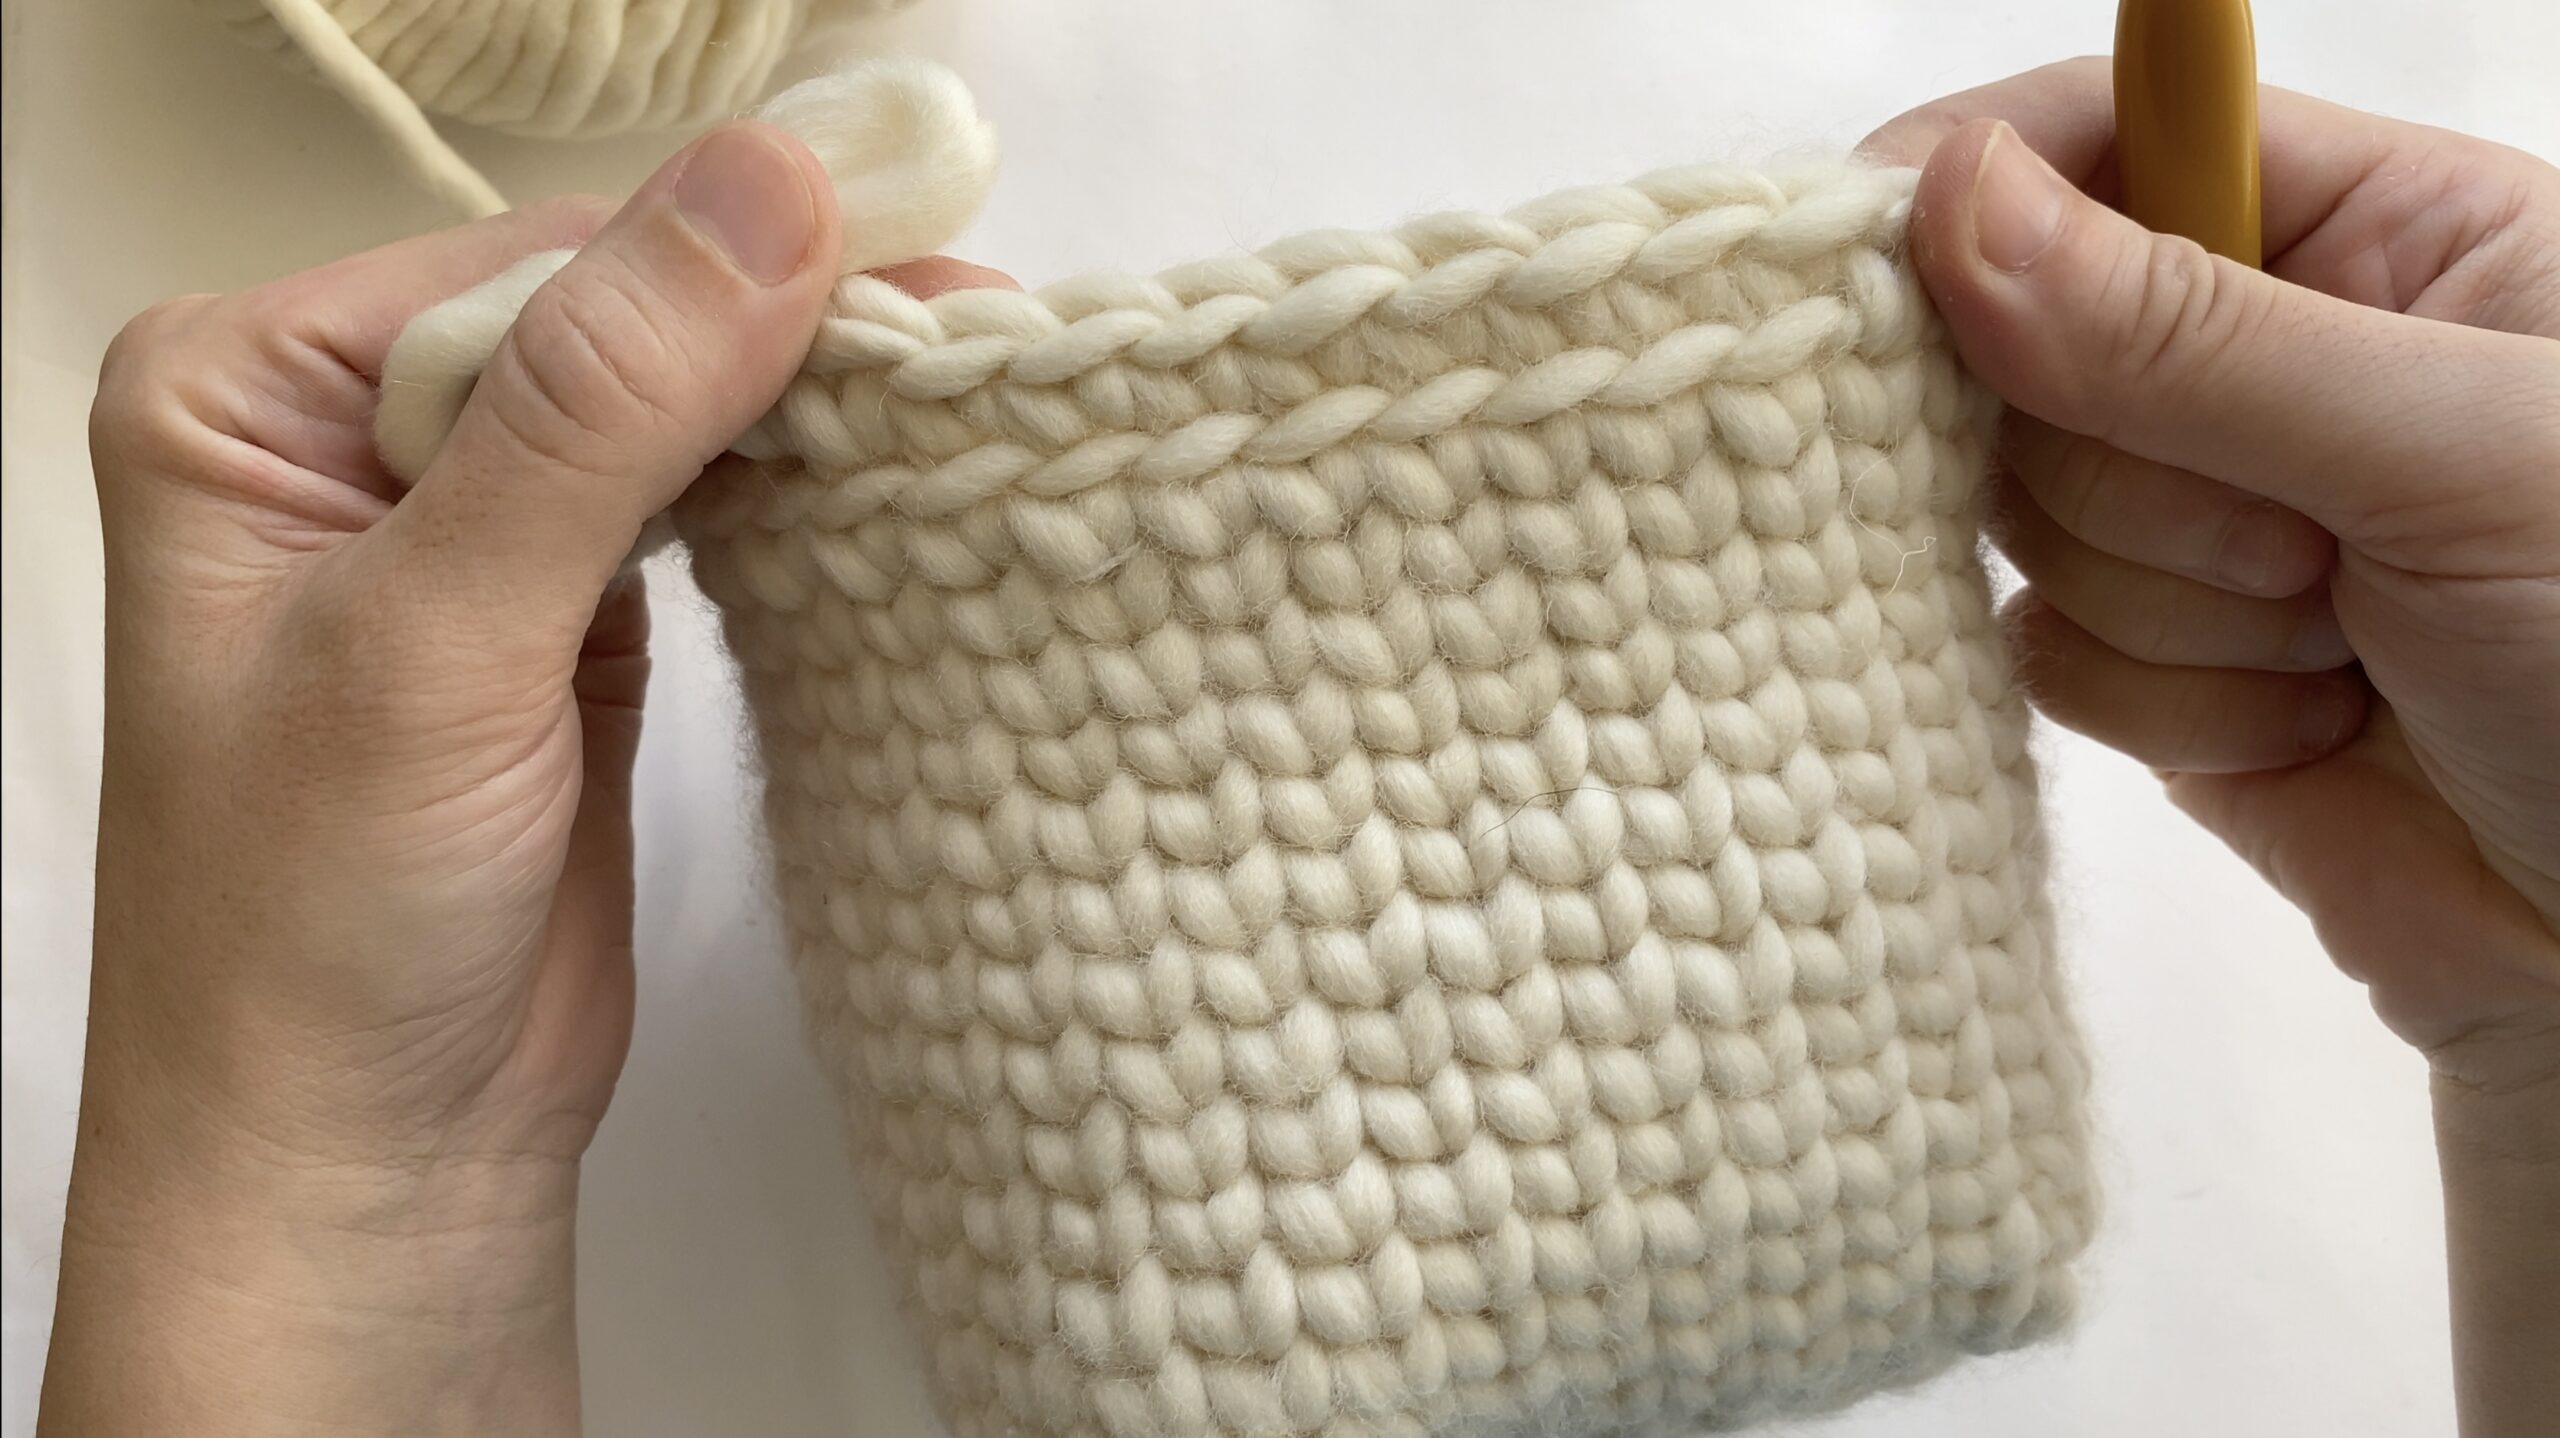
Round 27: 1 hhdc to each st around. 40 hhdc. Sl st to close the round and ch 2.
Rounds 27-29: 1 hhdc to each st around. 40 hhdc. Sl st to close the round and ch 1.

Round 30: 1 sl st to each st around. 40 sl st.
At the end, slip stitch, chain 1 and fasten off. Weave the ends.
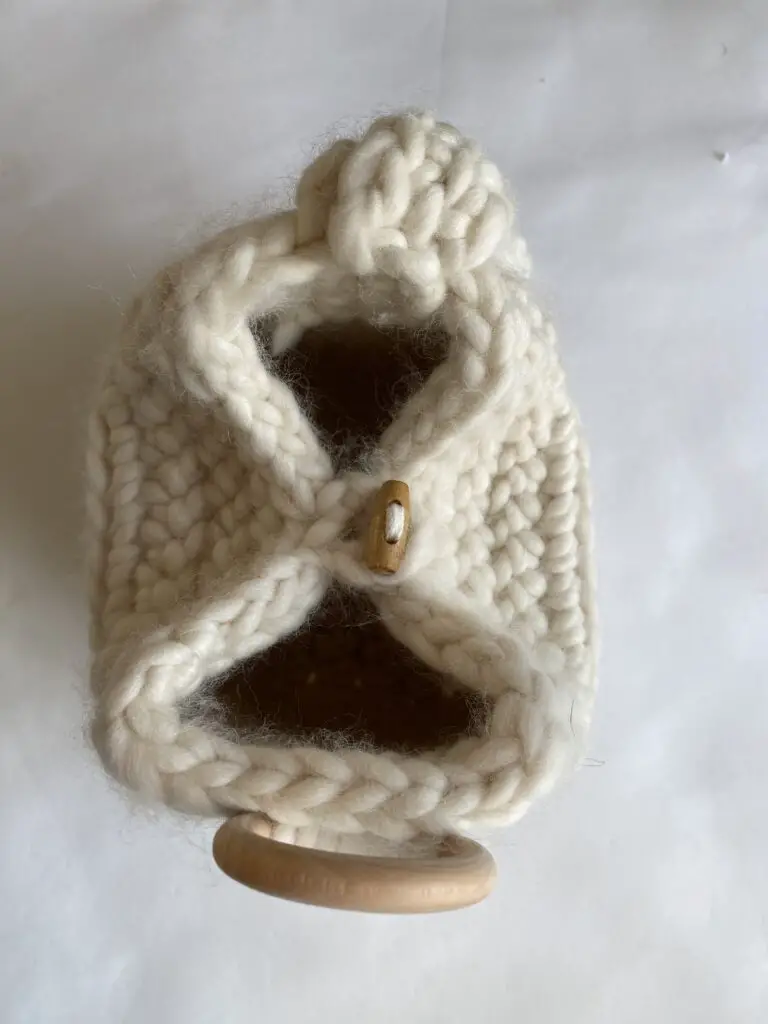
Find the middle and mark it with a stitch marker. Using thinner yarn ( I used dk weight yarn piece) sew the small wooden button to the middle.


Find two sts in the middle on the other side of the bag and mark it with a sm. Attach the yarn and ch 3.

Make a sc to the next stitch on the left, ch 1 and fasten off. Fasten off.


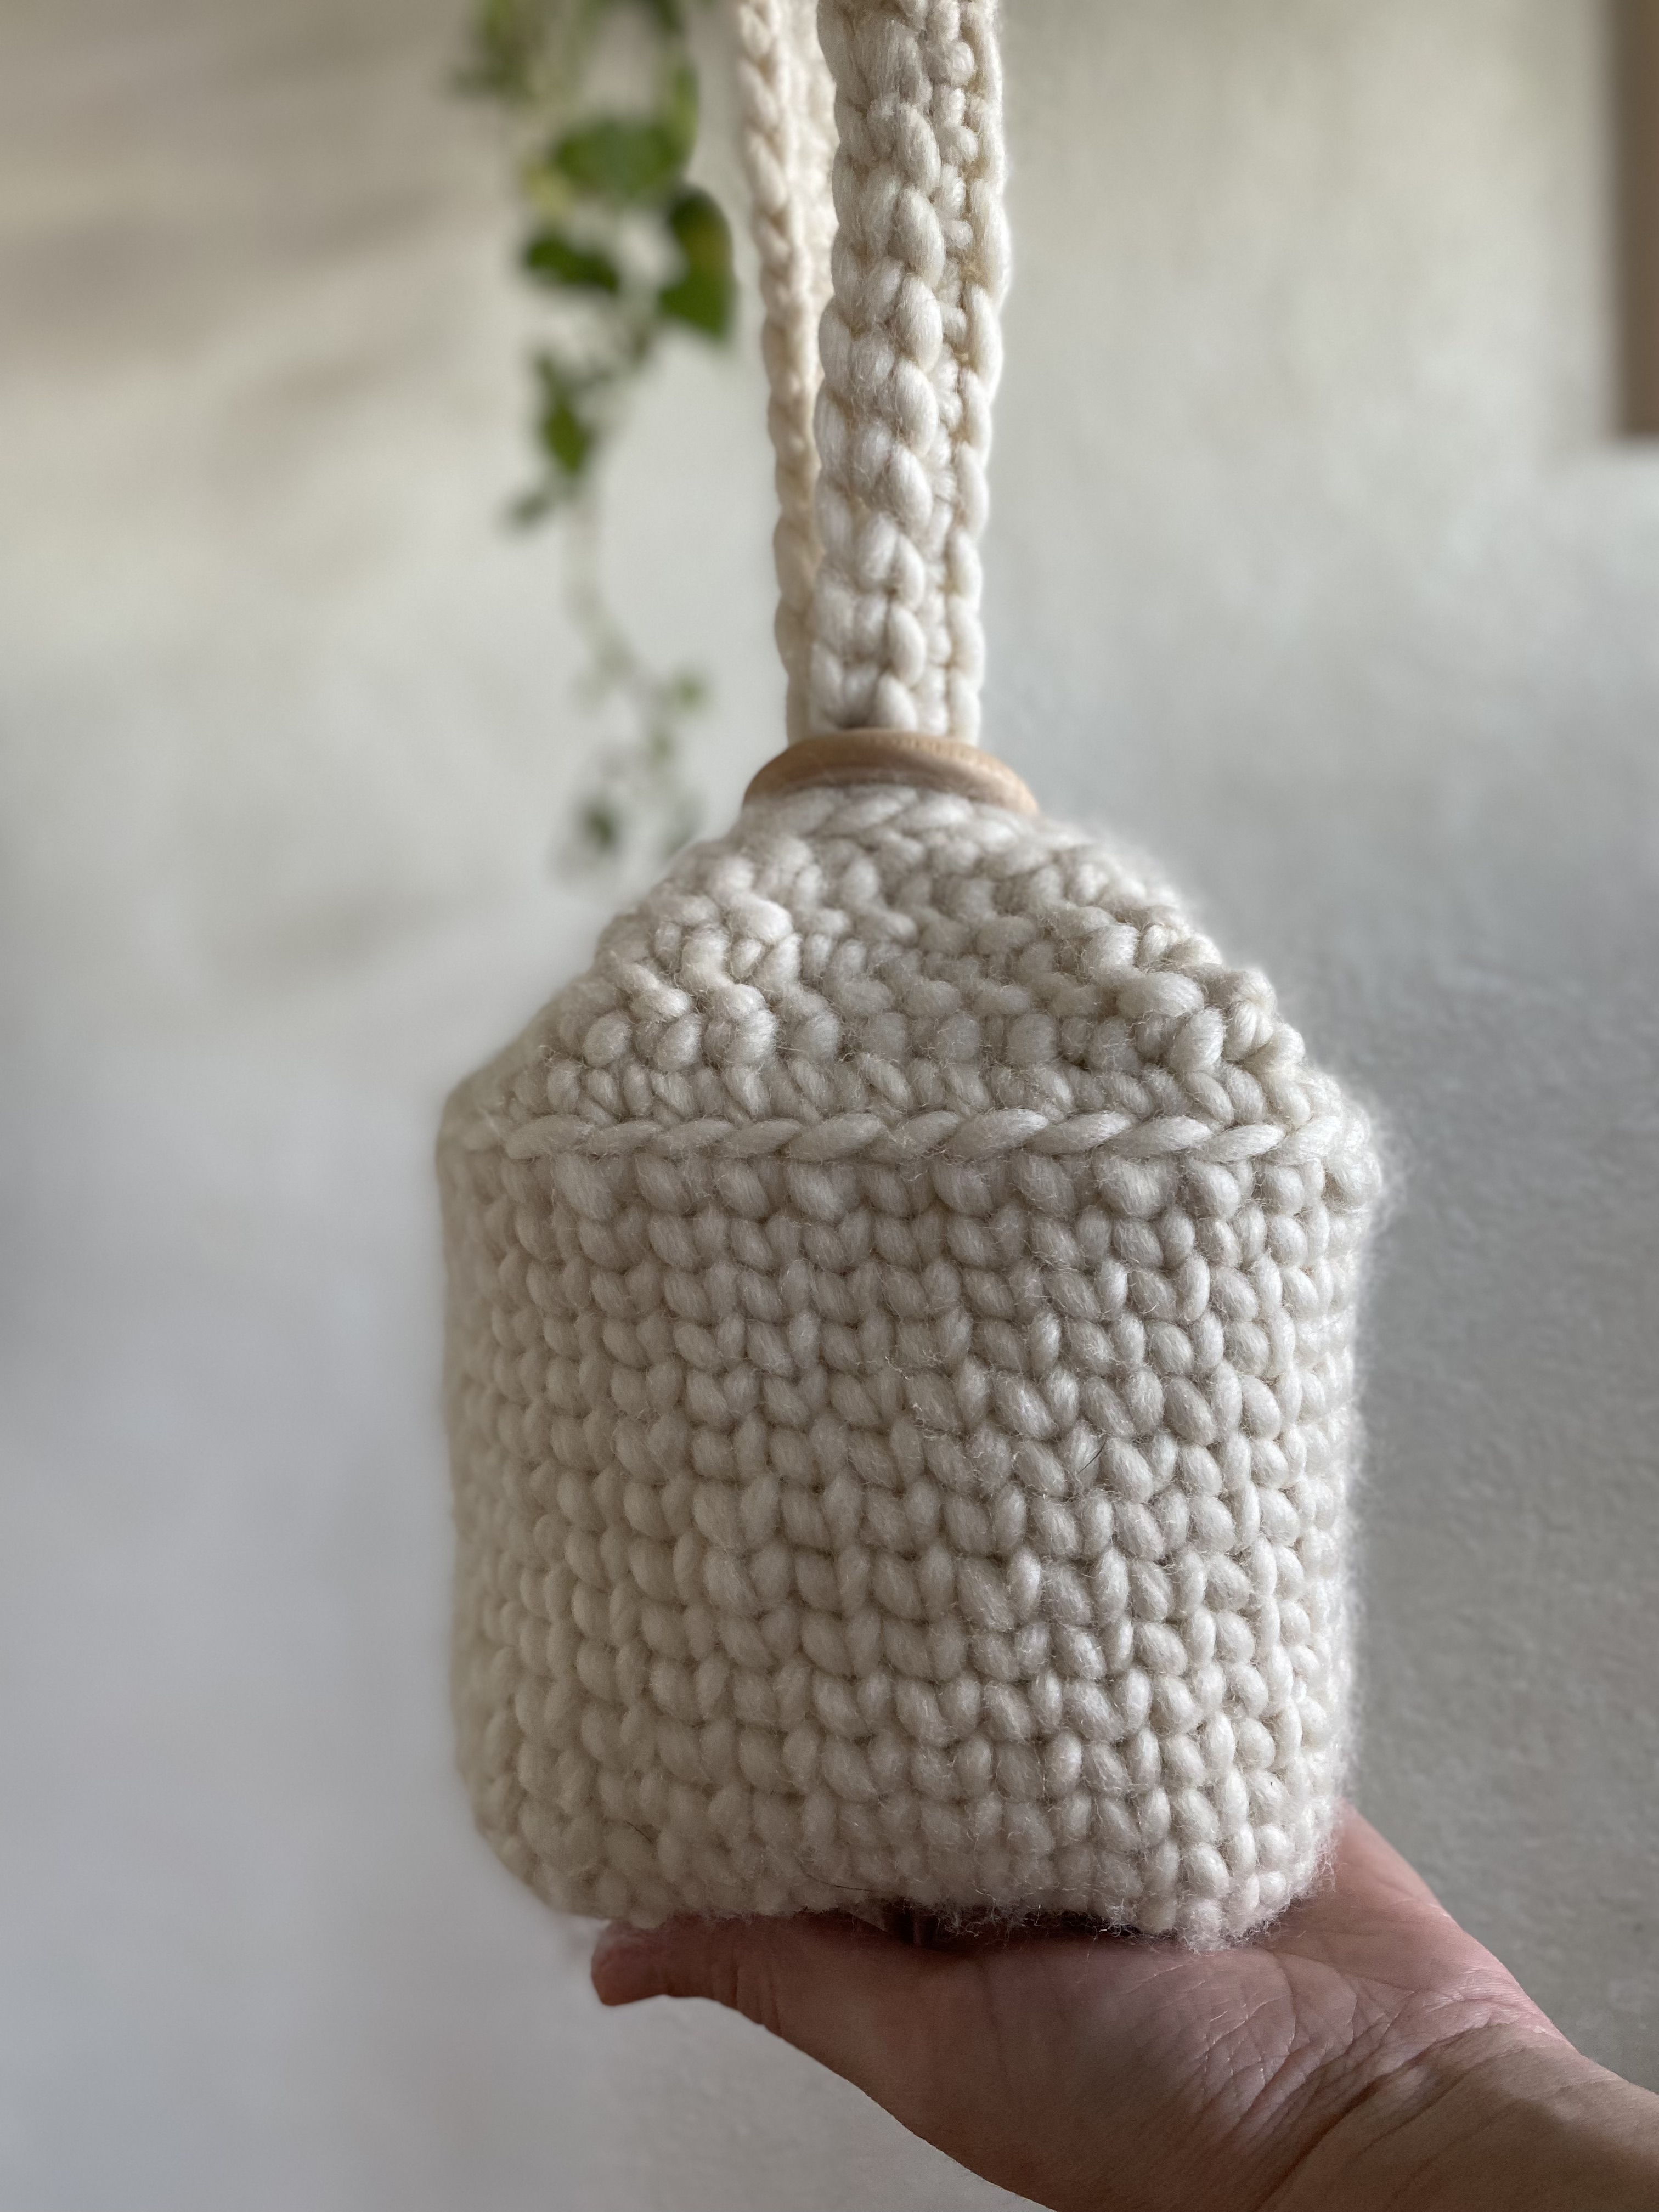
Attaching the wooden ring to the side. Sew the wooden ring, leaving top half of the ring open.


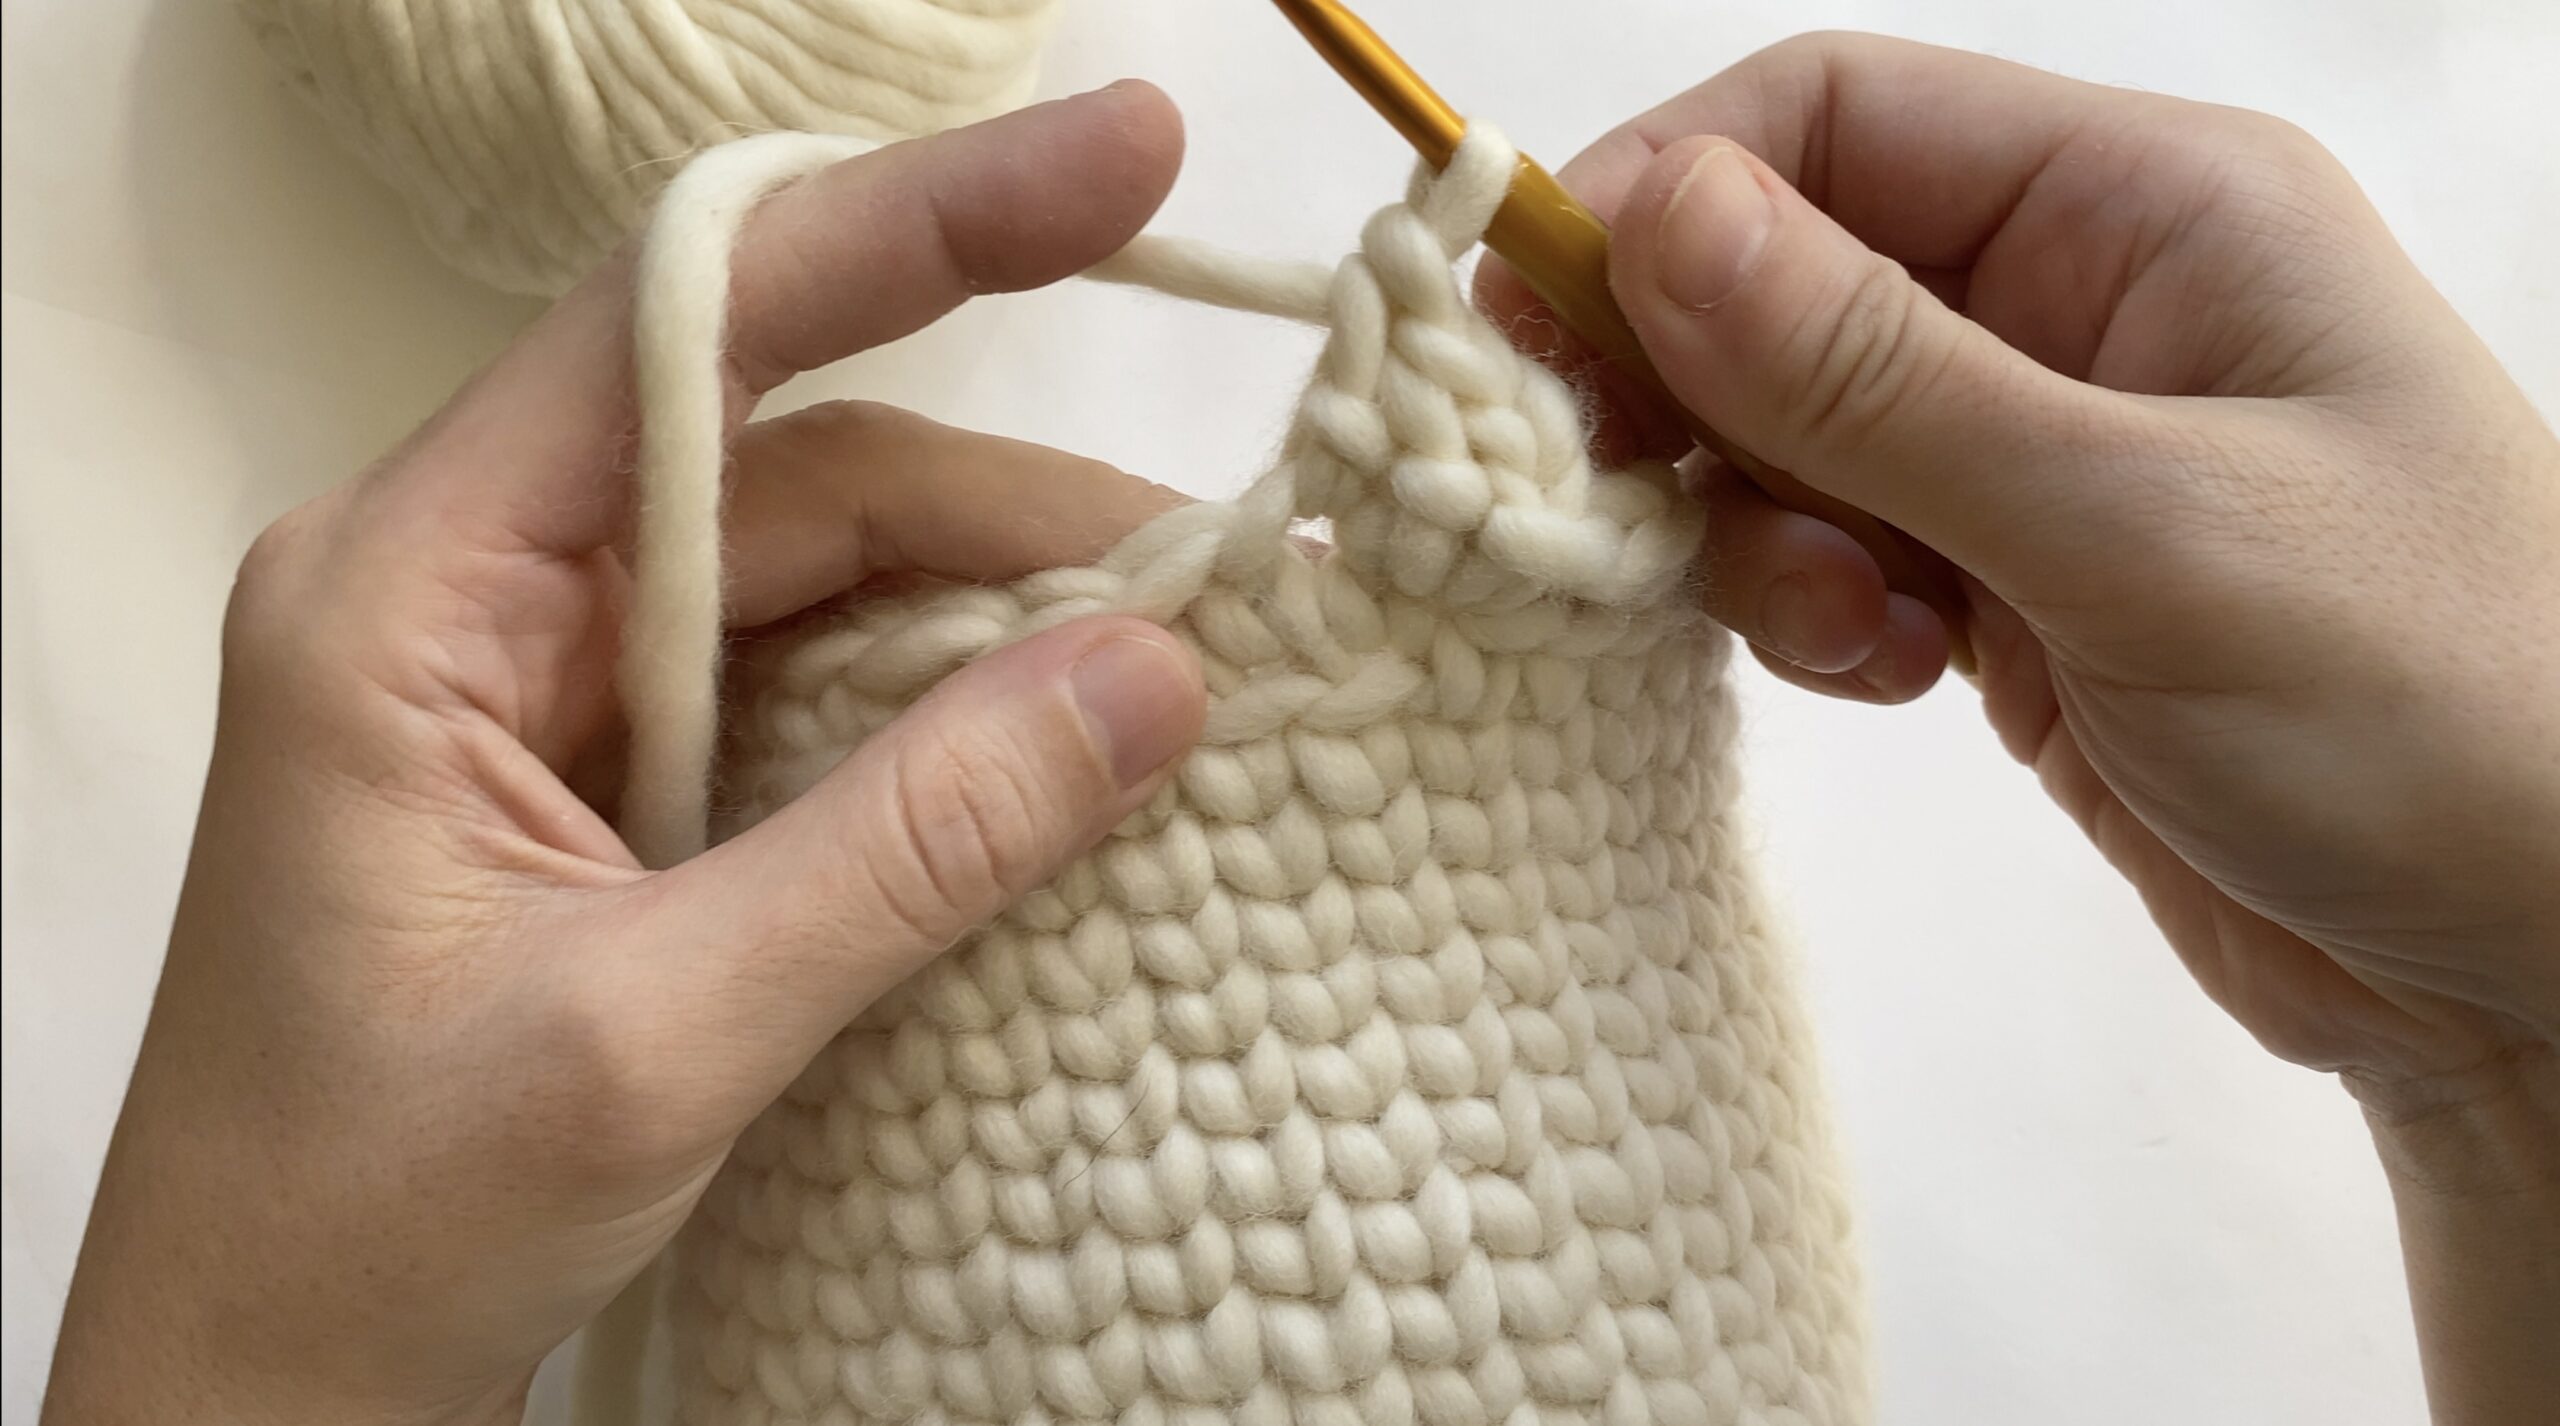
Making the handle, find the middle, place a sm.

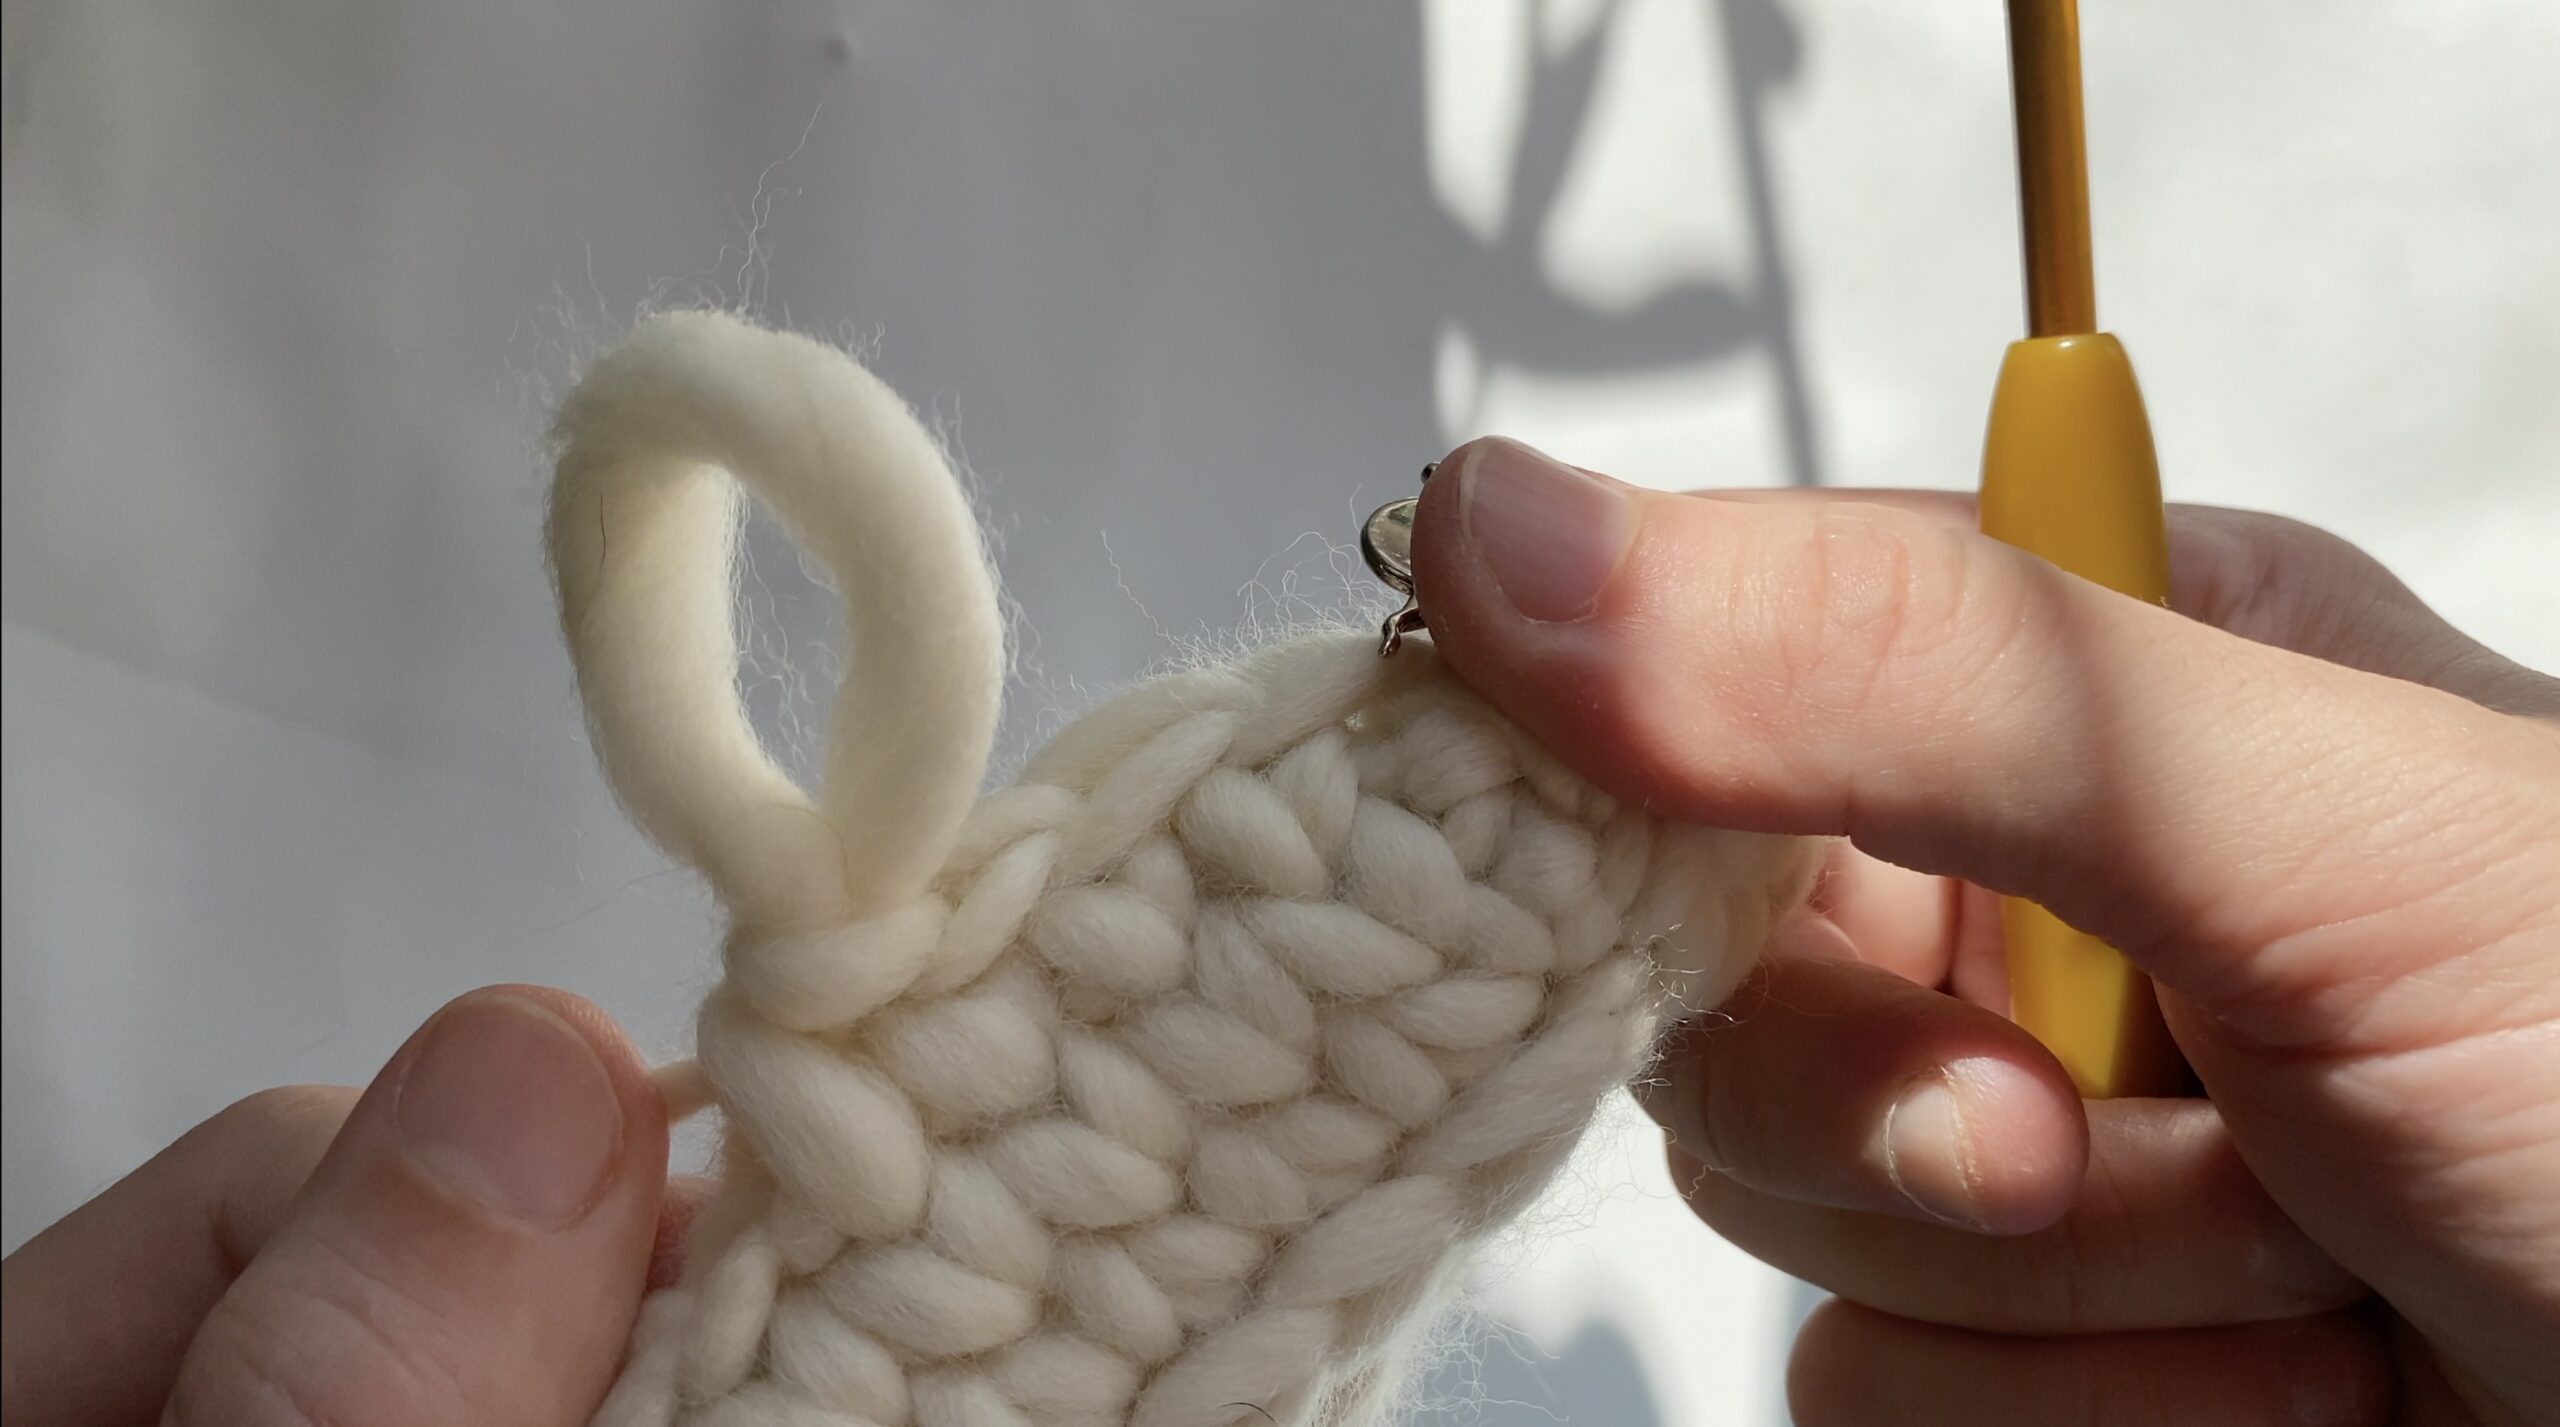
Attach the yarn to the front loop of the stitch on the right of the sm and ch 1.

Remove the sm.
Row 1: Pick up a loop from the front loop of next 2 sts on the left. Follow by return pass: Yo and pull through first loop, yarn over and pull through 2 loops (2 times). One loop on hook.

Row 2: Pick up Tss from next stitch and pick up one stitch at the end, 3 loops on hook. Follow by return pass.


Repeat row 2 until the length: of the handle is 15 inches (38 cm)

Fold the handle piece in half and connect to the bottom piece. This time connect to the back loops of 3 stitches.


Fasten off and weave the ends.
Video tutorial:
Leave a Reply