Hello everyone,
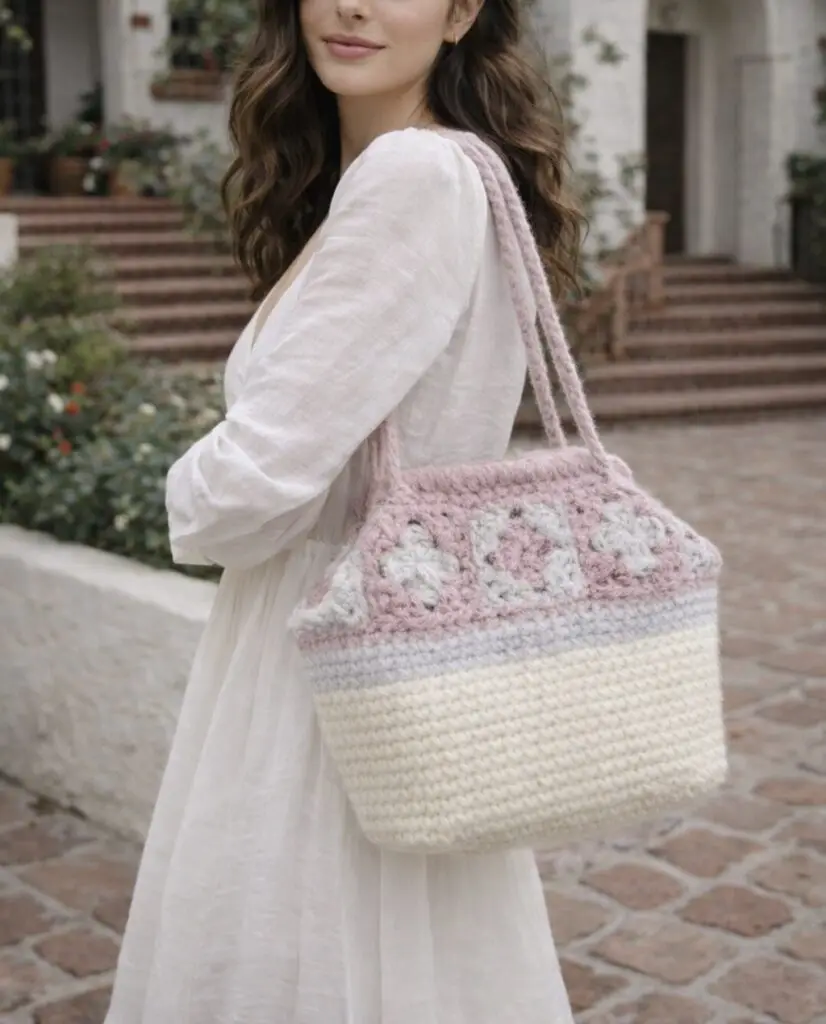
This crochet clutch/ bag is made with bulky yarn so it was a quick and easy project. Also top of the bag is decorated with granny squares. Kiss lock metal frame is used for the closure of the bag and it turned out really nice.
The bag is not small, big enough to hold a lot of things. If you know the basics of crochet, you can crochet this bag easily. Step by step written tutorial is below.
Materials:
Yarn https://amzn.to/49t5Rbc (4 skeins of yarn used for this bag- white color- 2 skeins, purple color- 1 skein, gray color- 1 skein)
Metal frame https://amzn.to/3NvEEfm
Crochet hook 5 mm- https://amzn.to/49Pv92c
Scissors and tapestry needle to weave the ends.
Notes (Forming the bag):
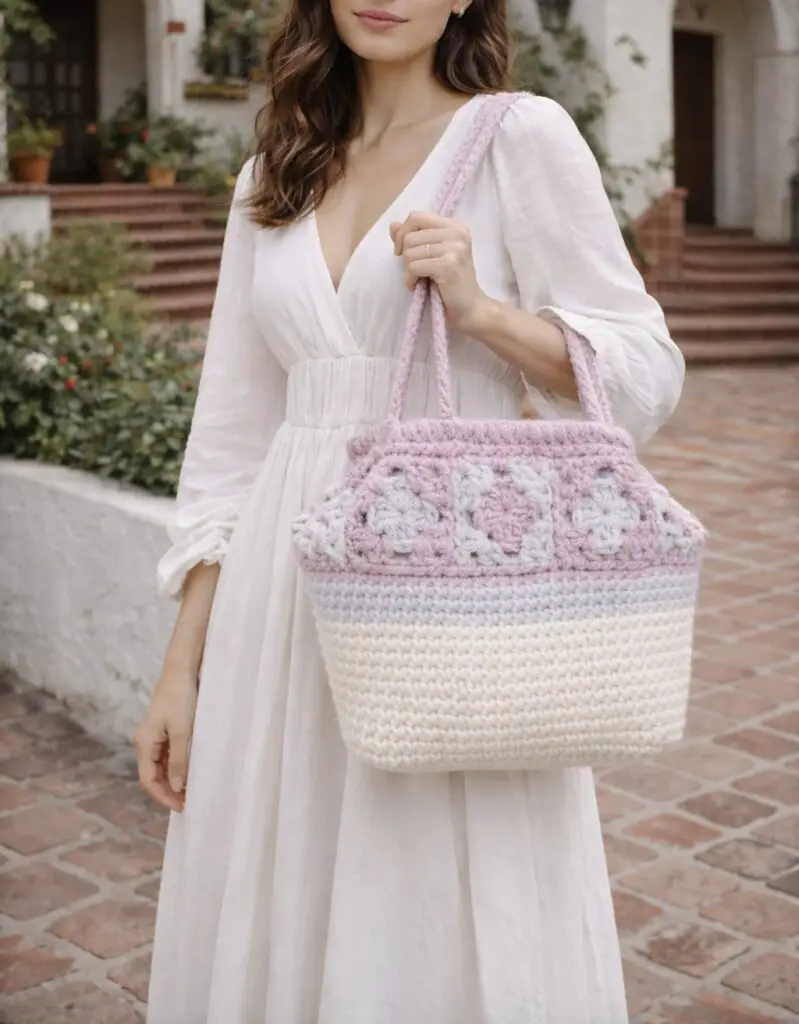
Started with crocheting the bottom of the bag, rectangle shape. Then continued in spiral. Granny squares are made and attached, joined as you go to the body of the bag. And then continue to crochet couple more rows until granny squares were attached, then lastly, straps were made.
Abbreviations:
Ch: Chain
Sc: Single crochet
Dc: Double crochet
Sk: Skip
Sl st: Slip stitch
St (s): Stitch (es)
Sm: Stitch marker
Rep.: Repeat
Yo: Yarn over
Written Tutorial:
Make a slip knot and ch 23.
Row 1: Starting from the back bump of second ch, 1 sc to each back bump. 22 sc. Ch 1 and turn your work.
Row 2: Skip the ch st, 1 sc to each st. 22 sc.
Rows 2- 16:1 sc to each st. 22 sc.
About 8.5 inches (21.5 cm)x 6.5 inches (16.5 cm)
From now on, we will be crochet in the round, on all 4 sides.
Round 1: Continue to row 16, make 1 more sc to the corner stitch. 1 sc to next 14 sts. 2 sc to the corner stitch. 1 sc to next 20 sts. 2 sc to the corner stitch. 1 sc to next 14 sts. 1 sc to the last corner stitch. You should have total of 72 sts.
Round 2: 1 sc to each st around. 72 sc. (Place a sm to the beginning stitch)
Rounds 2-12: 1 sc to each st around. 72 sc. Fasten off at the end of round 12.
Attaching color b, this is optional. Will be attaching to the side of the bag, the reason is that because it will be less noticeable.
Attach the yarn and continue with 1 sc to each st around for another 3 rounds.
GRANNY SQUARES:
Round 1 of granny square: Make mc and ch 2, 2 dc into the circle. (Ch 2, 3 dc into the circle) x3 more times. Ch 2, sl st to close the round. and sl st to next 2 sts. Sl st into the space with color b and ch 3.
Round 2: 1 dc into the same space. * Ch 1, 2 dc, ch 2, 2 dc to the next space. Repeat from * in the round.
Ch 1, 2 dc to the last space, ch 2 sl st to close the round. Fasten off and weave the ends.
Make total of 10 pieces of granny squares. Connect them side by side. Connect as you go. When you connect, connect 7 stitches per granny square.
After done connecting the granny squares, attach the yarn to any corner of the granny square and ch 1.
Working in the round, make 1 sc to each st and 1 sc to each space in the round. 70 sc. Without sl st at the end, continue with 1 sc to each st around 1 more round and fasten off at the end.
Find the 2 middle parts and place a waste yarn to mark 2 sides. This is how you are supposed to connect the metal frame to the bag. Turn the bag inside facing to you and attach the yarn.
Start connecting the frame to the bag. (when you first attach the frame, make sure the yarn you are holding stays behind the frame)
Continue attaching frame to the bag, connect stitch by stitch. When you come to the middle stitch, sl st to next two sts. Place the yarn behind the frame again and continue attaching the other side of the frame to the bag.
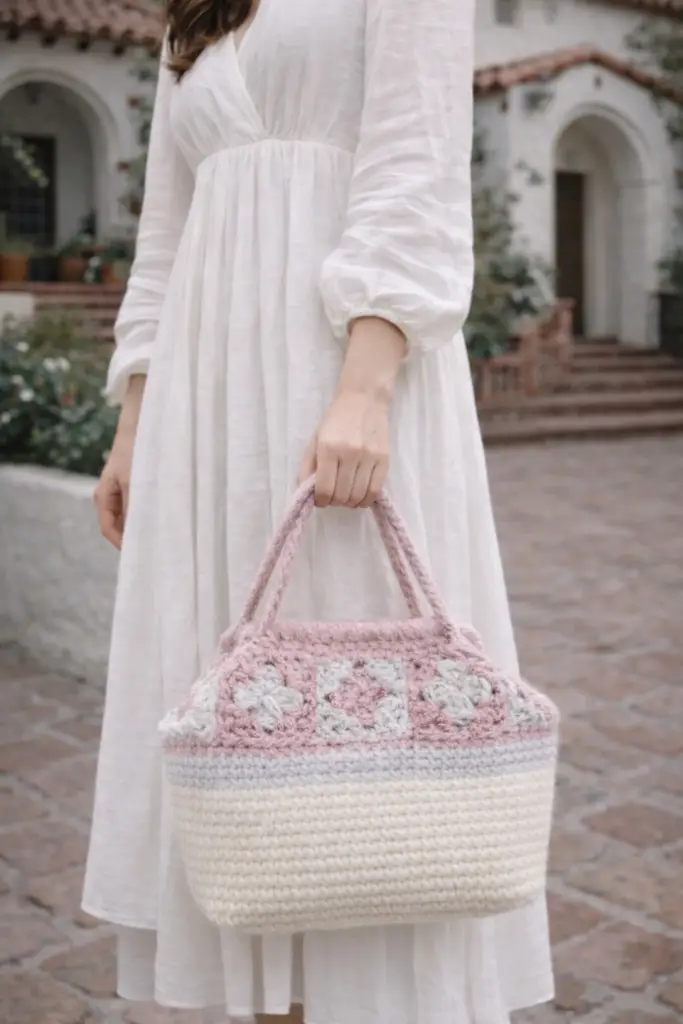
Making the straps: Attach the yarn to the stitch at the corner right under the frame and make ch stitches for the desired length and attach to the opposite corner and fasten off. Do exact same handle to the other side.
YOUTUBE TUTORIAL:
Leave a Reply