Hi everyone,
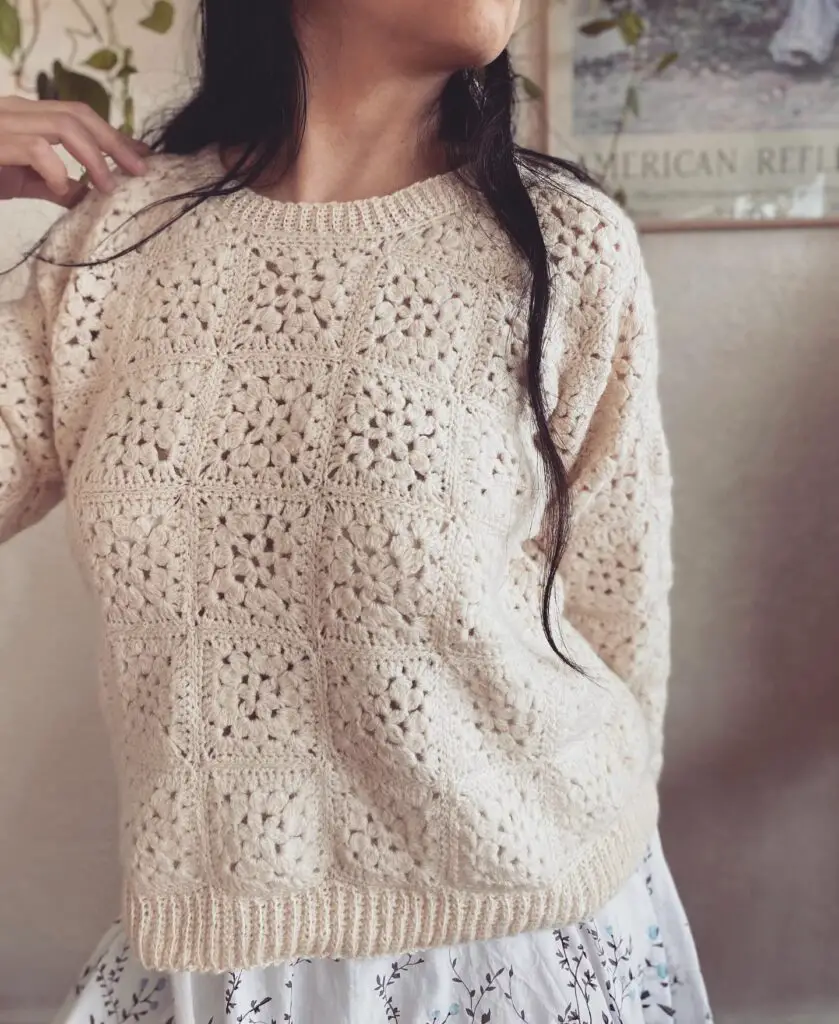
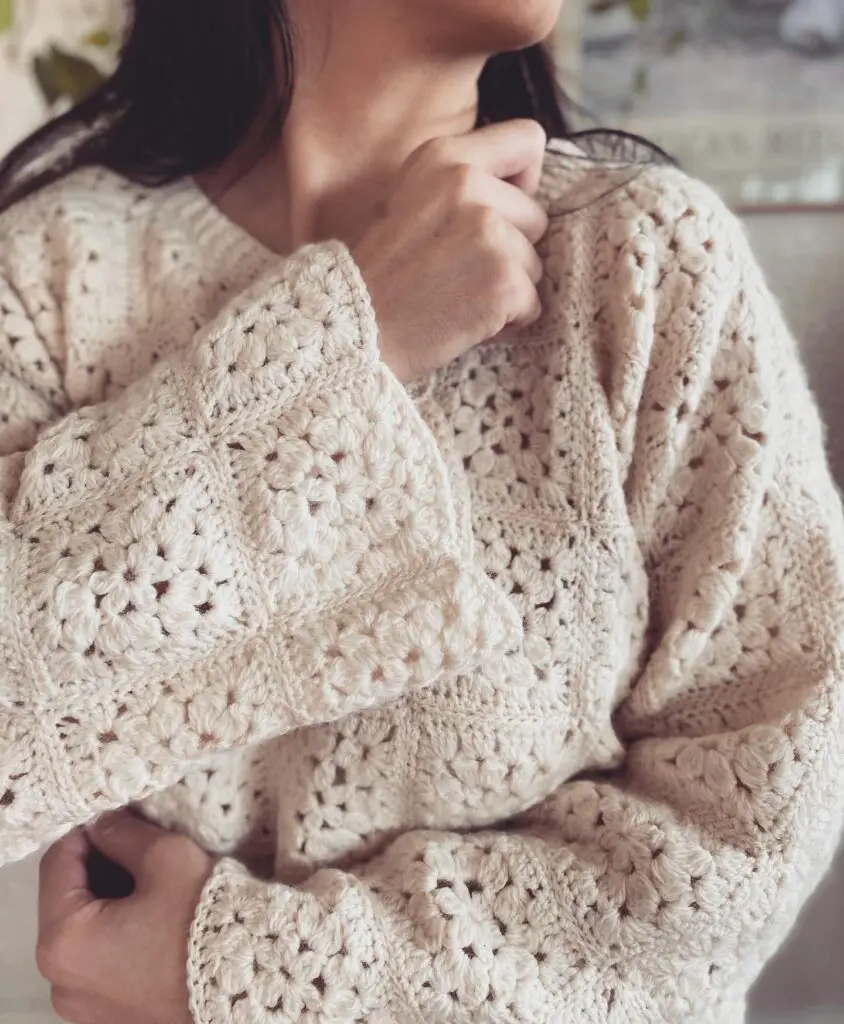
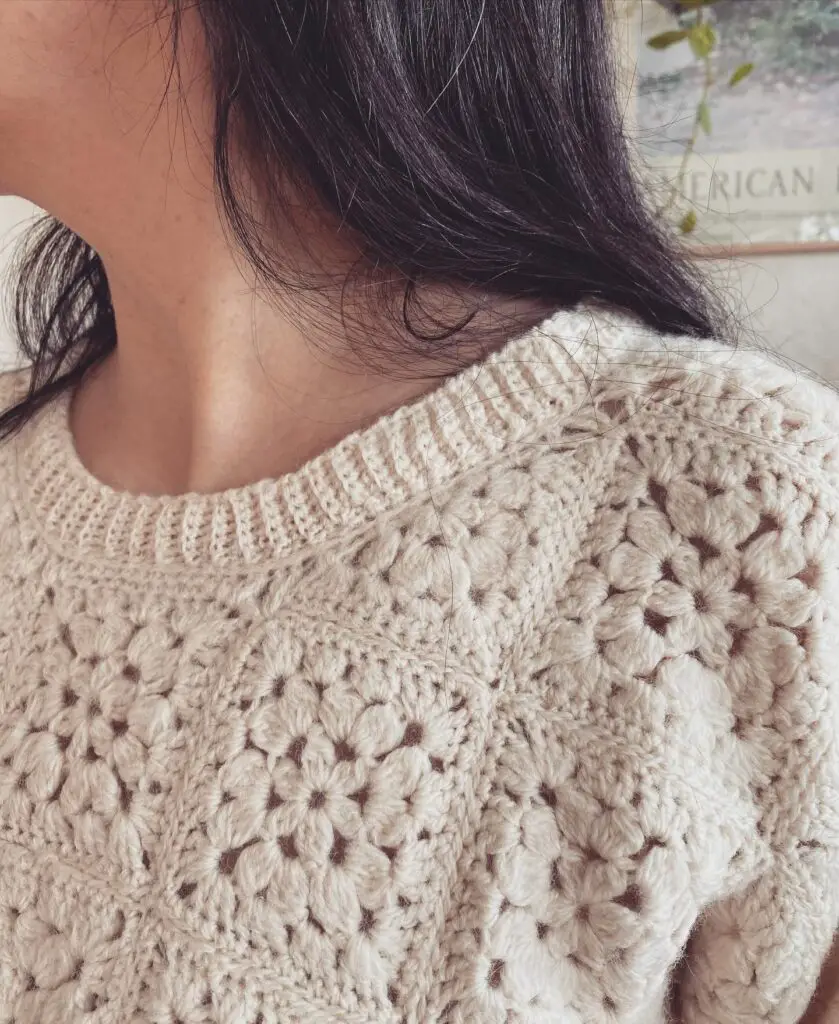
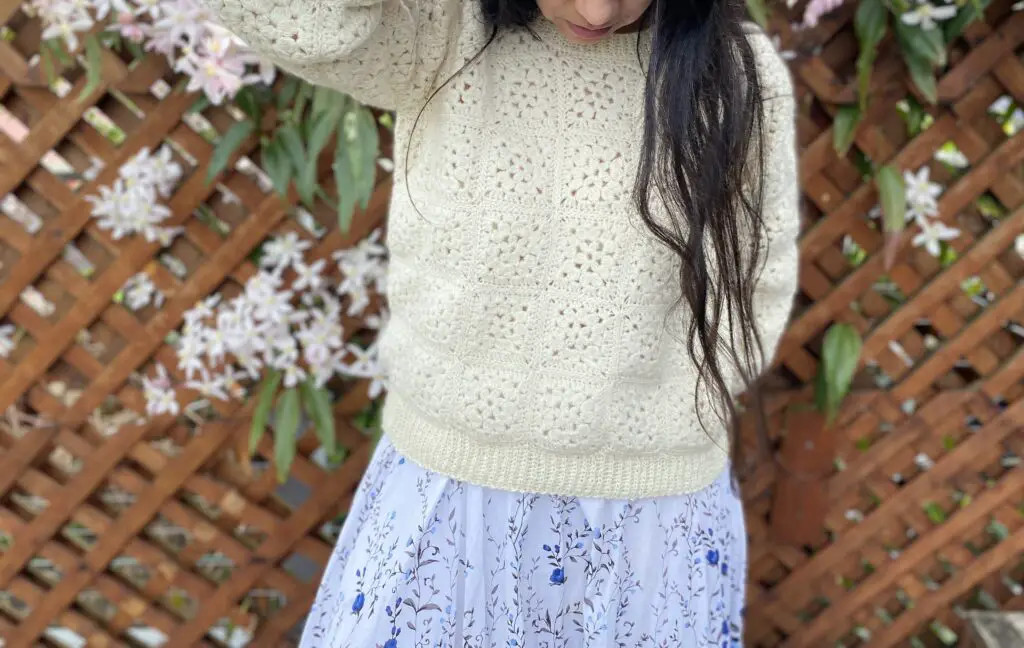
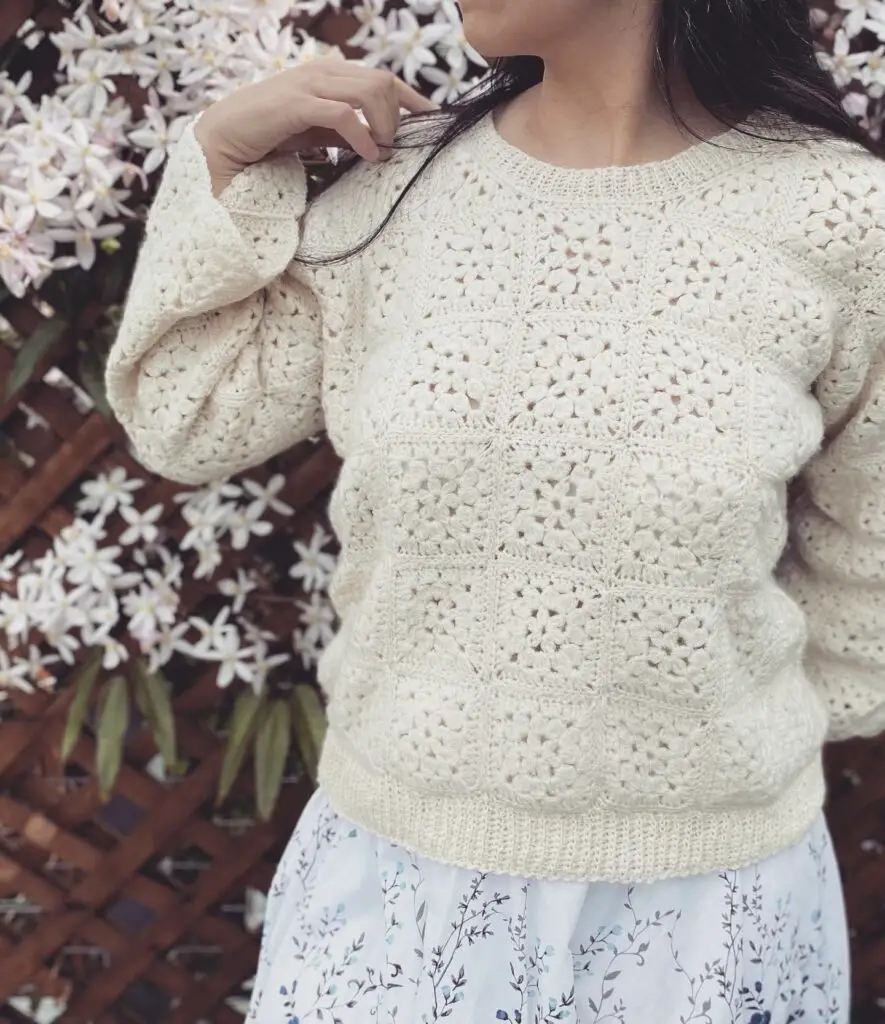
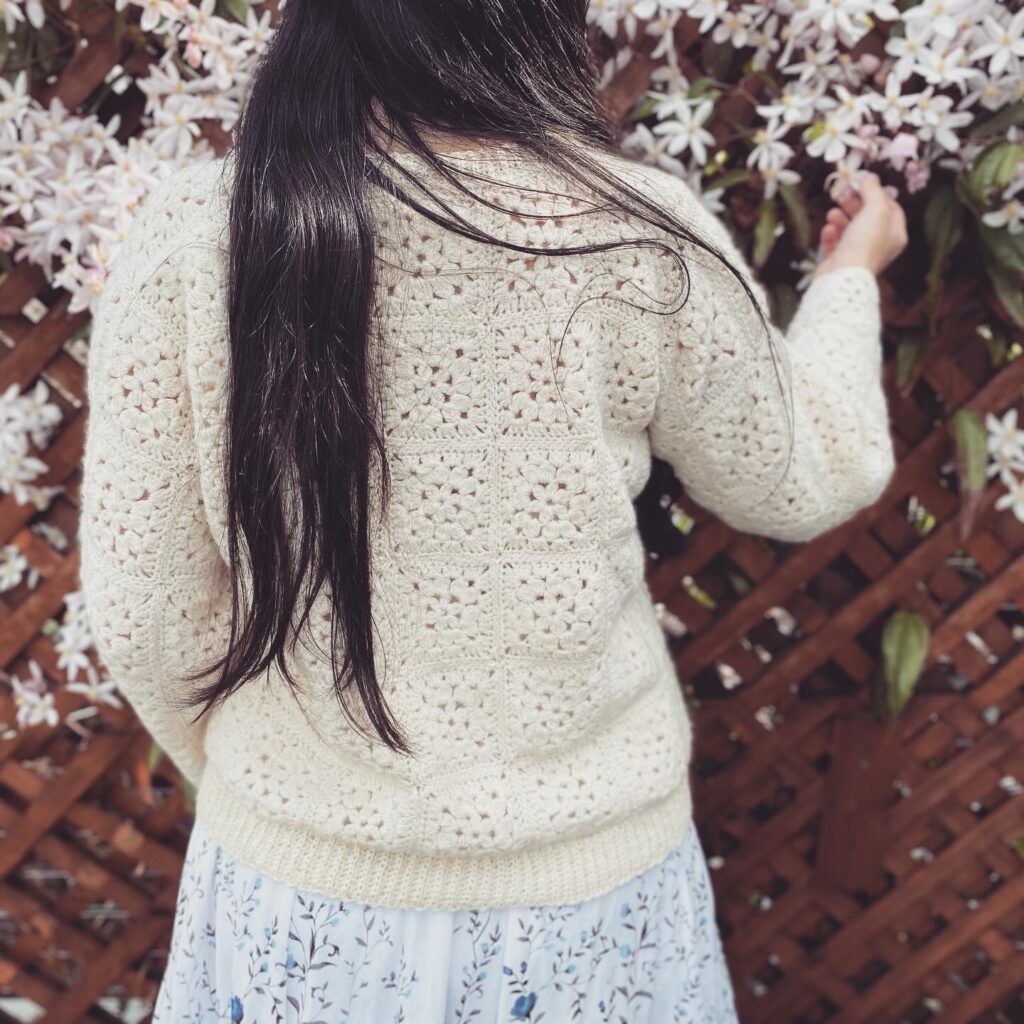
I have created this beautiful top by crocheting granny squares. Making tops, sweaters, cardigans with granny squares is always in fashion, and you can create different square motifs using the basic idea of granny squares.
As you know, granny squares never get old. (This is why they’re called granny squares.) They easily connect together to make bags, blankets, sweaters, summer tops, dresses, etc…
I made a basic granny flower square and used only one color in this project. The yarn I used is fingering weight 100 wool yarn and the sweater turned out very soft and lightweight. And because of the yarn being wool, you can wear this sweater in 4 seasons and it will keep you comfortably warm. I have attached the written tutorial below and also the video tutorial.
Hope you like this! Happy Crochet!

Materials:
The yarn https://www.crochet.com/yarn/palette/c/5420132?sscid=41k9_xqjg&utm_campaign=SASGEN&utm_content=3680099&utm_medium=third-party&utm_source=affiliate (I used total of 10 skeins of yarn for Small size). I crocheted 16 granny squares from one skein.
Crochet hooks 2.5 mm, 3.5 mm: I used the 3.5 mm only when doing sl sts in the round, to the neckline. I used 2.5 mm for rest of the sweater.
Tapestry needle to weave the ends and scissors.
Abbreviations:
Ch: Chain
Sc: Single crochet
Dc: Double crochet
Dc2tog: Double crochet two together
Sl st: Slip stitch
St (s):Stitch (es)
Dc3tog: Double crochet three together
Dc4tog: Double crochet four together
Hdc: Half double crochet
Scblo: Single crochet back loops only
Measurement : 1 granny square 3″ x 3″
Written instructions:
Making the full granny flower square:
Ch 4, single crochet to the back of 4th ch from hook to create a space.
Round 1: (Ch 3, dc2tog into the space ) x6 times at the end. Chain 3 sl st to close the round.
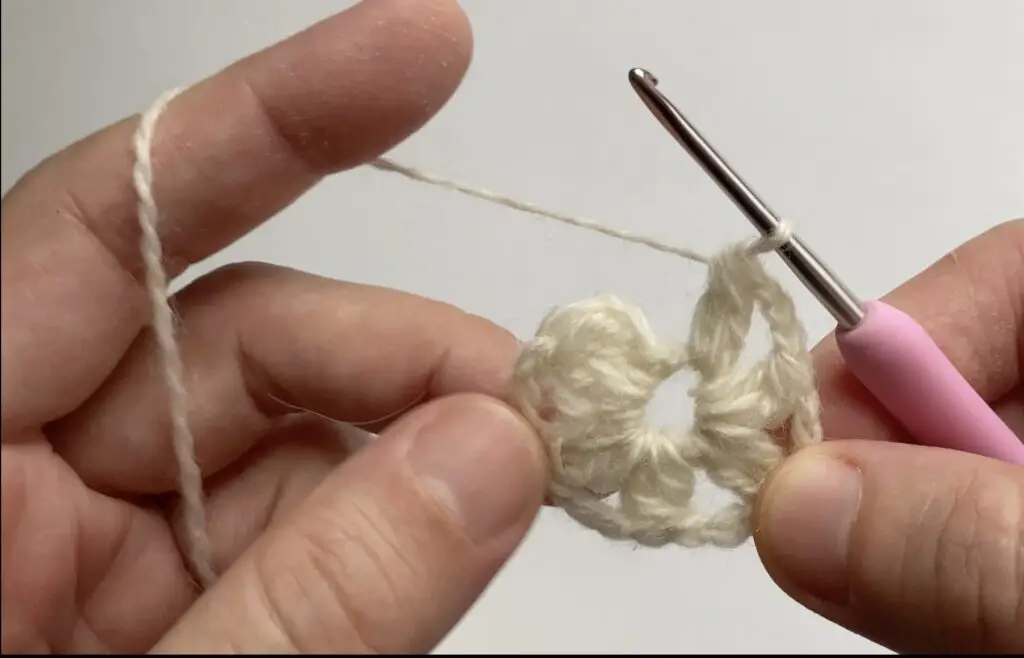
Sl st to the next space and Ch 3. dc3 tog to the same space and ch 3, dc4tog to the same space.
Round 2: (Ch 3, Dc4tog) x2 into the next space for total of 6 times. At the end, ch 3 sl st to close the round.
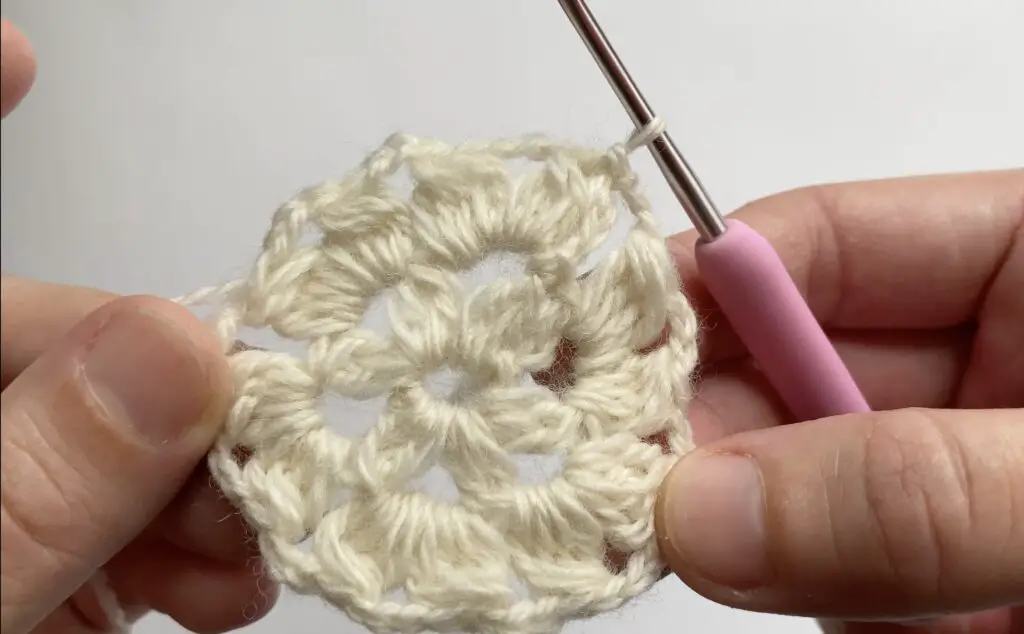
Round 3: Sl st to next space and ch 3, 3 dc into the same space.
*3 dc in to the next 2 spaces, (3 dc, ch 2, 3 dc) in to the next space. Repeat from * in the round.
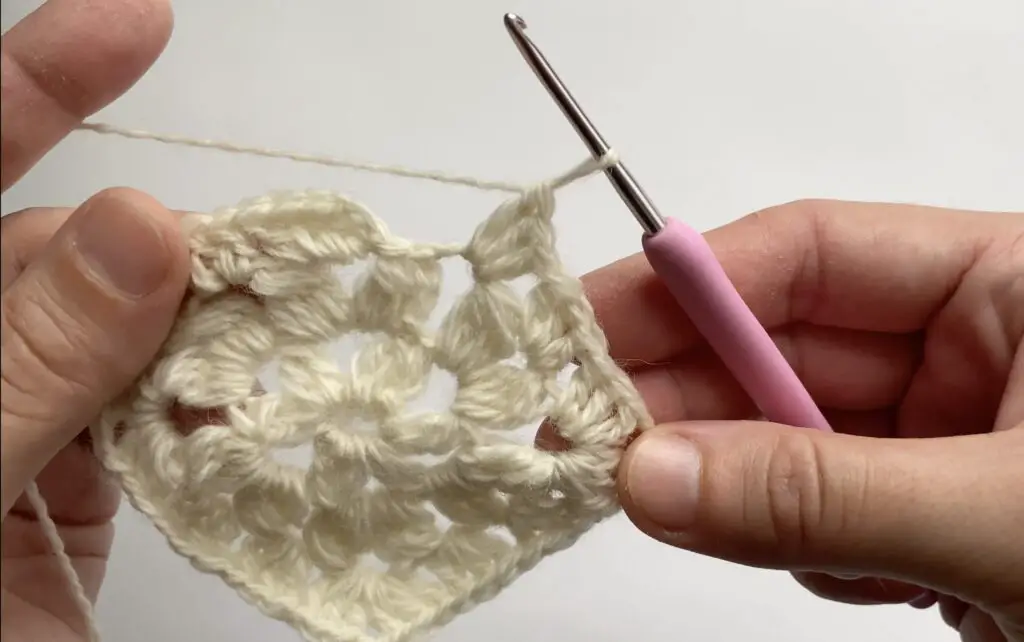
3 dc into the beginning space, ch 3 sl st to close the round.
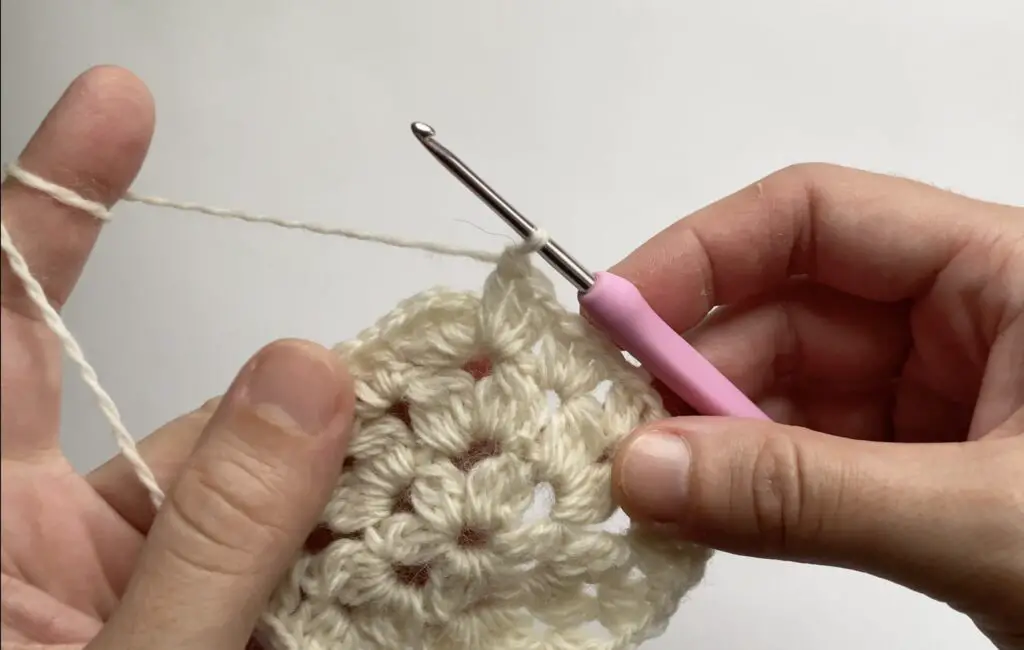
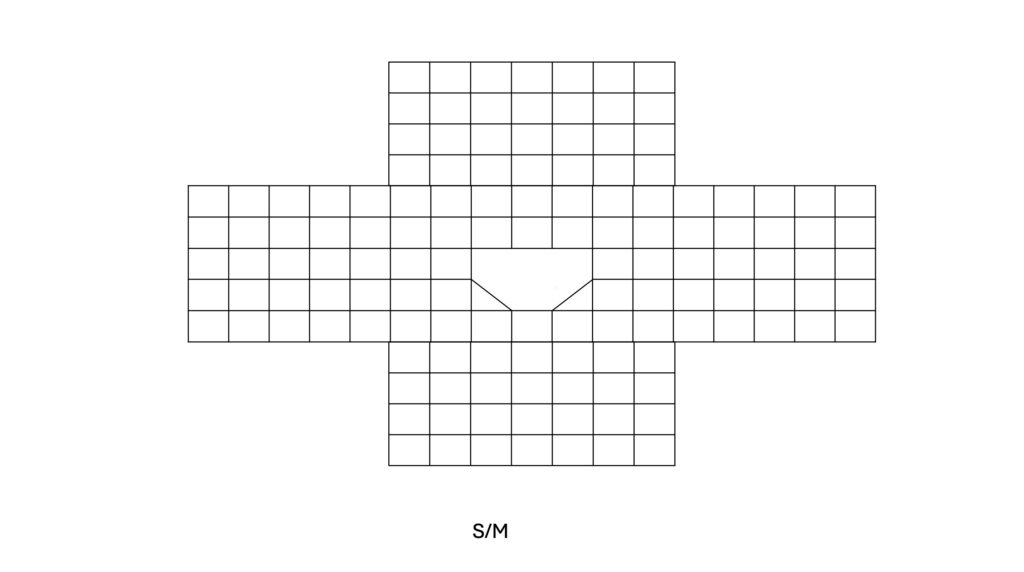
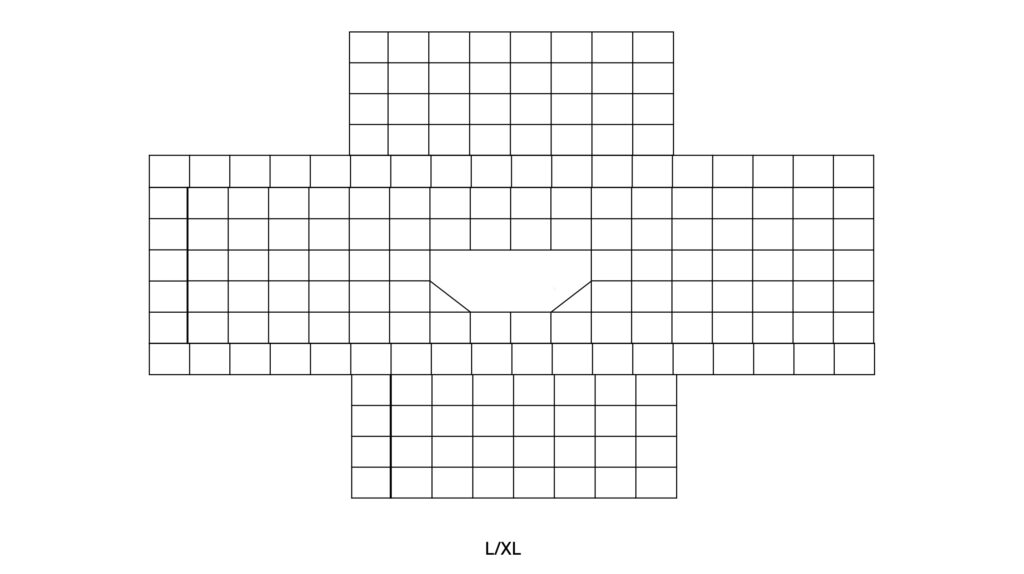
Round 4: 1 sc to each st, 2 sc into the ch 2 space in the round. At the end, sl st to close the round, ch 1 and fasten off. Weave the ends. Check the chart below for how many squares you need for the size you want.
Making the half square:
Ch 4, single crochet to the back of 4th ch from hook to create a space.
Round 1: Ch 5, dc2tog into the space. (Ch 3, dc2tog) x2 into the space. Chain 1, 1 dc into the space. Ch 5 and turn.
Round 2: Ch 5, dc3tog into the first space. (Ch 3, dc3tog) x2 to next 2 spaces. Ch 3, dc3tog to the last space. Ch 1, 1 dc to the last st. Ch 5 and turn.
Round 3: 3 dc to the next 3 spaces. (3 dc ch2, 3 dc) into the next space. 3 dc to the next 3 spaces. Ch 1, 1 dc to the last st. Ch 1 and turn.
Round 4: 1 sc to each st, 2 sc to the ch 2 space. 1 sc to each st. Ch 1 and fasten off.
Connect the granny square pieces according to the diagram below.
Note: The sizing and the number of granny squares needed is done by calculating different sizes, the size of the person who you are making the sweater for. For the best size check, use one of the wearers favorite sweaters as a template and measure according to that. I do my calculations manually so please be aware of that. The important thing is to double and triple check your work, especially early on, before you spend a lot of time in doing the work
See my video tutorial for attaching the granny squares together.
Neckline Shaping:
Creating round shaping for the back. (There are 2 edges on the back where 2 granny squares connected, the “L shape”. They will me made round.
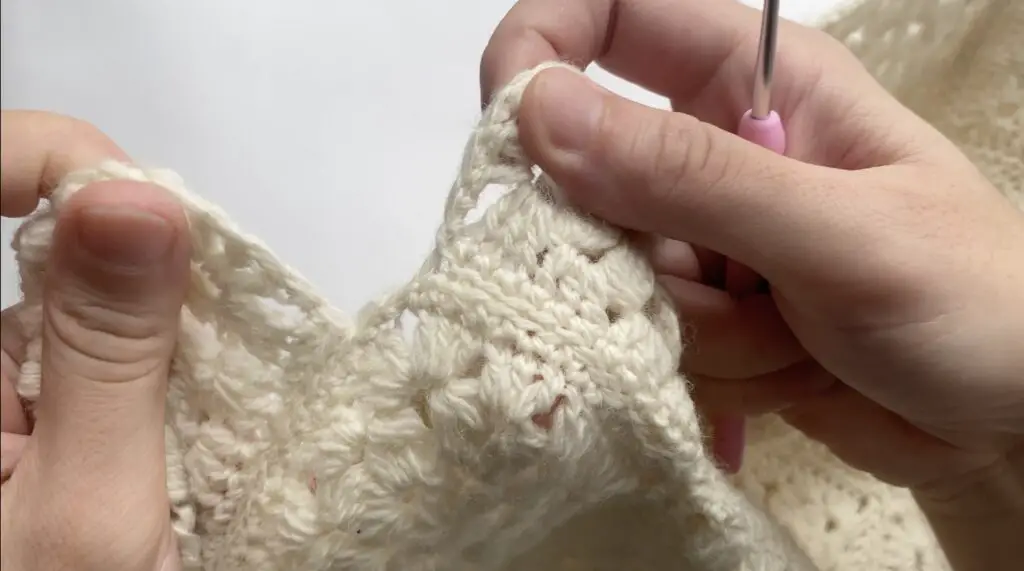
Attach the yarn.
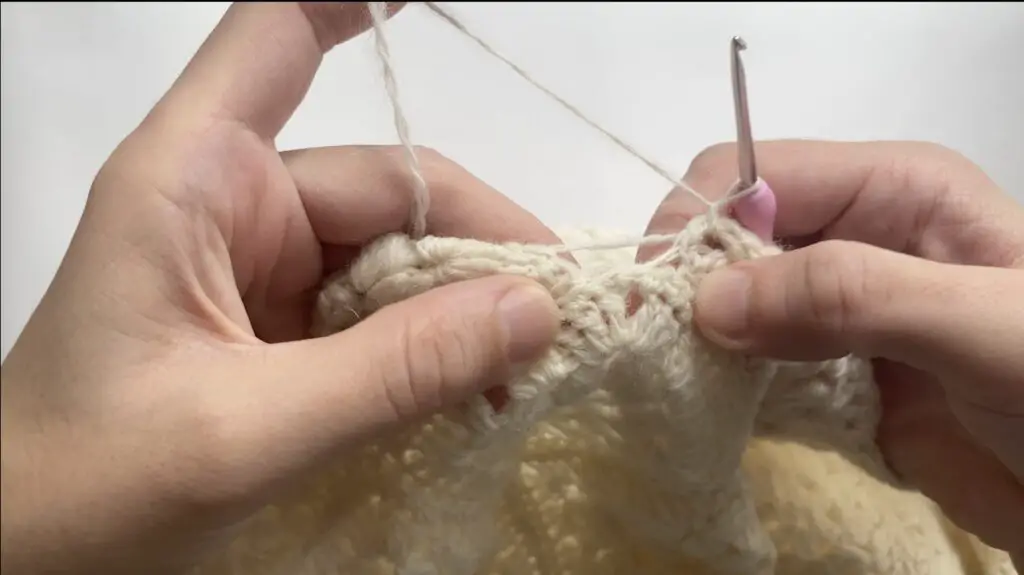
3 dc into the next space (the space right on the middle edge)
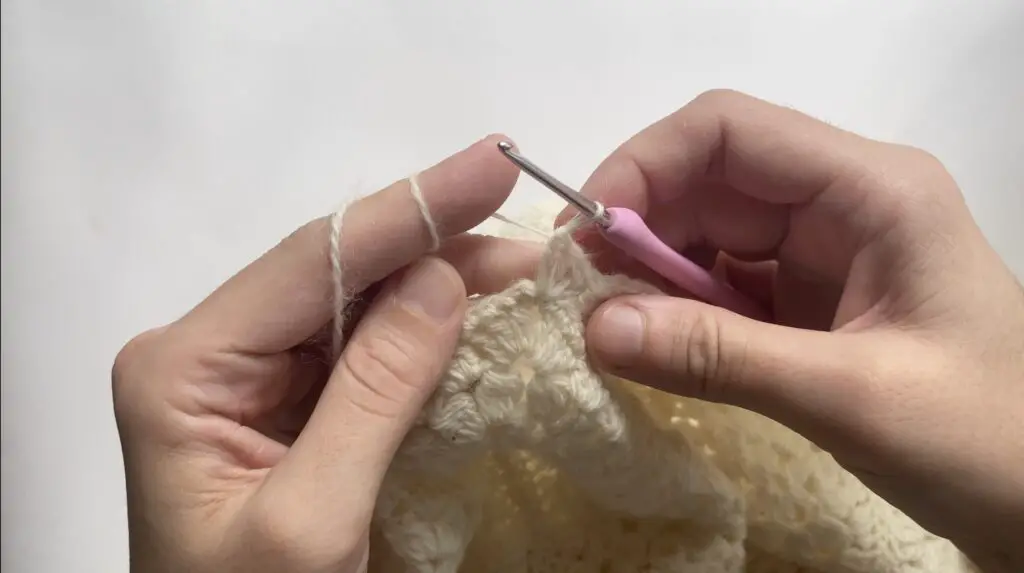
1 sc to the next space.
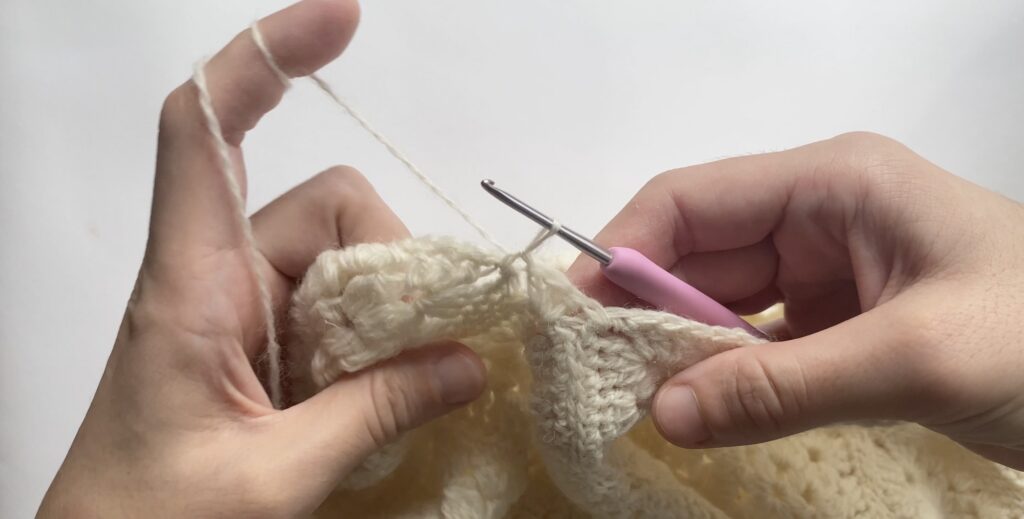
Ch 3, skip 3 sts make a sc next st.
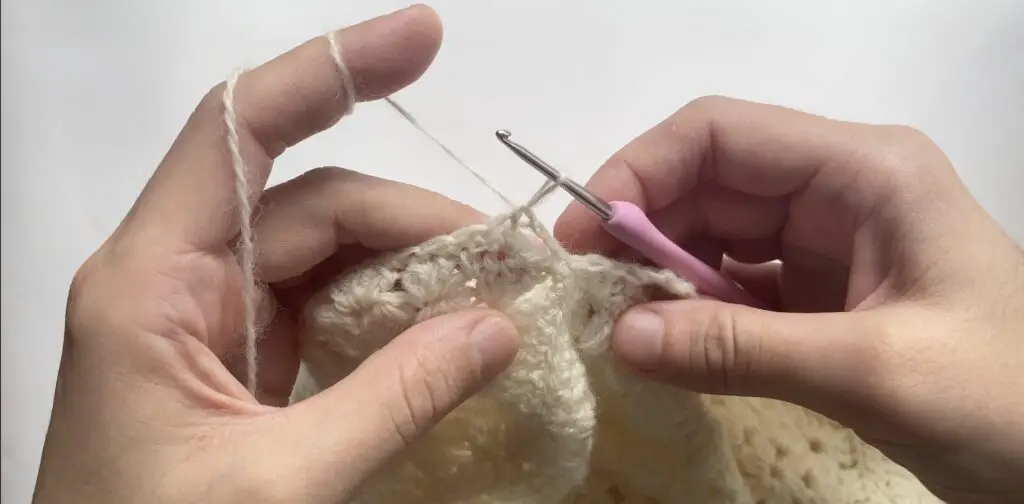
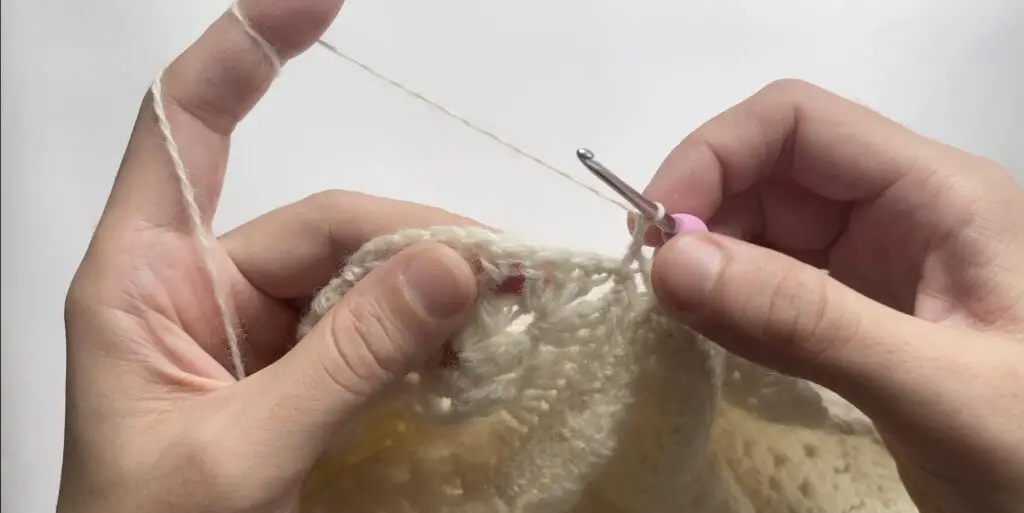
Turn 3 dc into the sc st. skip 3 sts. 3 dc into the next st. 1 sc to the next space. Ch 3 1 sc to the next space, ch 1 and fasten off.
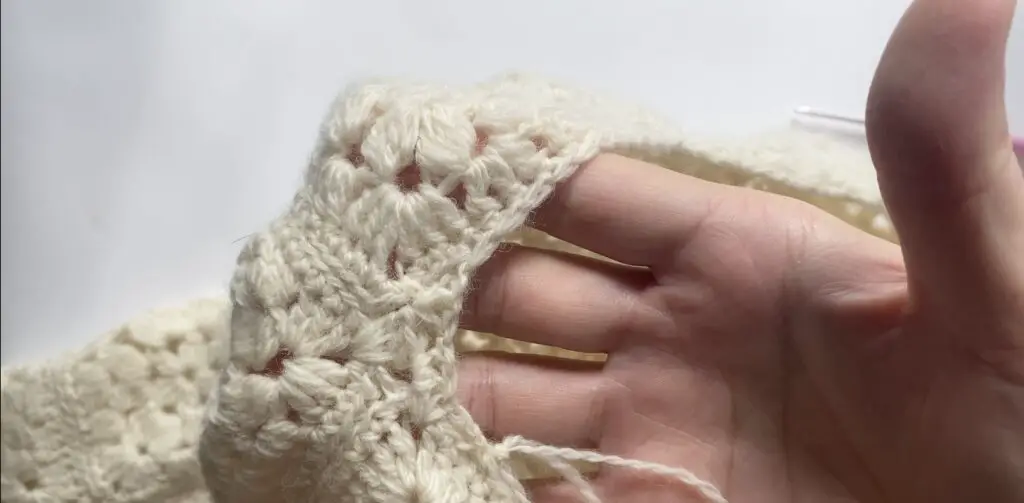
After the back is made round. We will continue to shape the front.
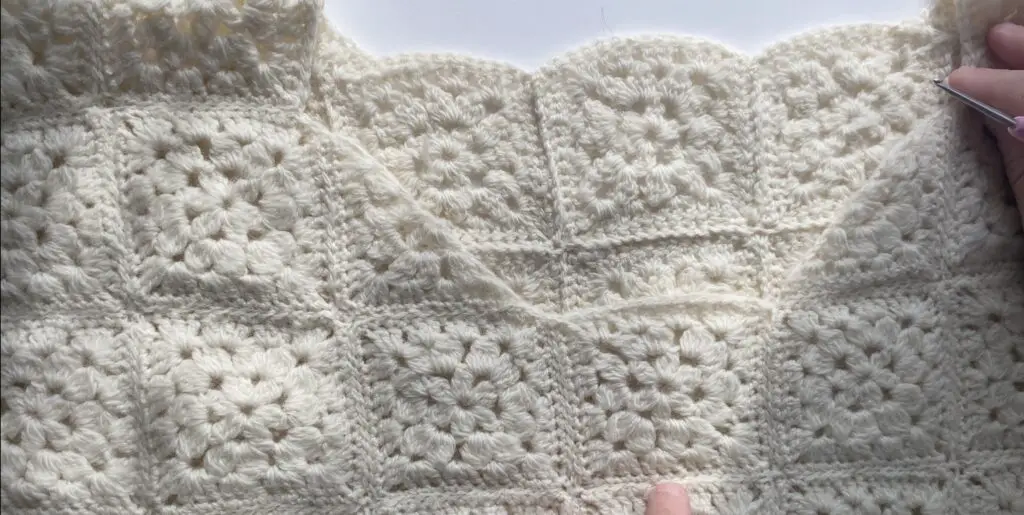
Round 1 (neck shaping) Attach the yarn and make 2 hdc into the spaces, when you come to the edges, make (1 hdc, 1 dc) into the space before the edge st. 2 edc in to the next st (edge st) (1dc, 1 hdc) into the next st. And continue with 1 dc into the each st, 2 dc into the each space in the round. At the end of the round, sl st to close.
Round 2: 1 sl st to each st around. Sl st to close at the end.
Round 3 (ribbing): Ch 7, 1 sc to ach ch, turn, ch 1, 1 scblo to each st, sl st to next 2 sts at the base. *1 scblo to each of 6 sts, turn ch 1, 1 scblo to each st, skip 2 sts at the base. Repeat from * in the round. At the end, connect the ends to close the ribbing. Fasten off.
Ribbing on the bottom is same as neckline ribbing. Instead of chaining 7, ch 12 for the bottom.
Video tutorial:
Leave a Reply