Hello everyone,
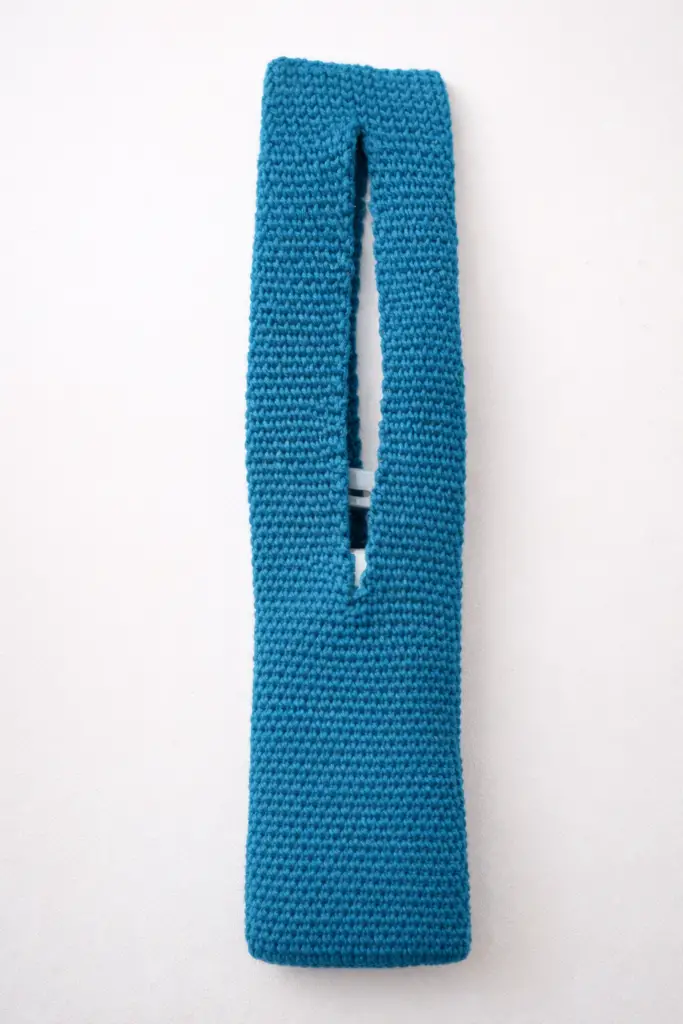
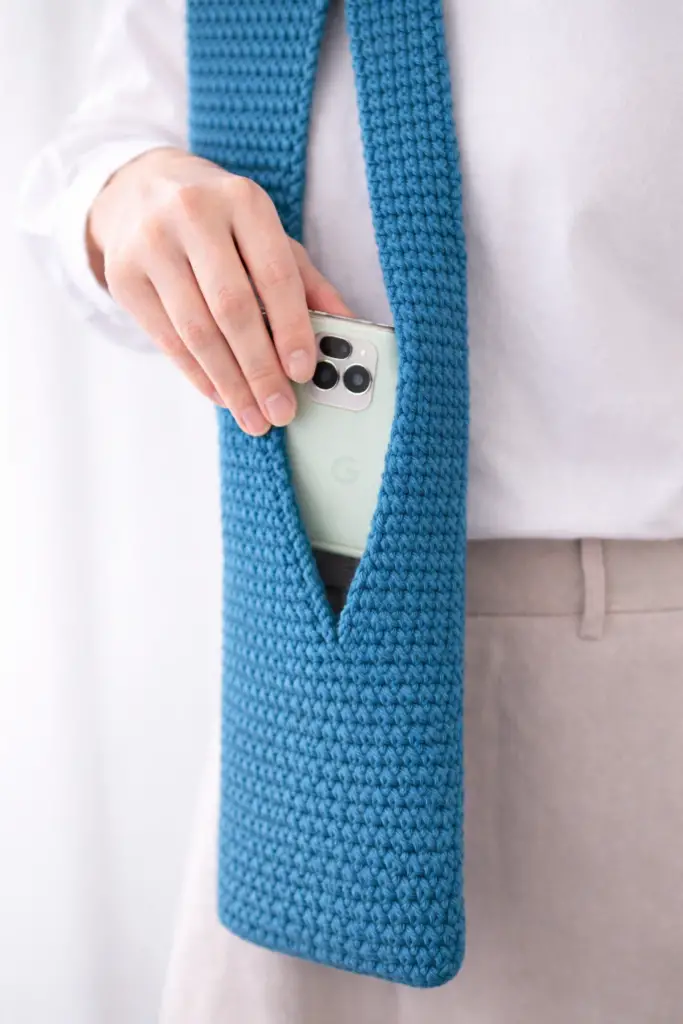
This crochet bag is very easy and made in one piece. It’s very practical and modern. I think it would be a wonderful gift for holidays or for special occasions. It’s only one row repeat which is waistcoat stitch. Anyone who knows basics of crochet should try this.
Written tutorial and video tutorial are below.

Notes (Forming the bag):
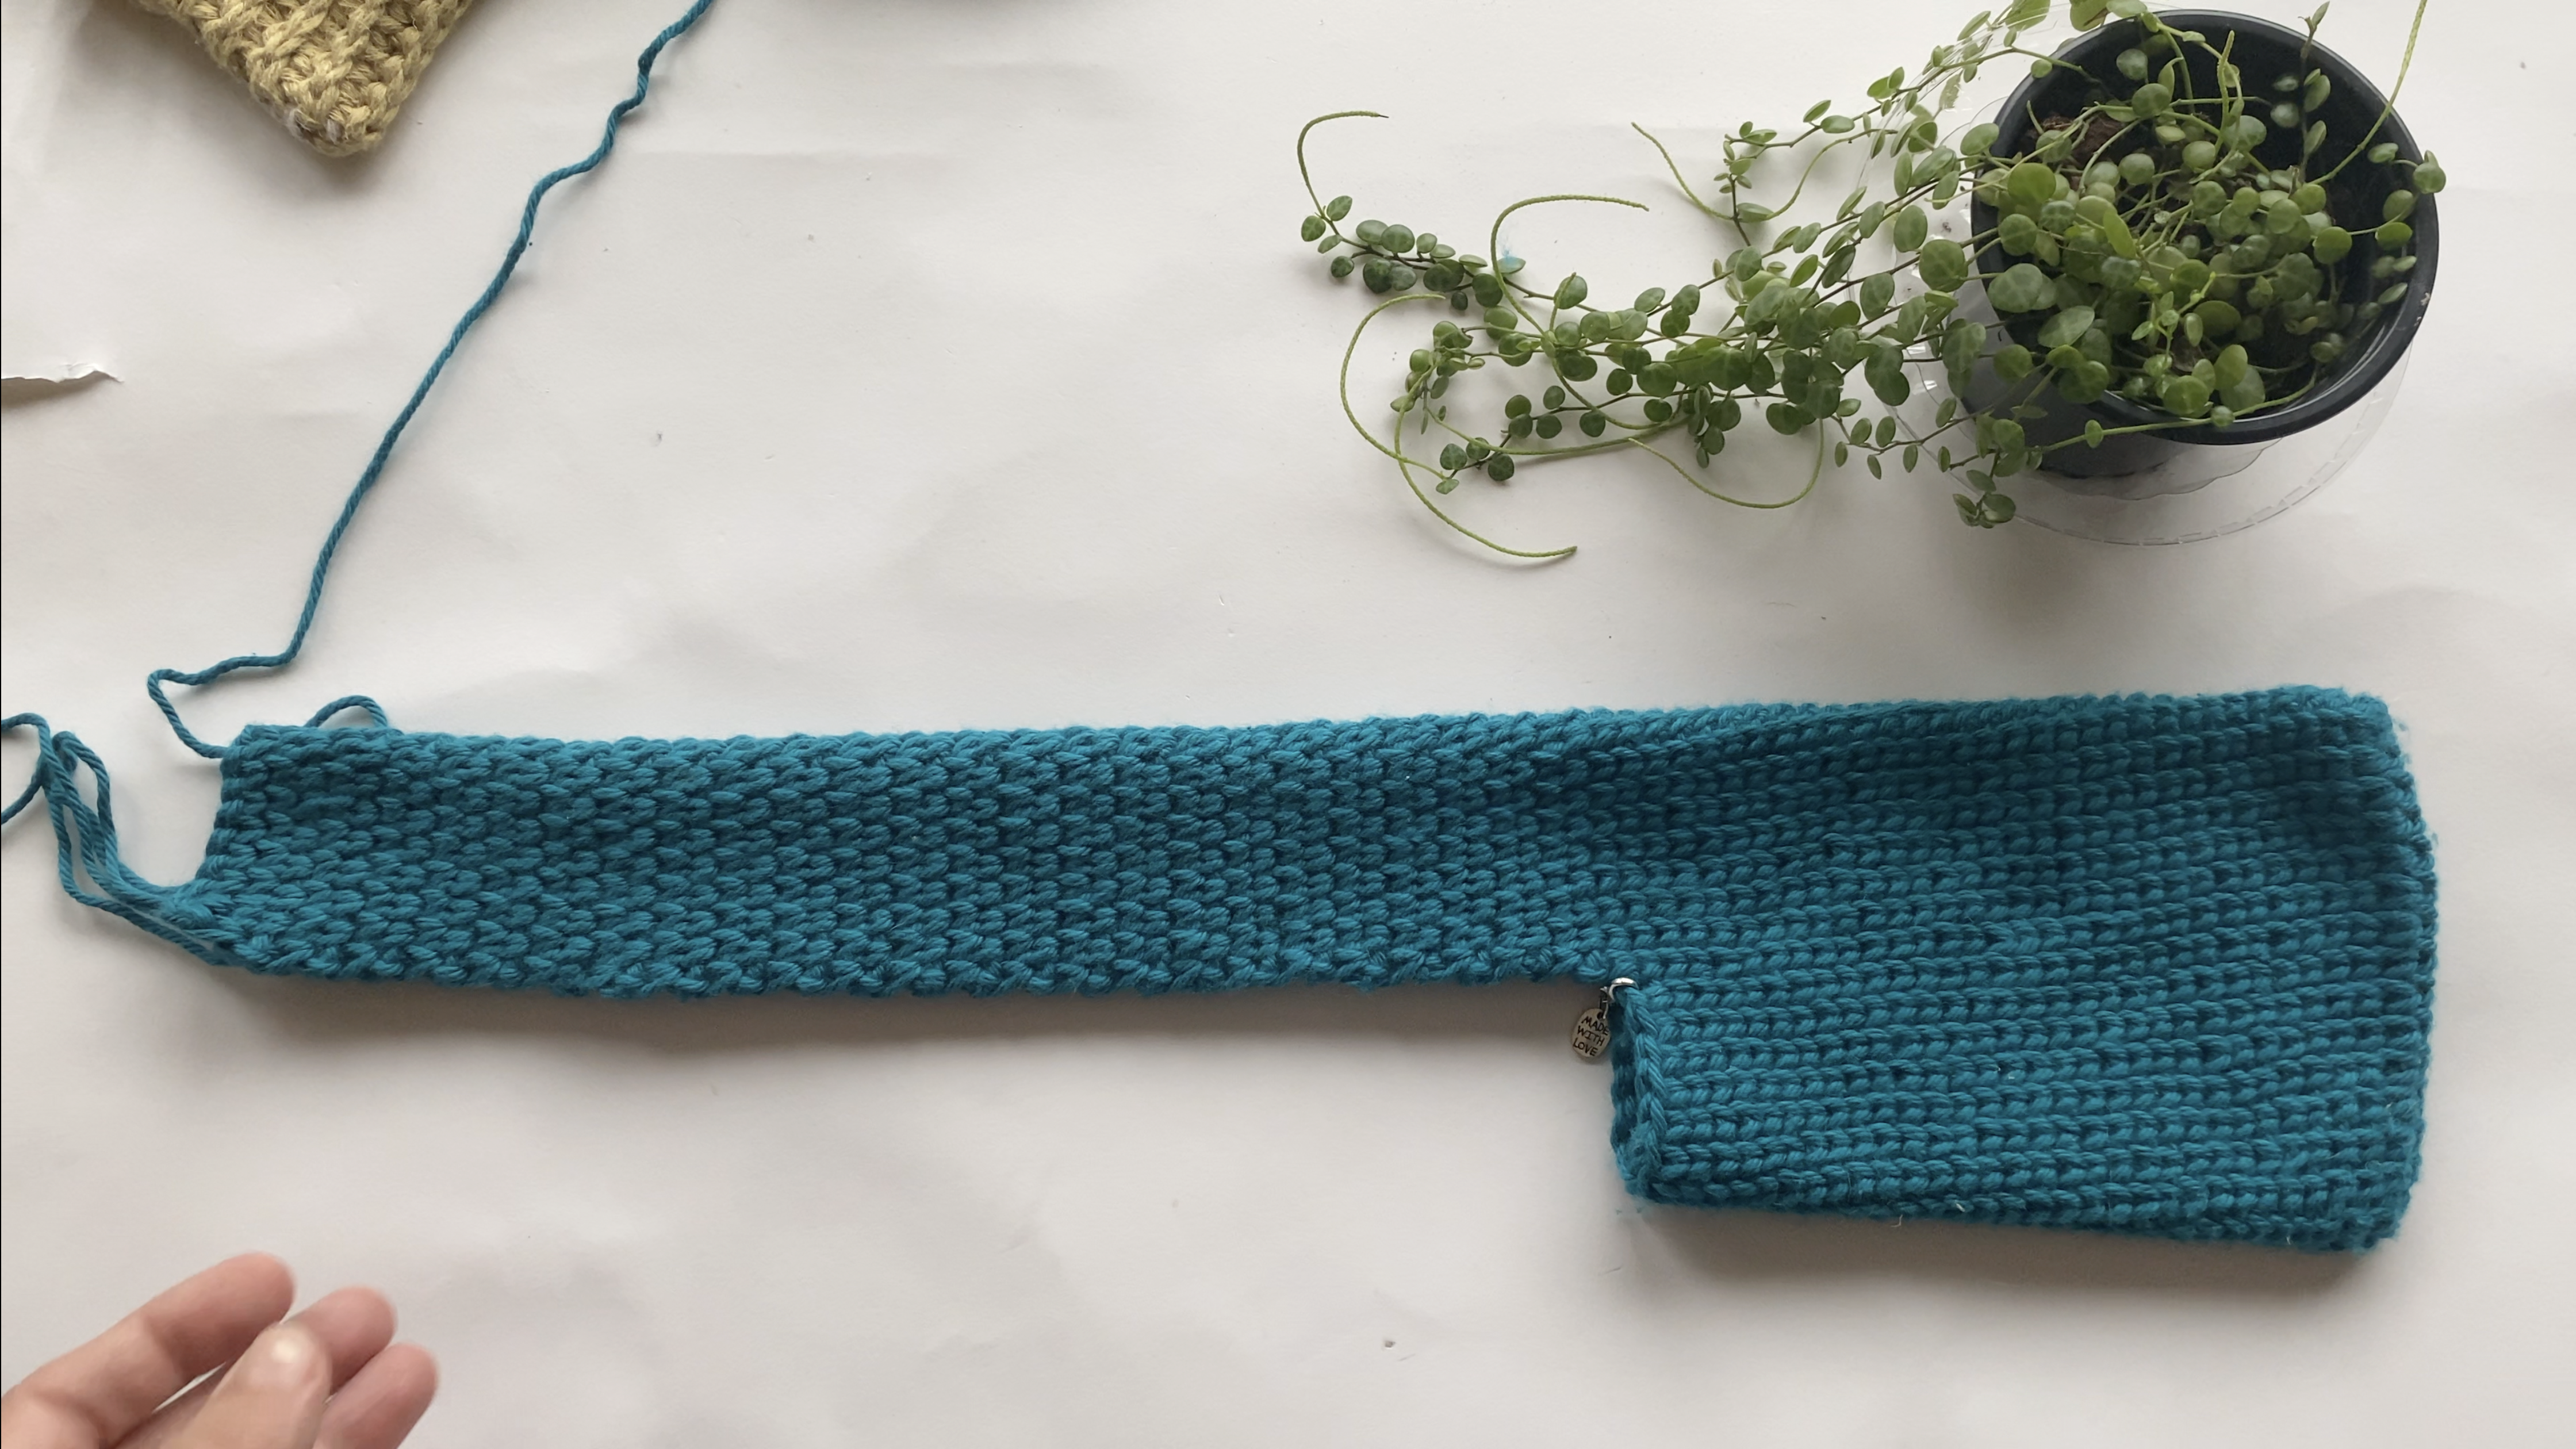
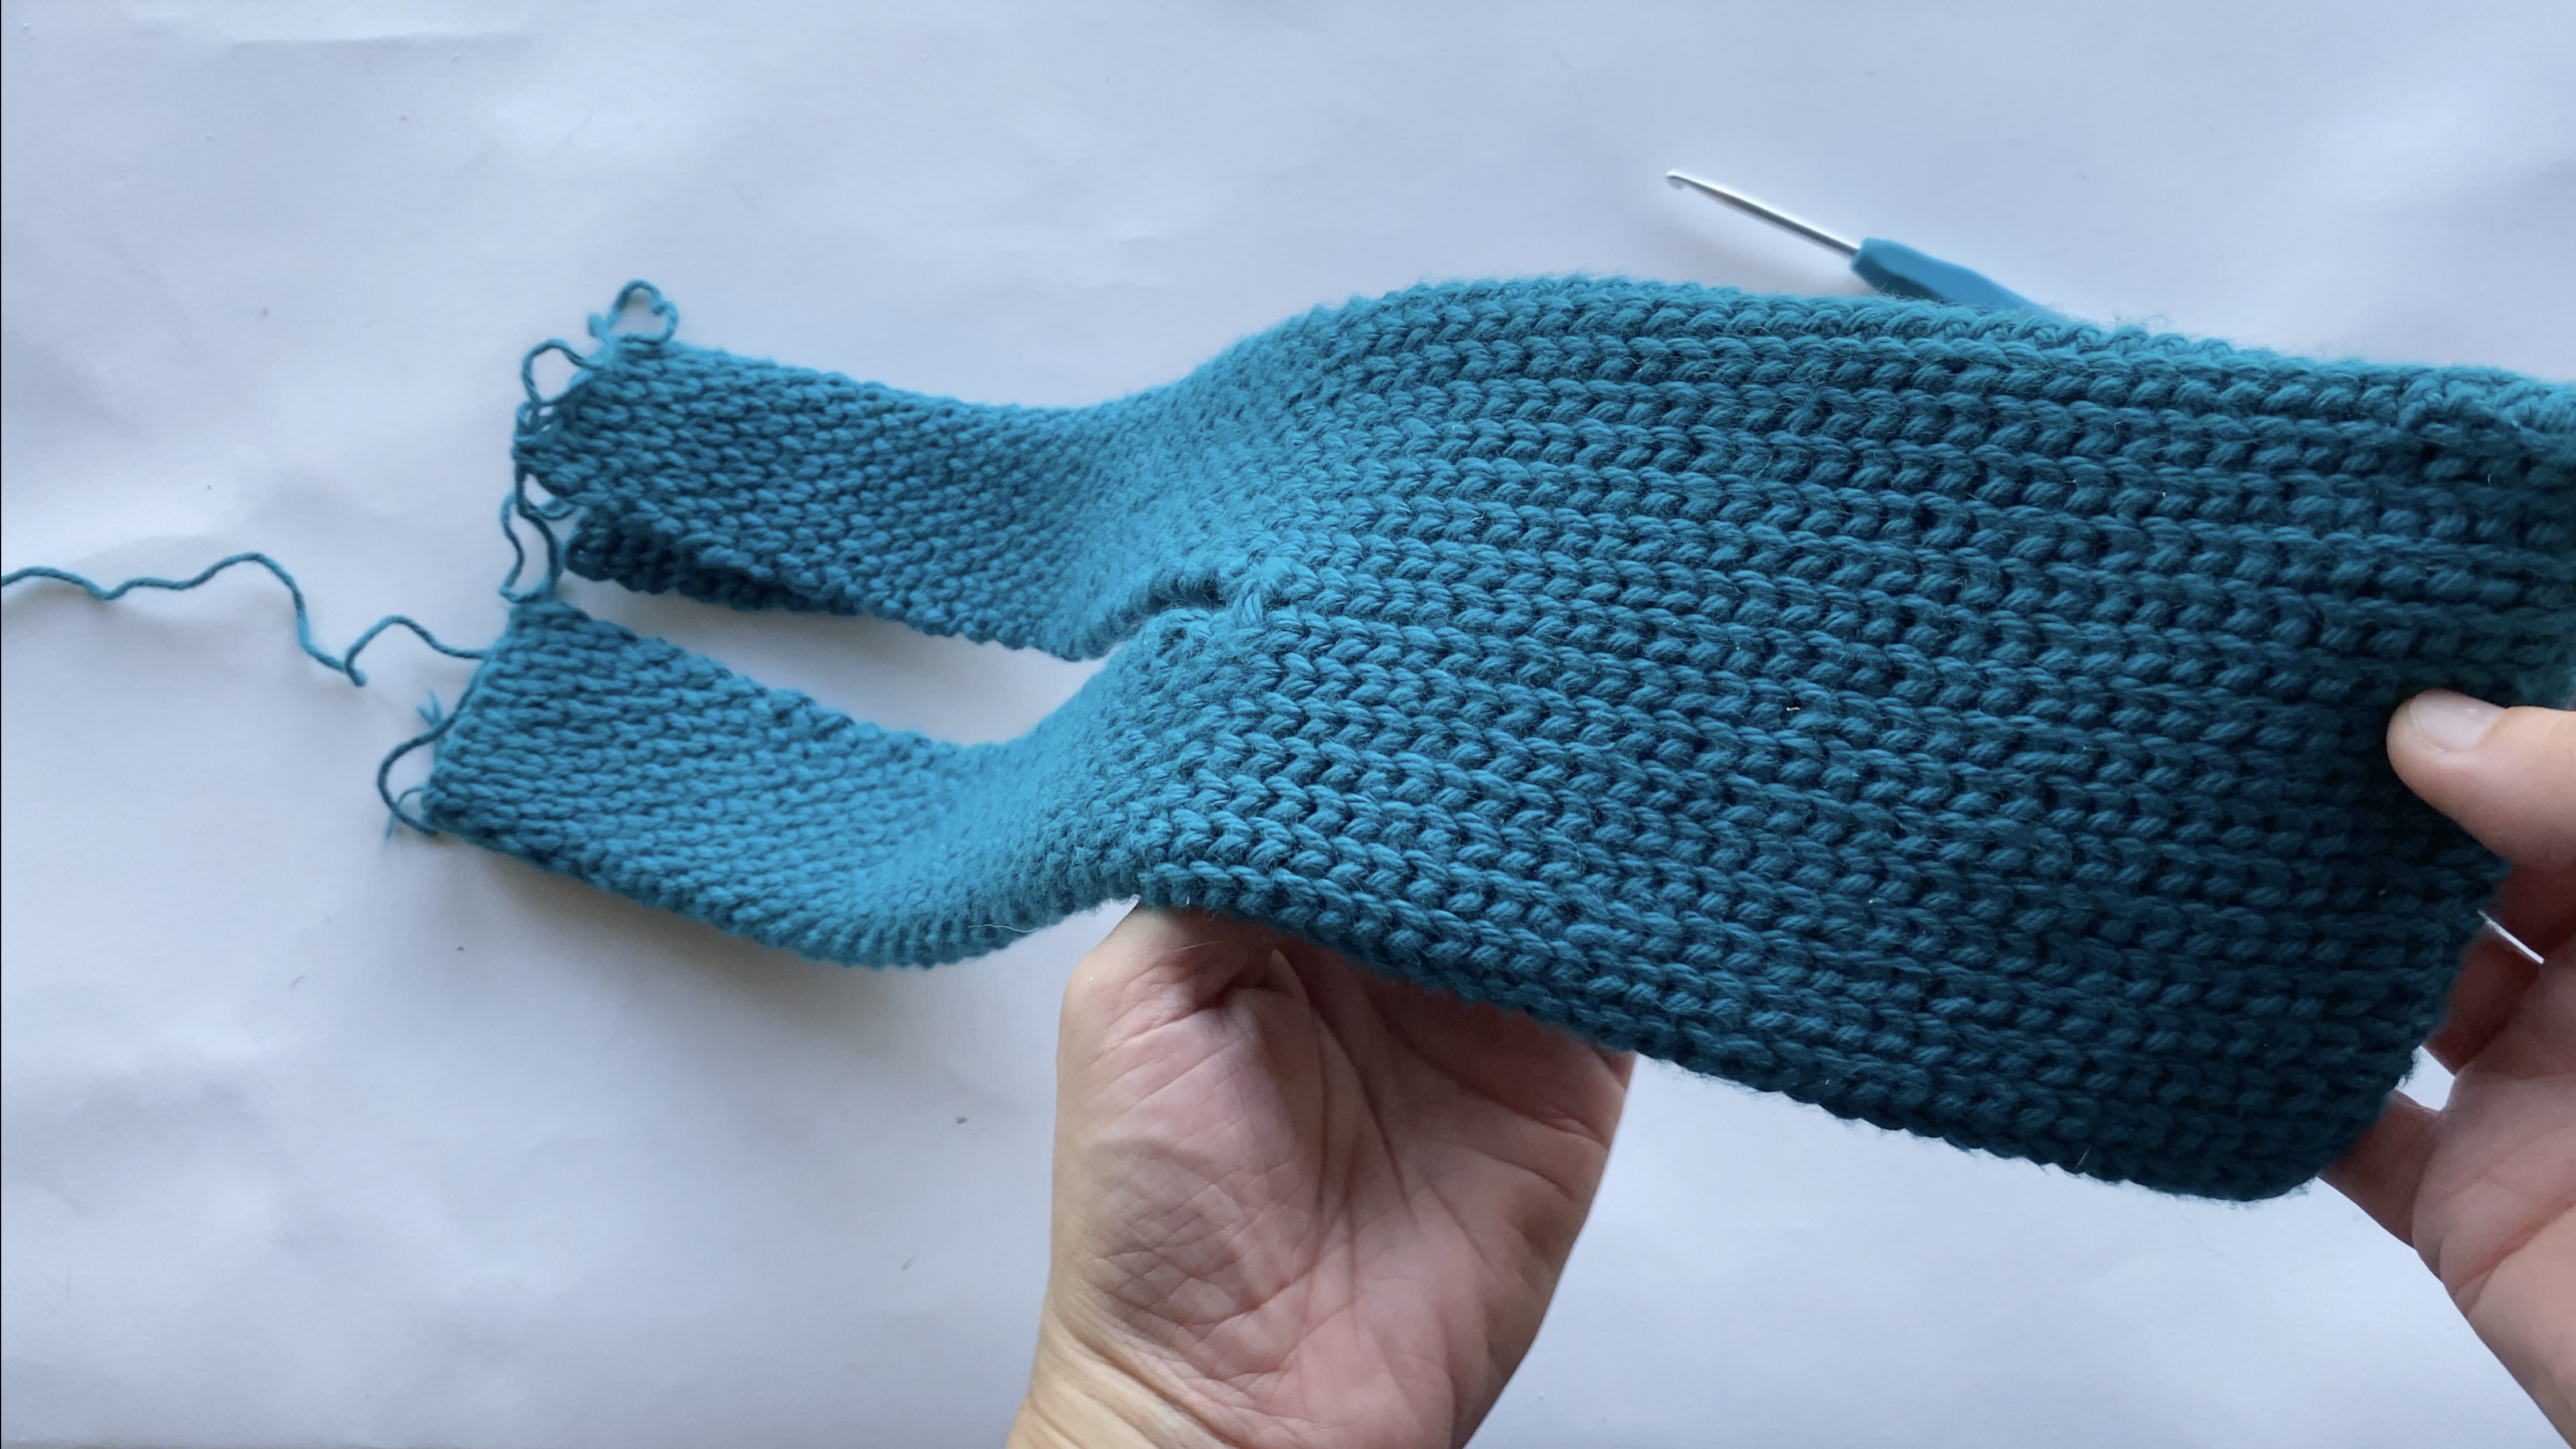
The bag is worked in one piece starting from the bottom and went up until the desired length for cellphone to fit it. Once the pouch part is completed without fasten off continued to crochet the handles, dividing from the middle and continuing to form right and left straps. When the handles are completed, you connect the pieces and continued in the round and fasten off after 7 rounds. That’s it. Done with the bag. Detailed instructions are below.
Materials:
Yarn: https://amzn.to/3XnVej5
Crochet hook 4 mm regular crochet hook https://amzn.to/4pDXtL3
Darning needle
Scissors
YARN SUBSTITUTIONS:
https://amzn.to/4ilftaI Lily Sugar’n Cream Cotton Yarn is another option for this project. This yarn is also medium weight cotton yarn and I have used this yarn for so many projects, for making sweaters, baskets, bags, etc.
https://amzn.to/48JawVS Dishie yarn by Knit Picks also would be an another great cotton option for this cell phone bag It’s very soft, and lightweight. I have used this yarn many times and loved it. I very much recommend this yarn for making bags, sweaters, cardigans, etc.
Abbreviations:
Ch: Chain
Sc: Single crochet
Scblo: Single crochet back loops only
Sl st: Slip stitch
St (s): Stitch (es)
Yo: Yarn over
Sm: Stitch marker
SPECIAL STITCH:
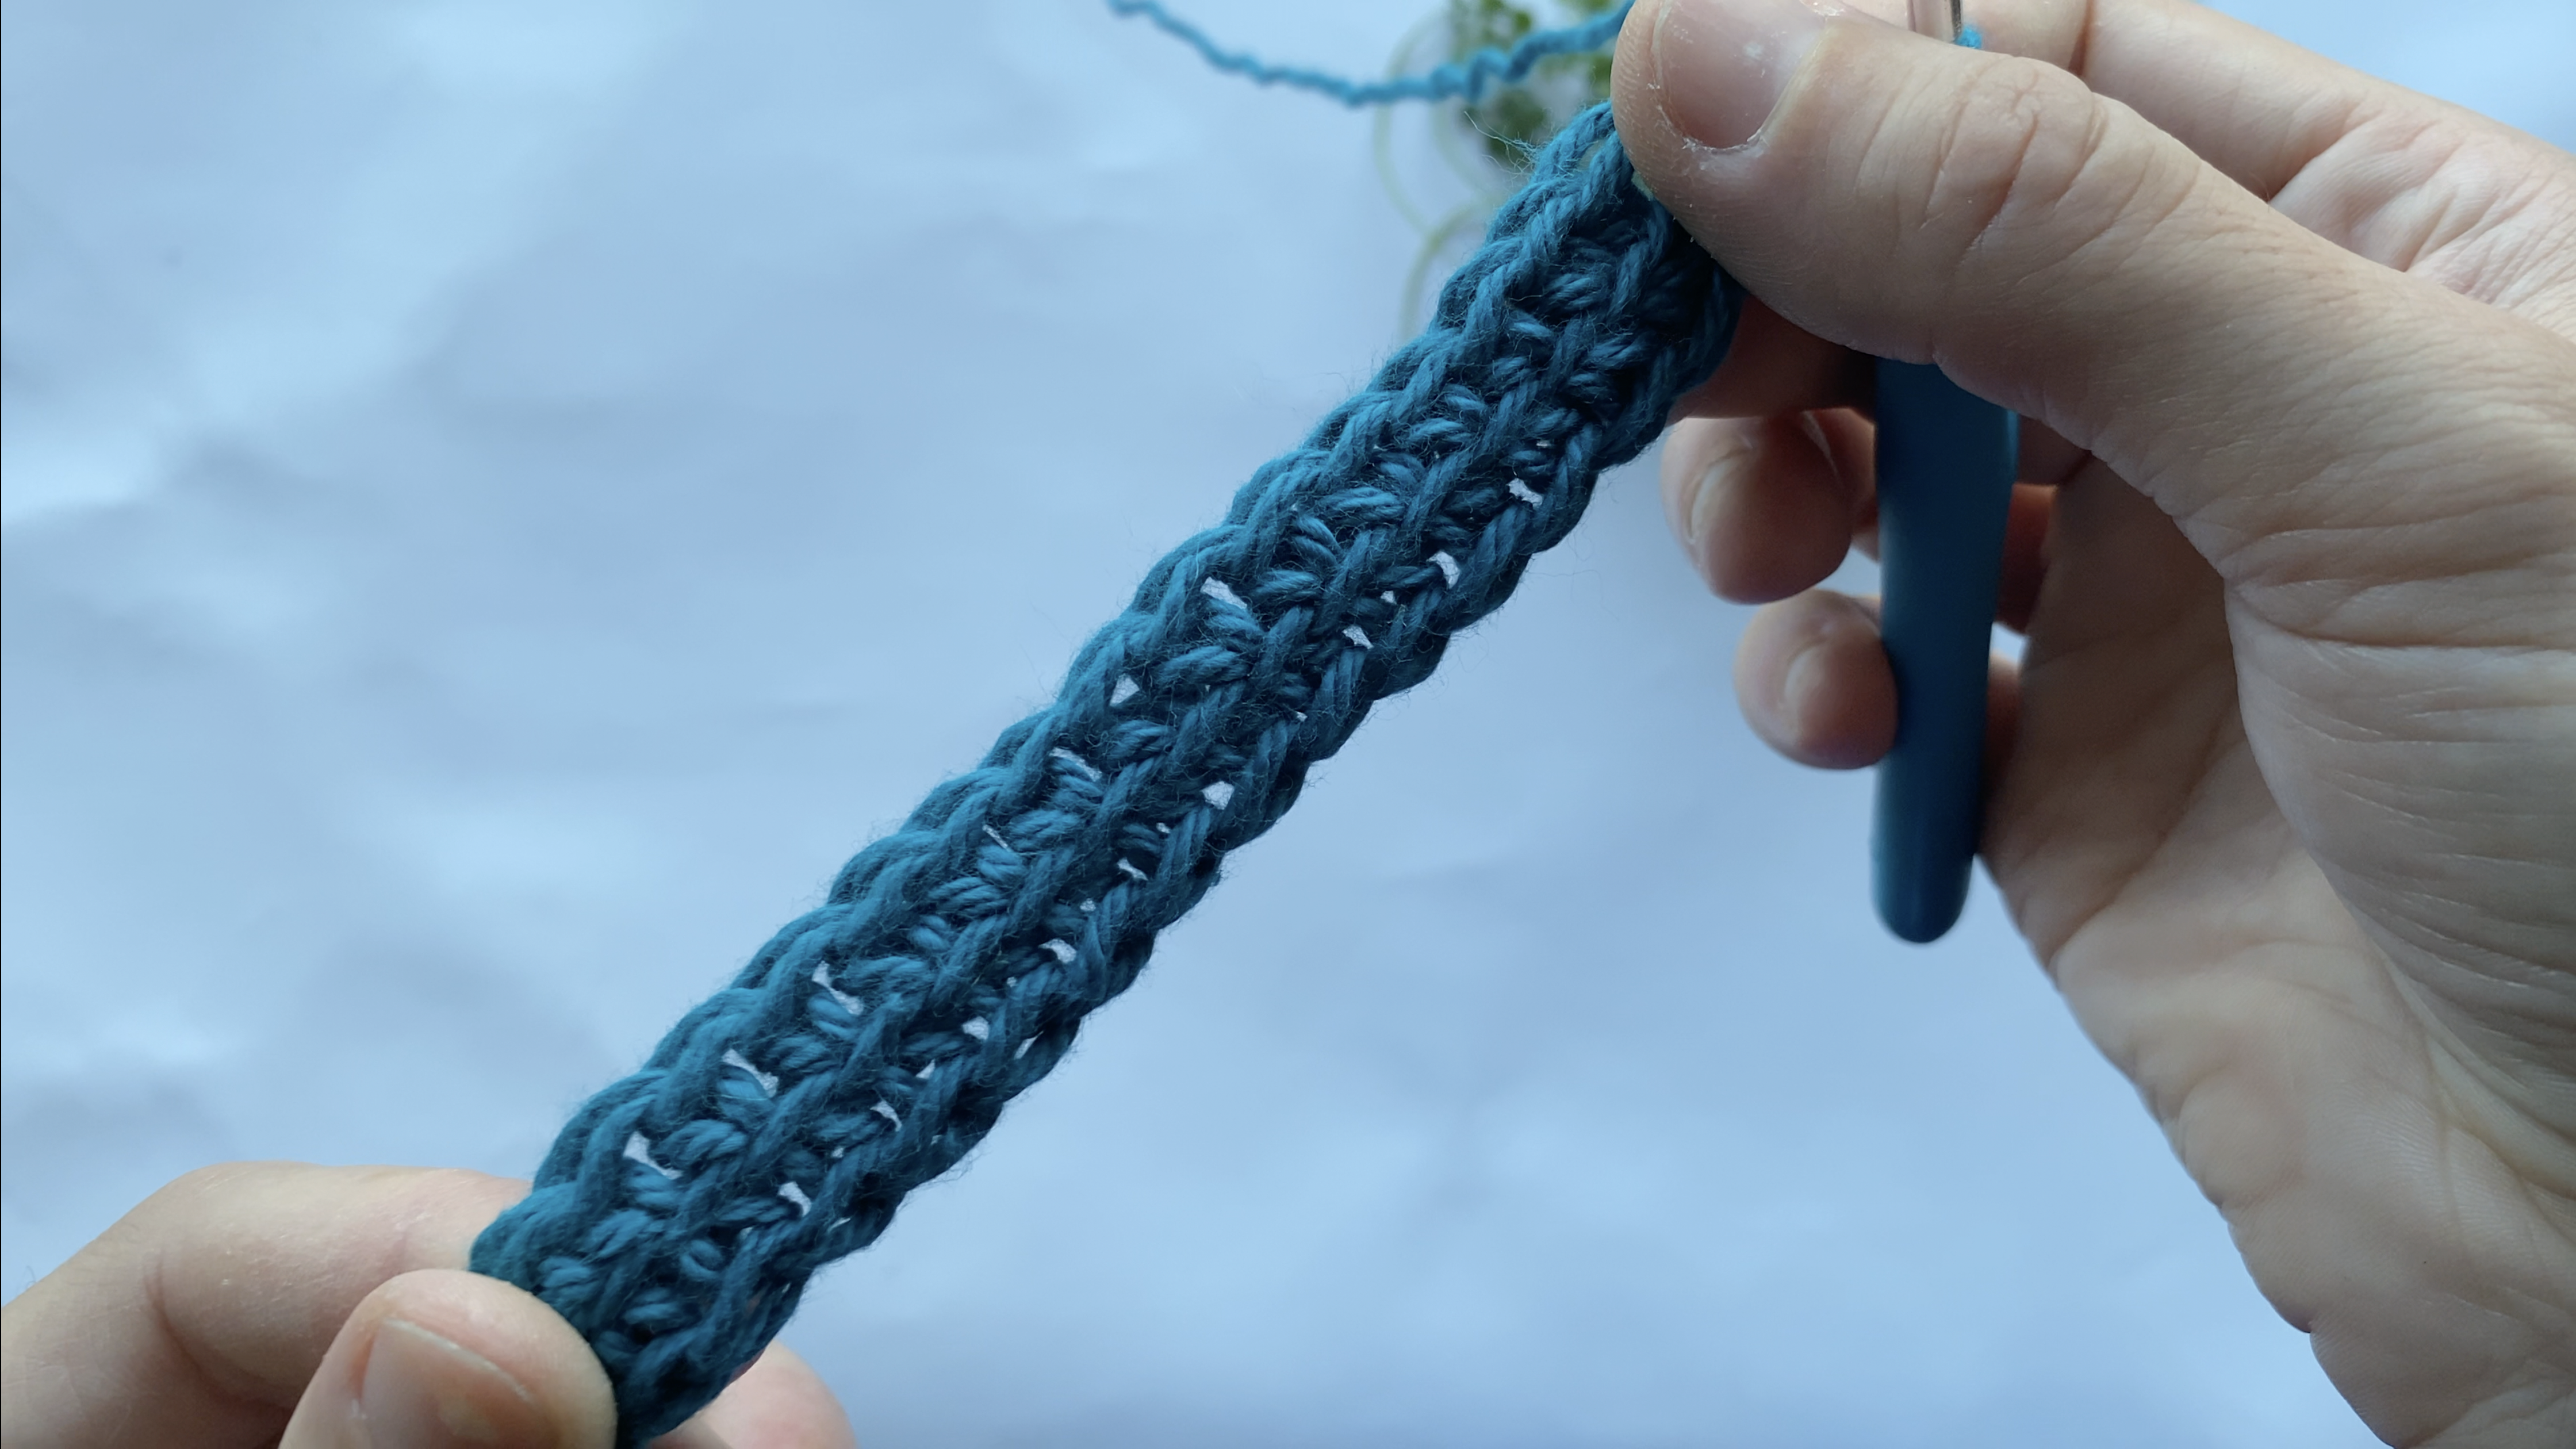
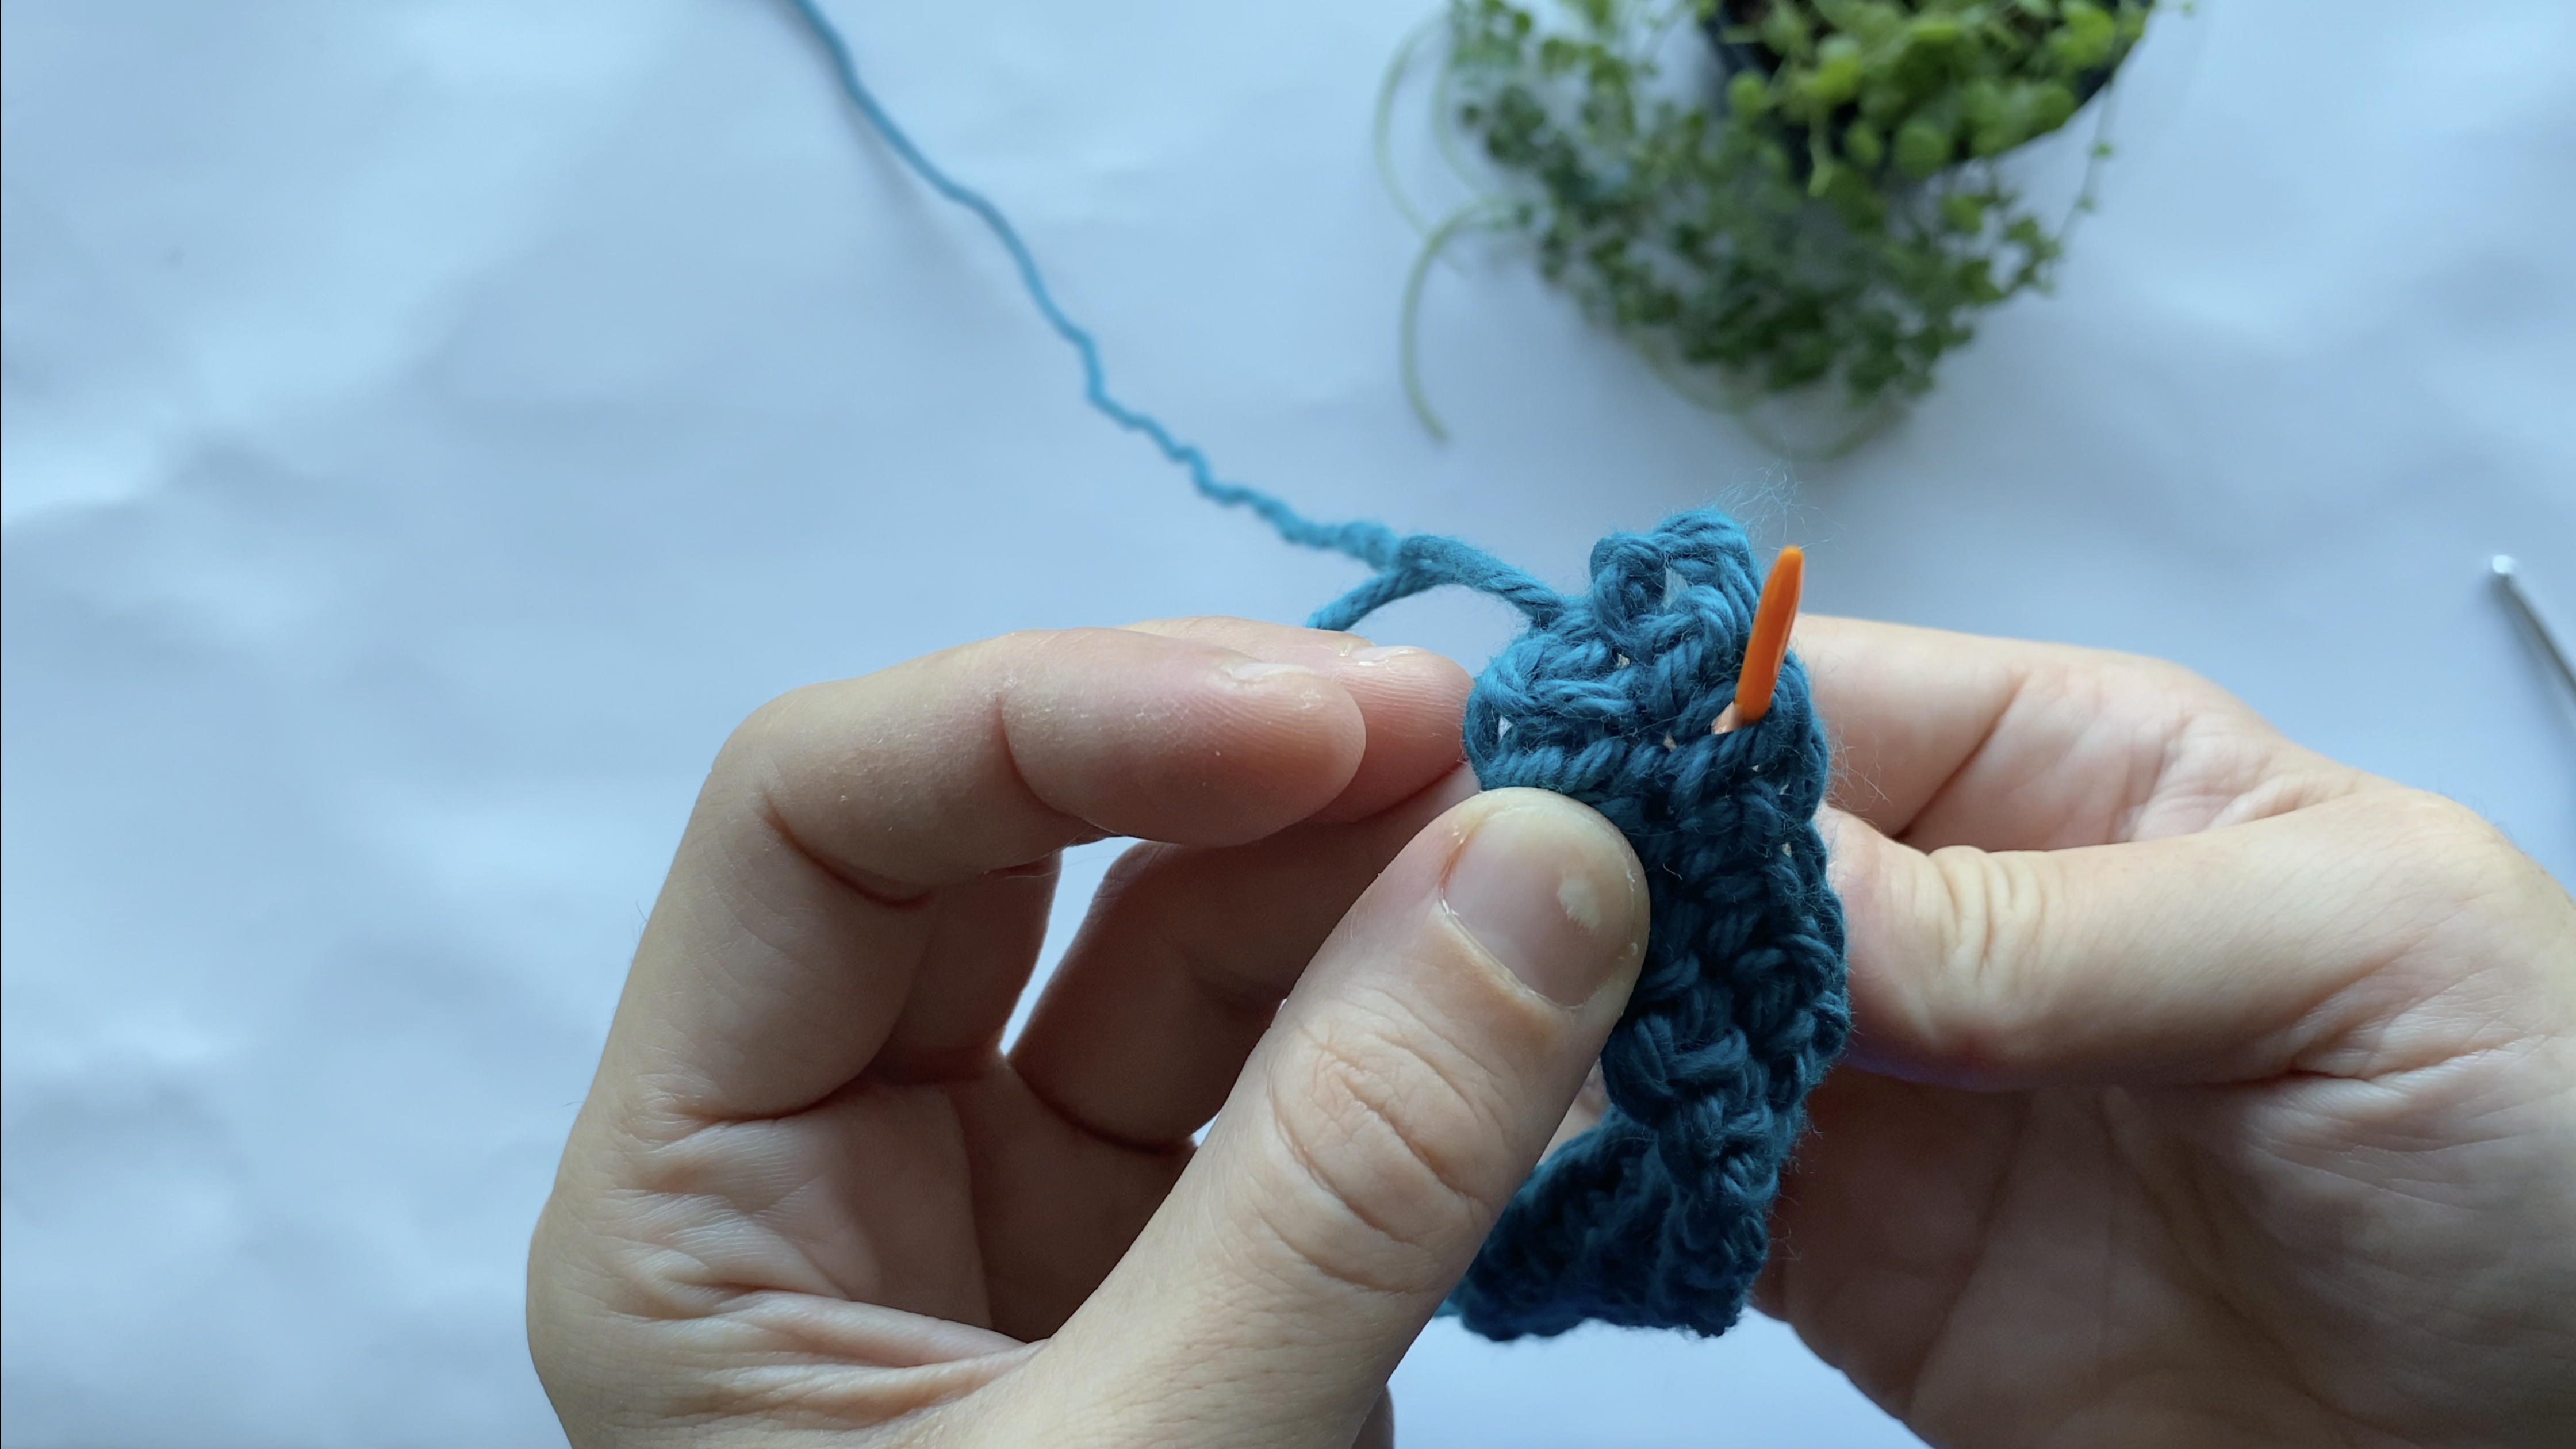
Waistcoat Stitch: It’s similar to sc. The difference is with this stitch is to insert your hook in the middle of the post, in the middle of “v” shape. Then, finish the stitch same as sc (pull up the loop, yo, pull through both loops on the hook.
Gauge:
12 sts and 14 rows = 3″ [8 cm] in
Tunisian honeycomb stitch, 4 mm Waistcoat Stitch
WRITTEN INSTRUCTIONS:
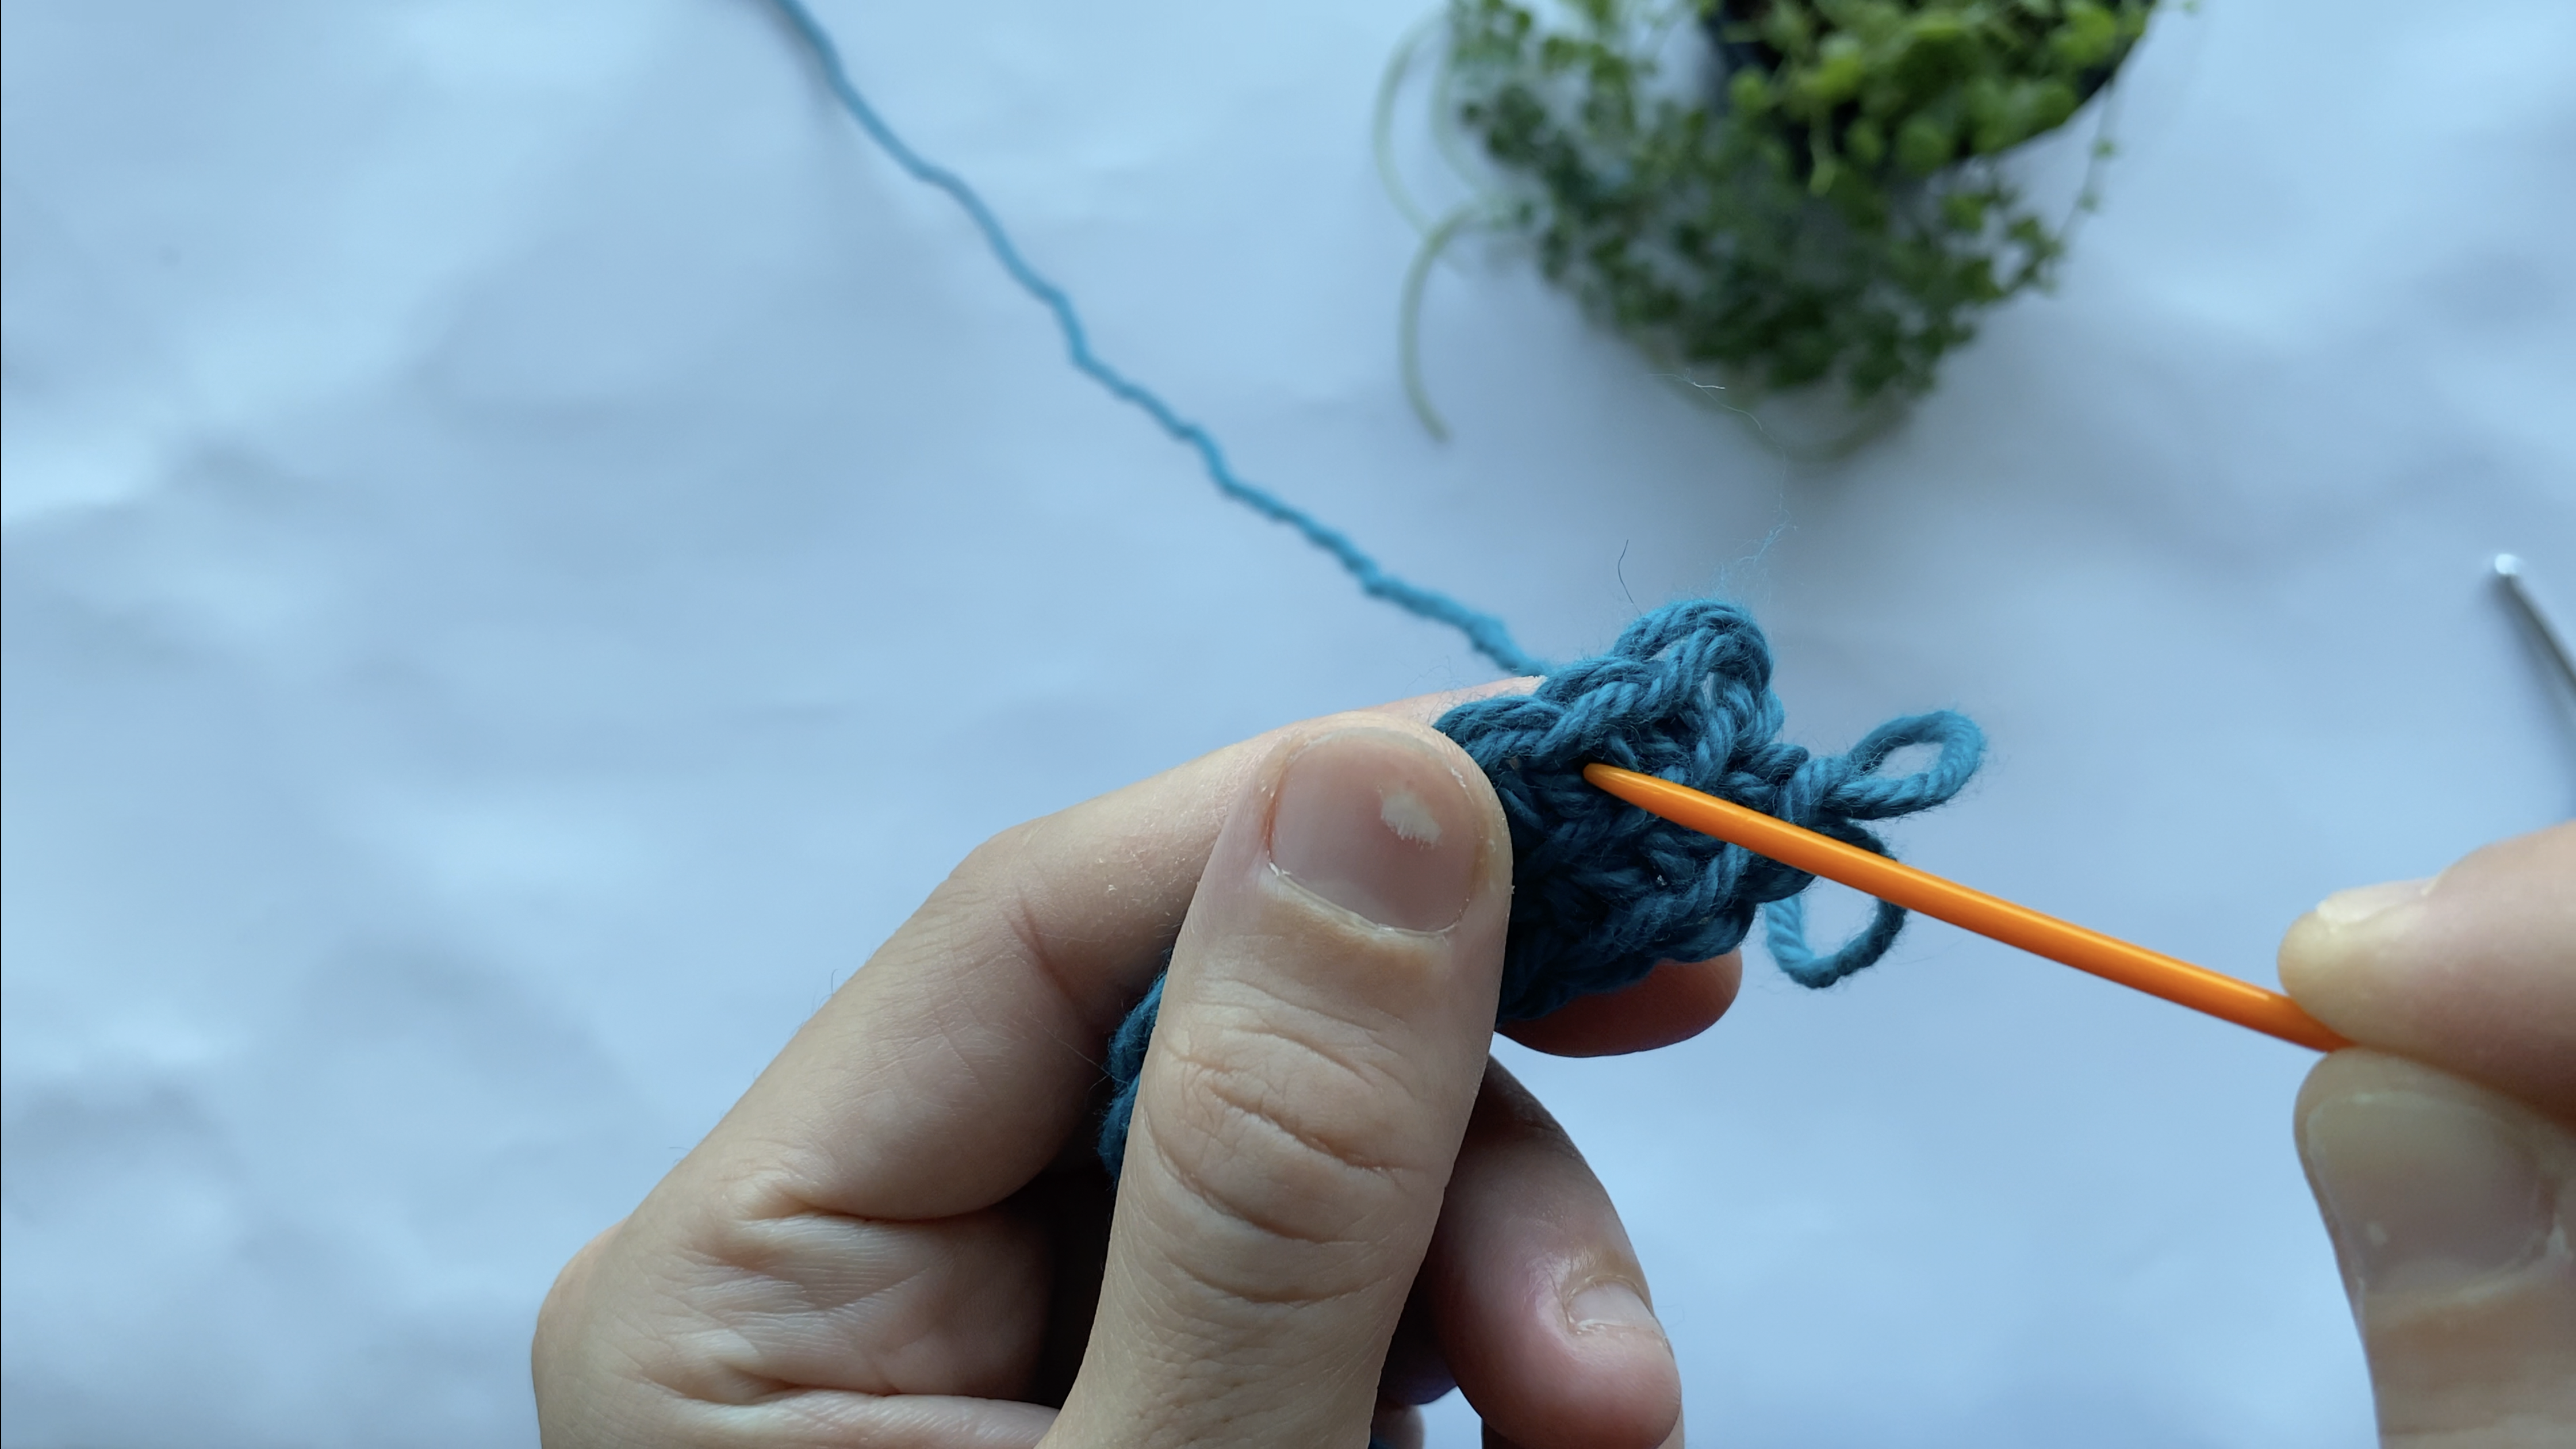
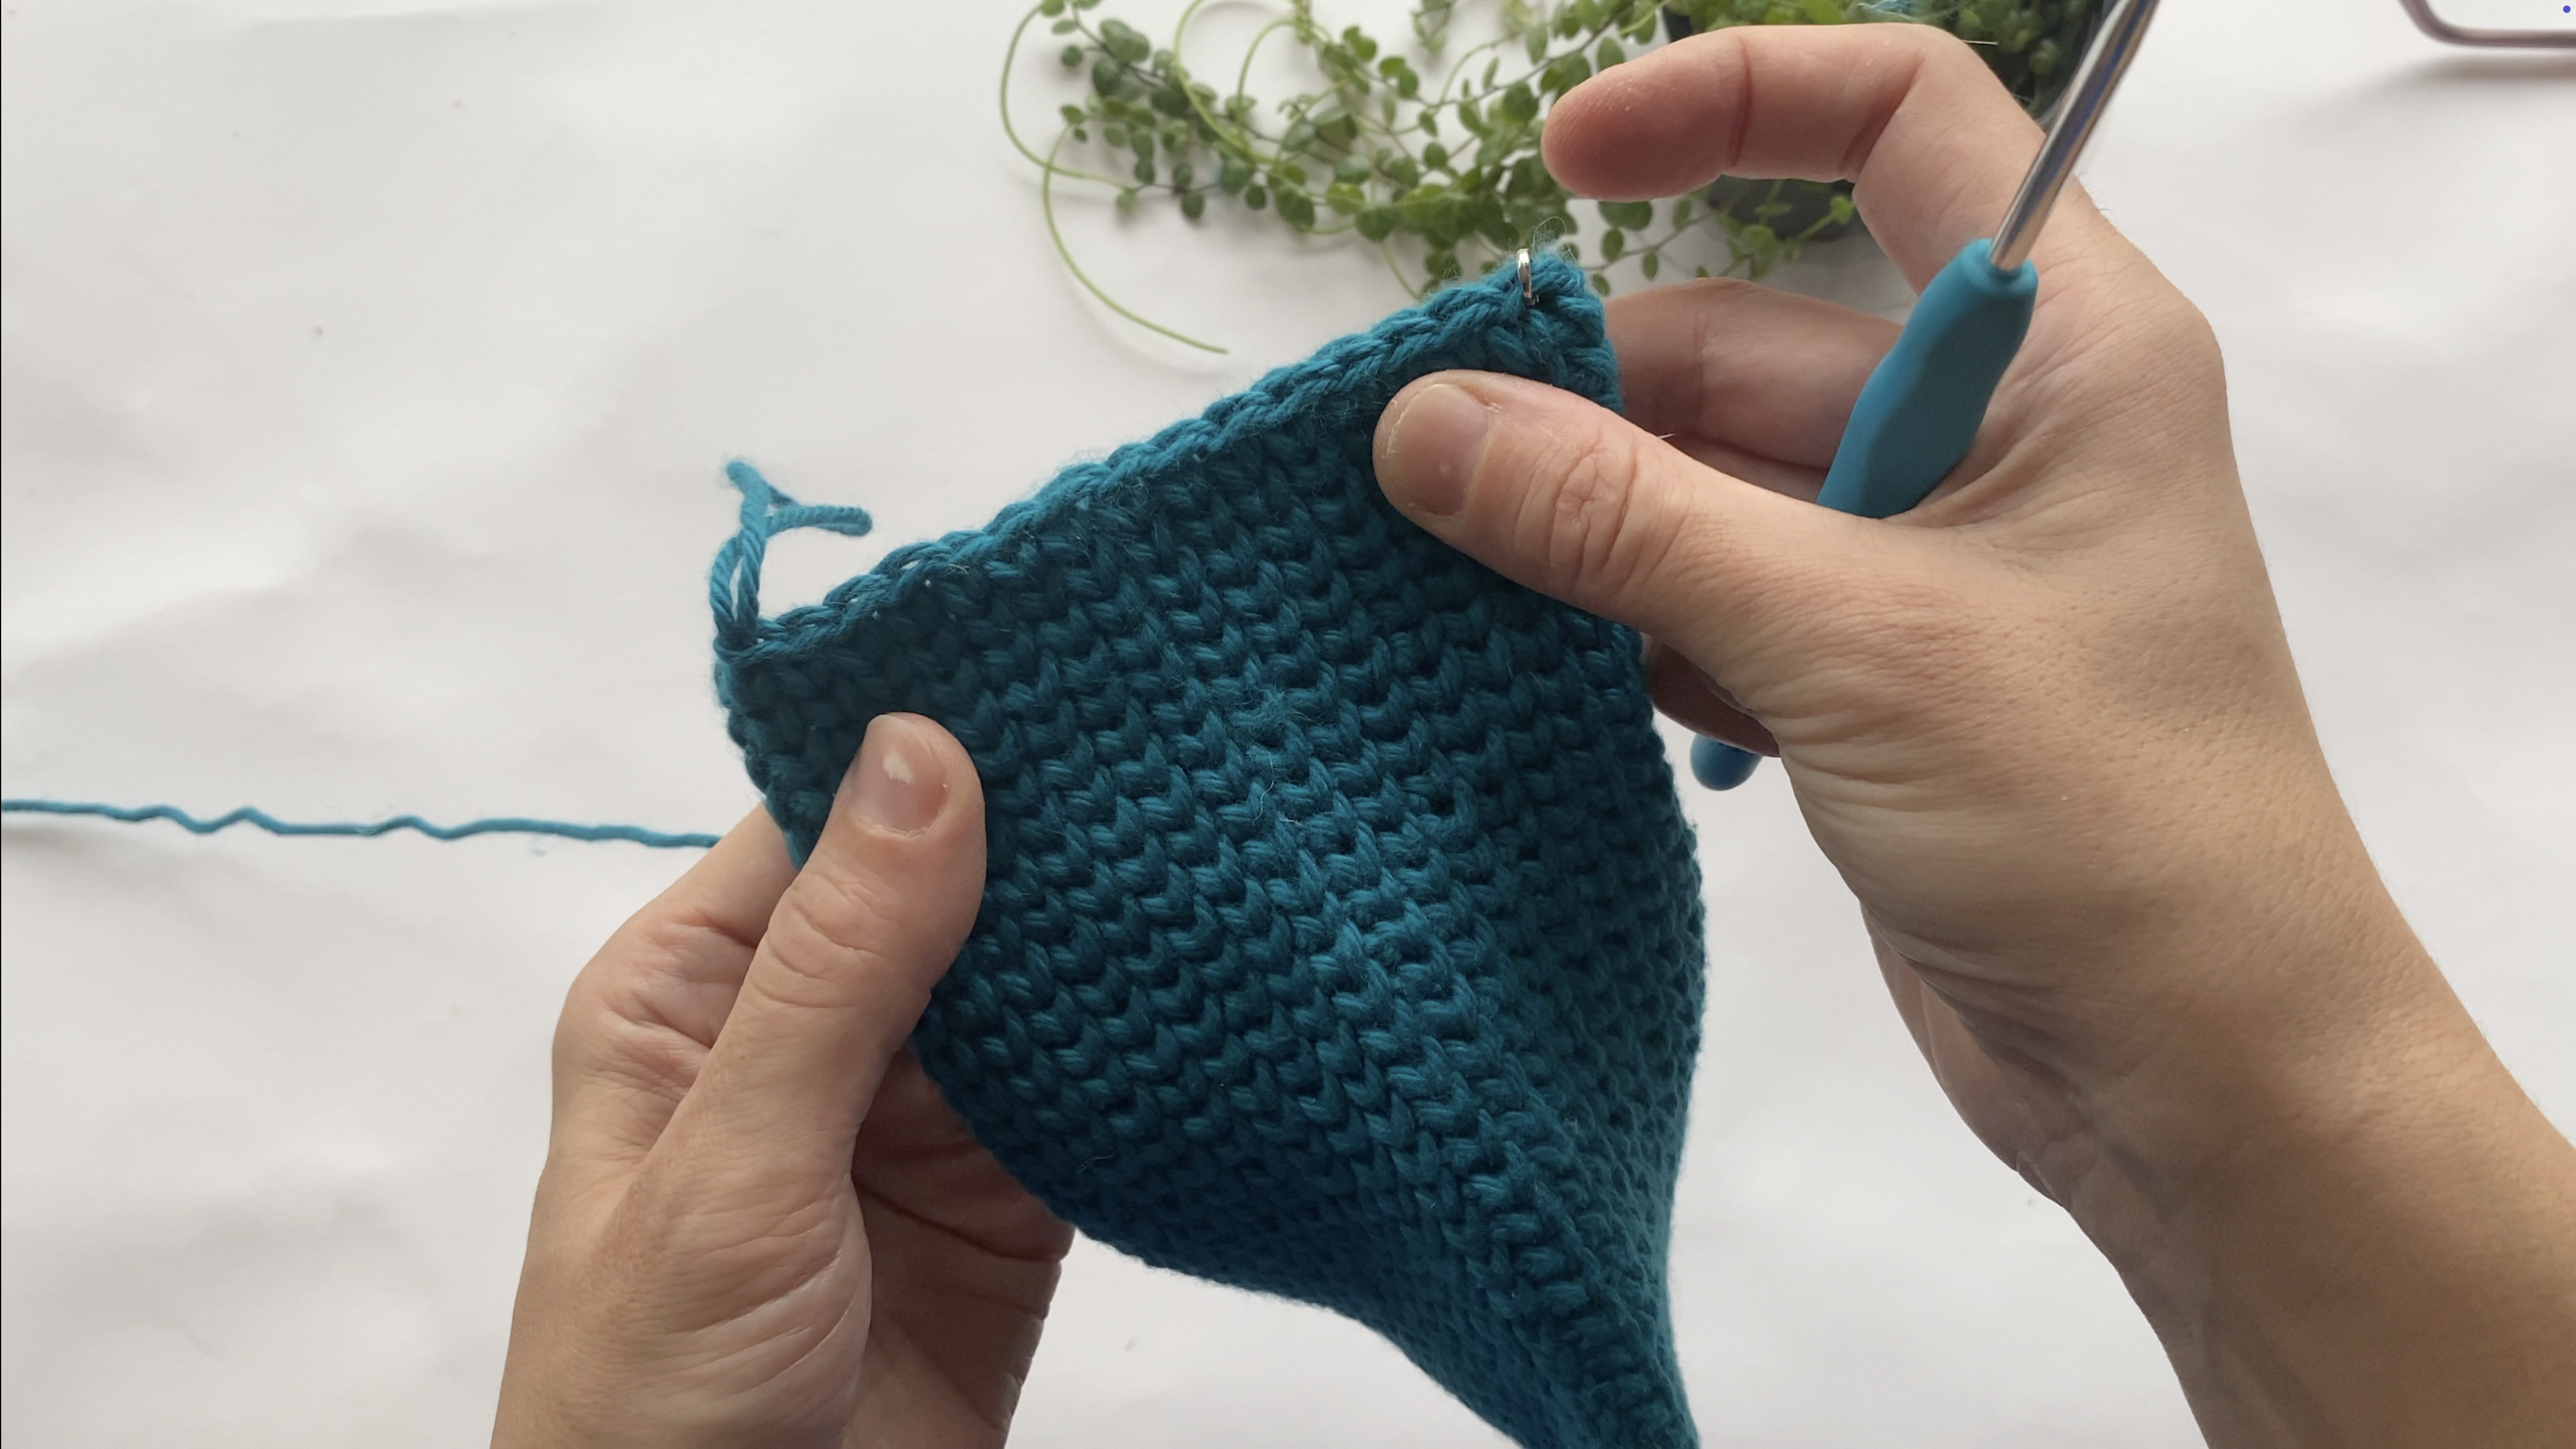
Round 1: Ch 17, starting from the back bump of 2nd ch, 1 sc to each back bump, 16 sc. Continue to other side, 1 scblo to each st. 16 sc. Total: 32 sc.
Round 2: 1 waistcoat st to each st around. 32 waistcoat sc.
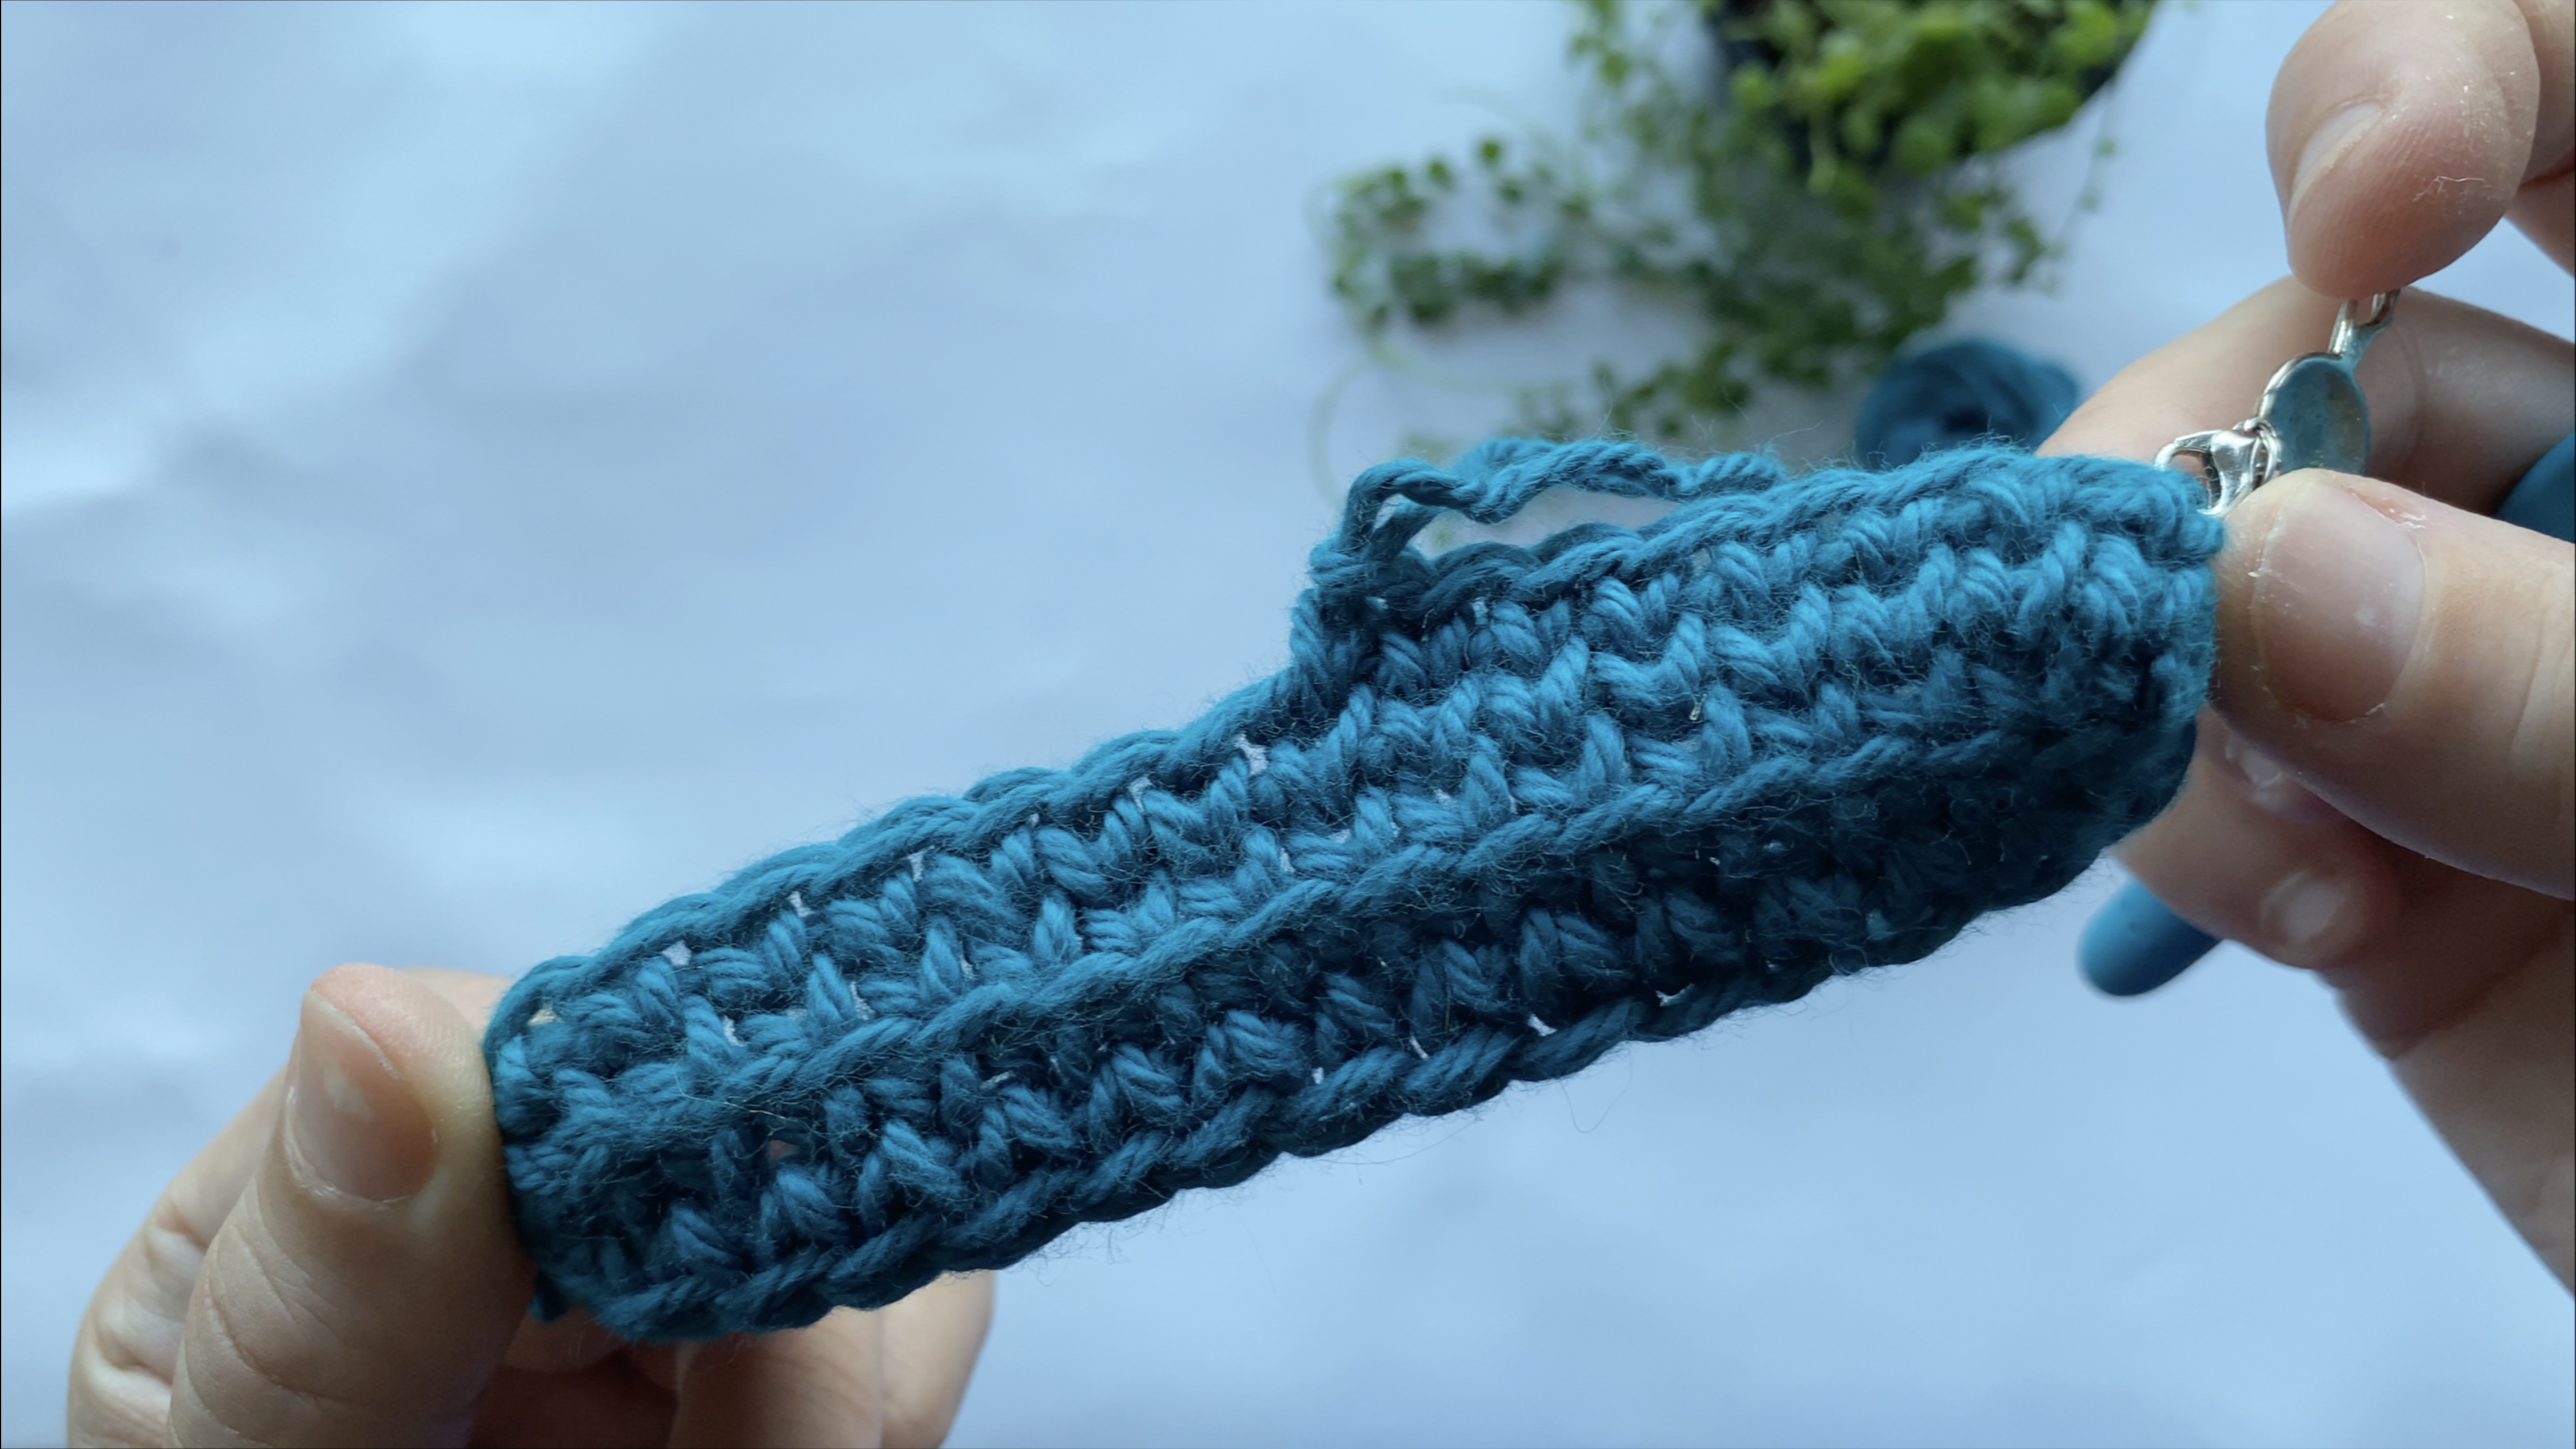
Rounds 2-31: 1 waistcoat st to each st around. 32 waistcoat sc.
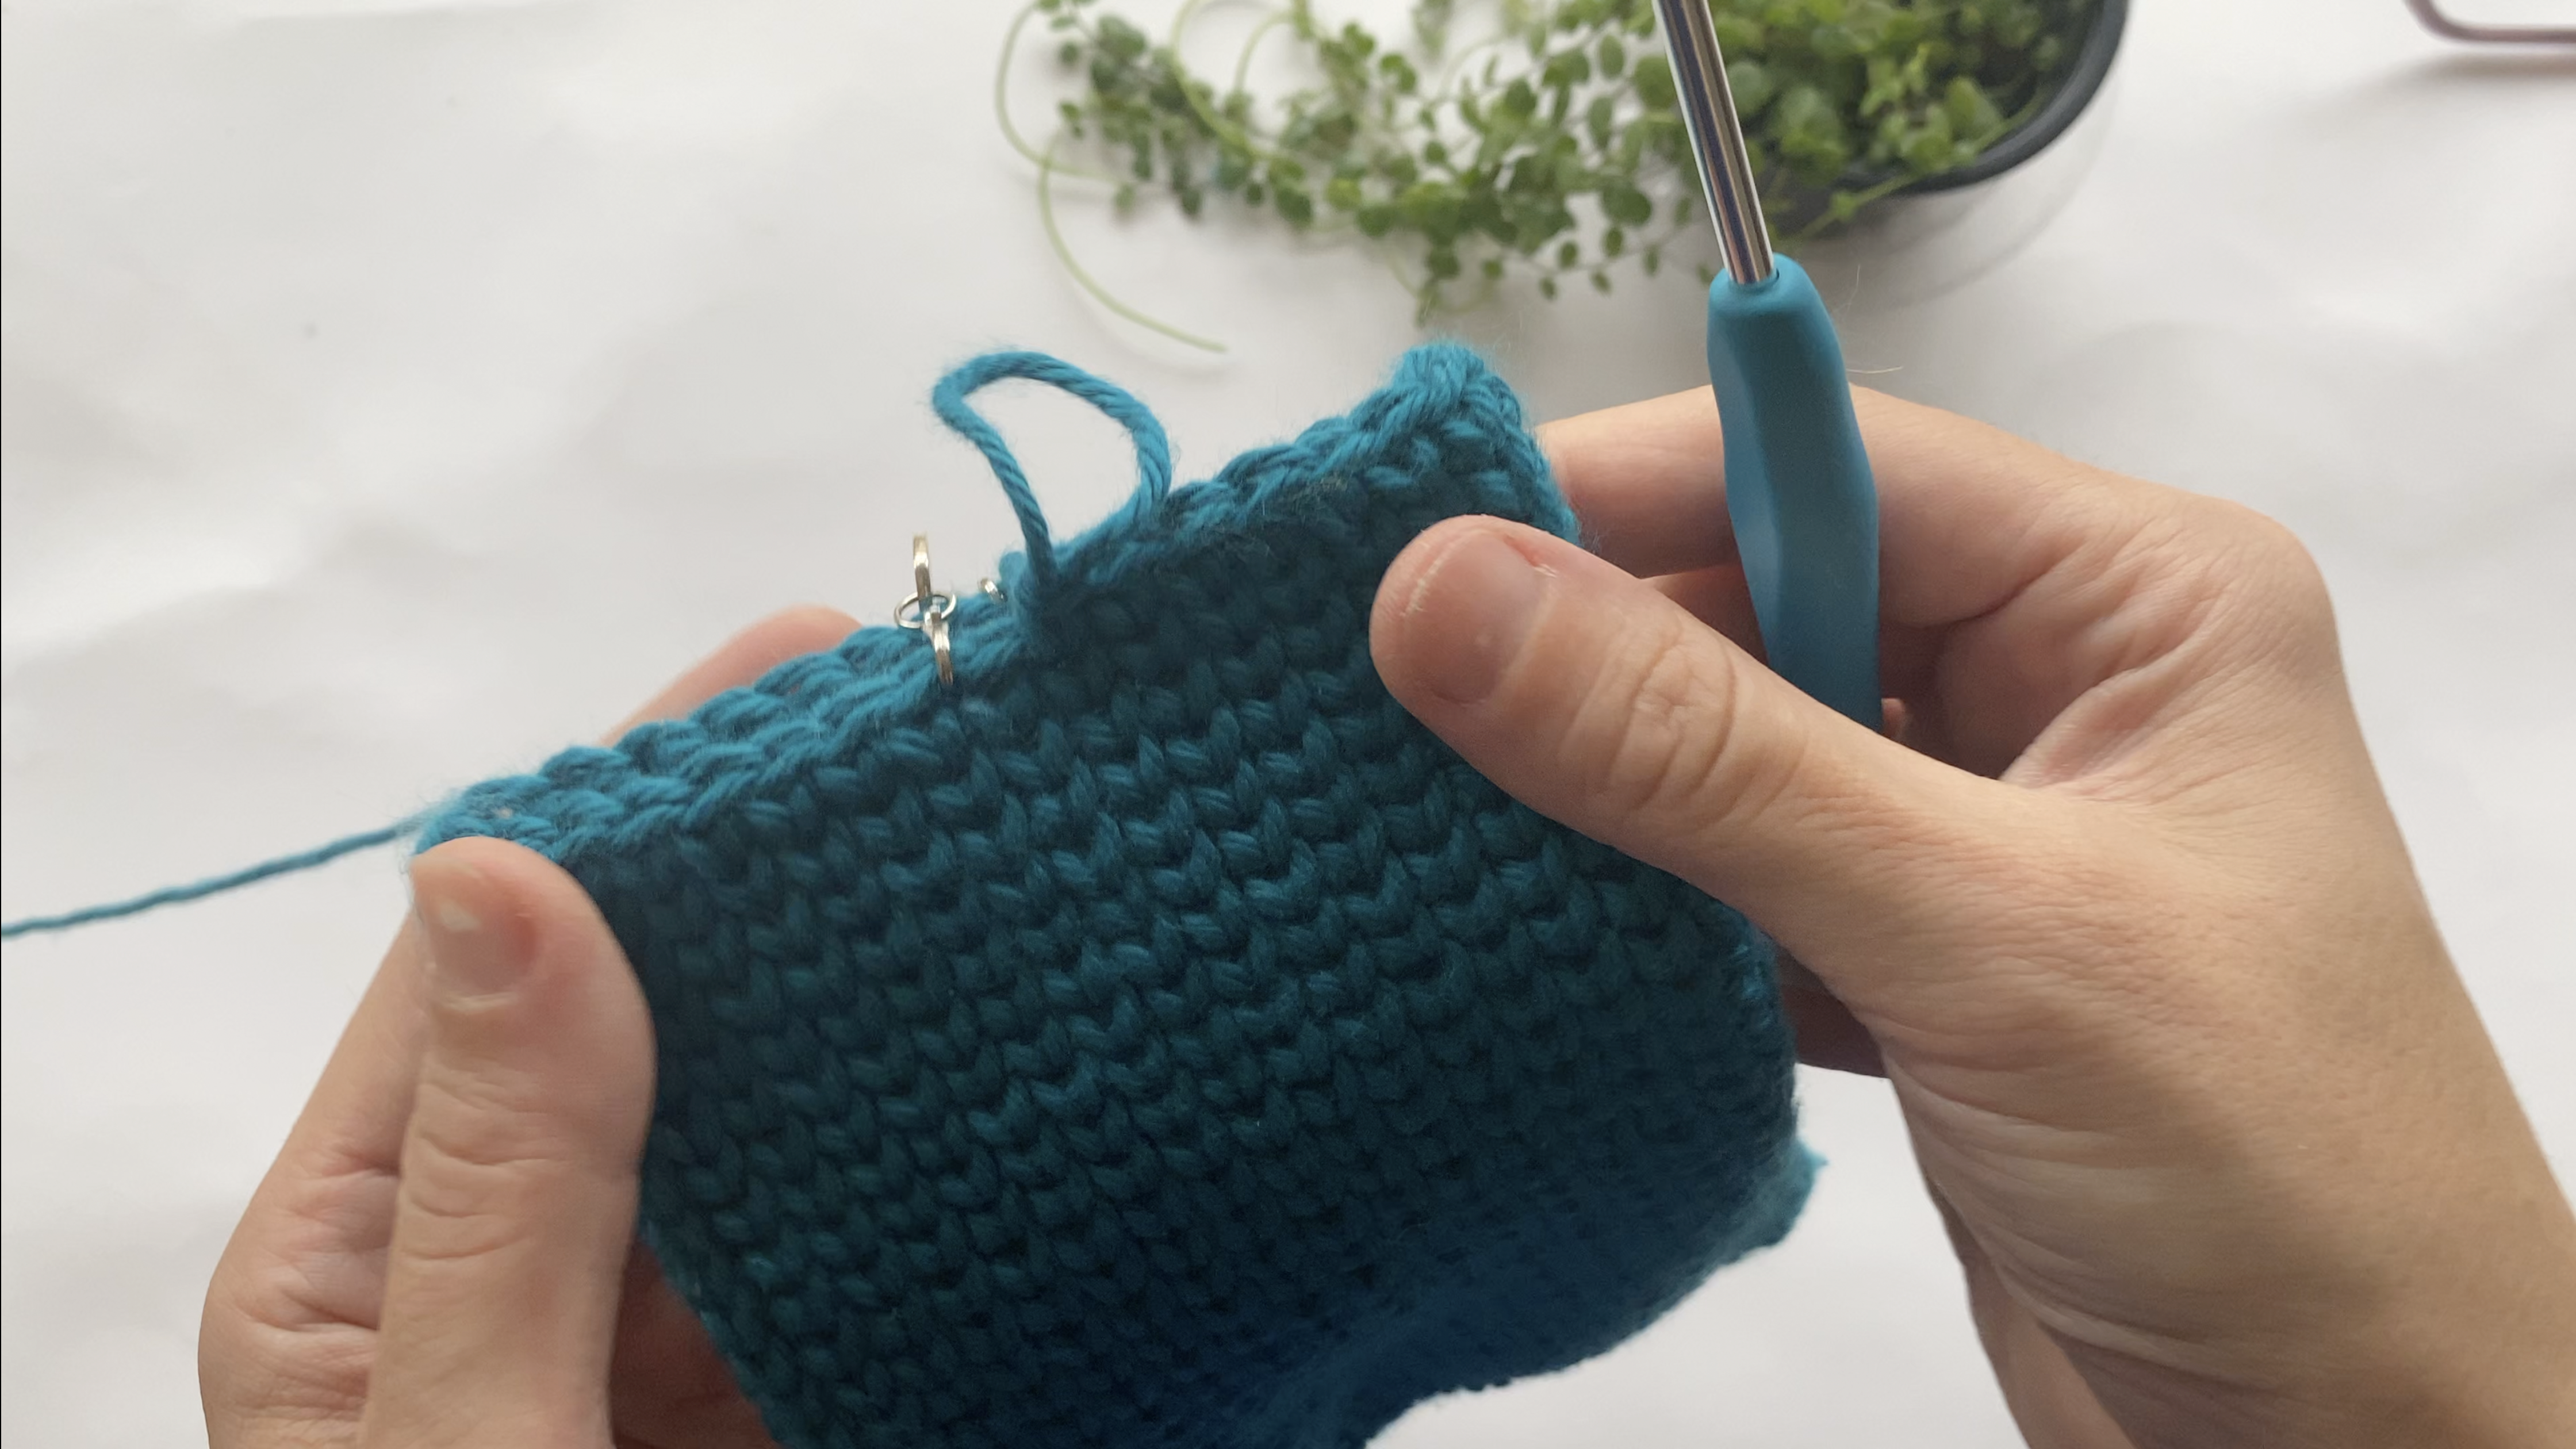
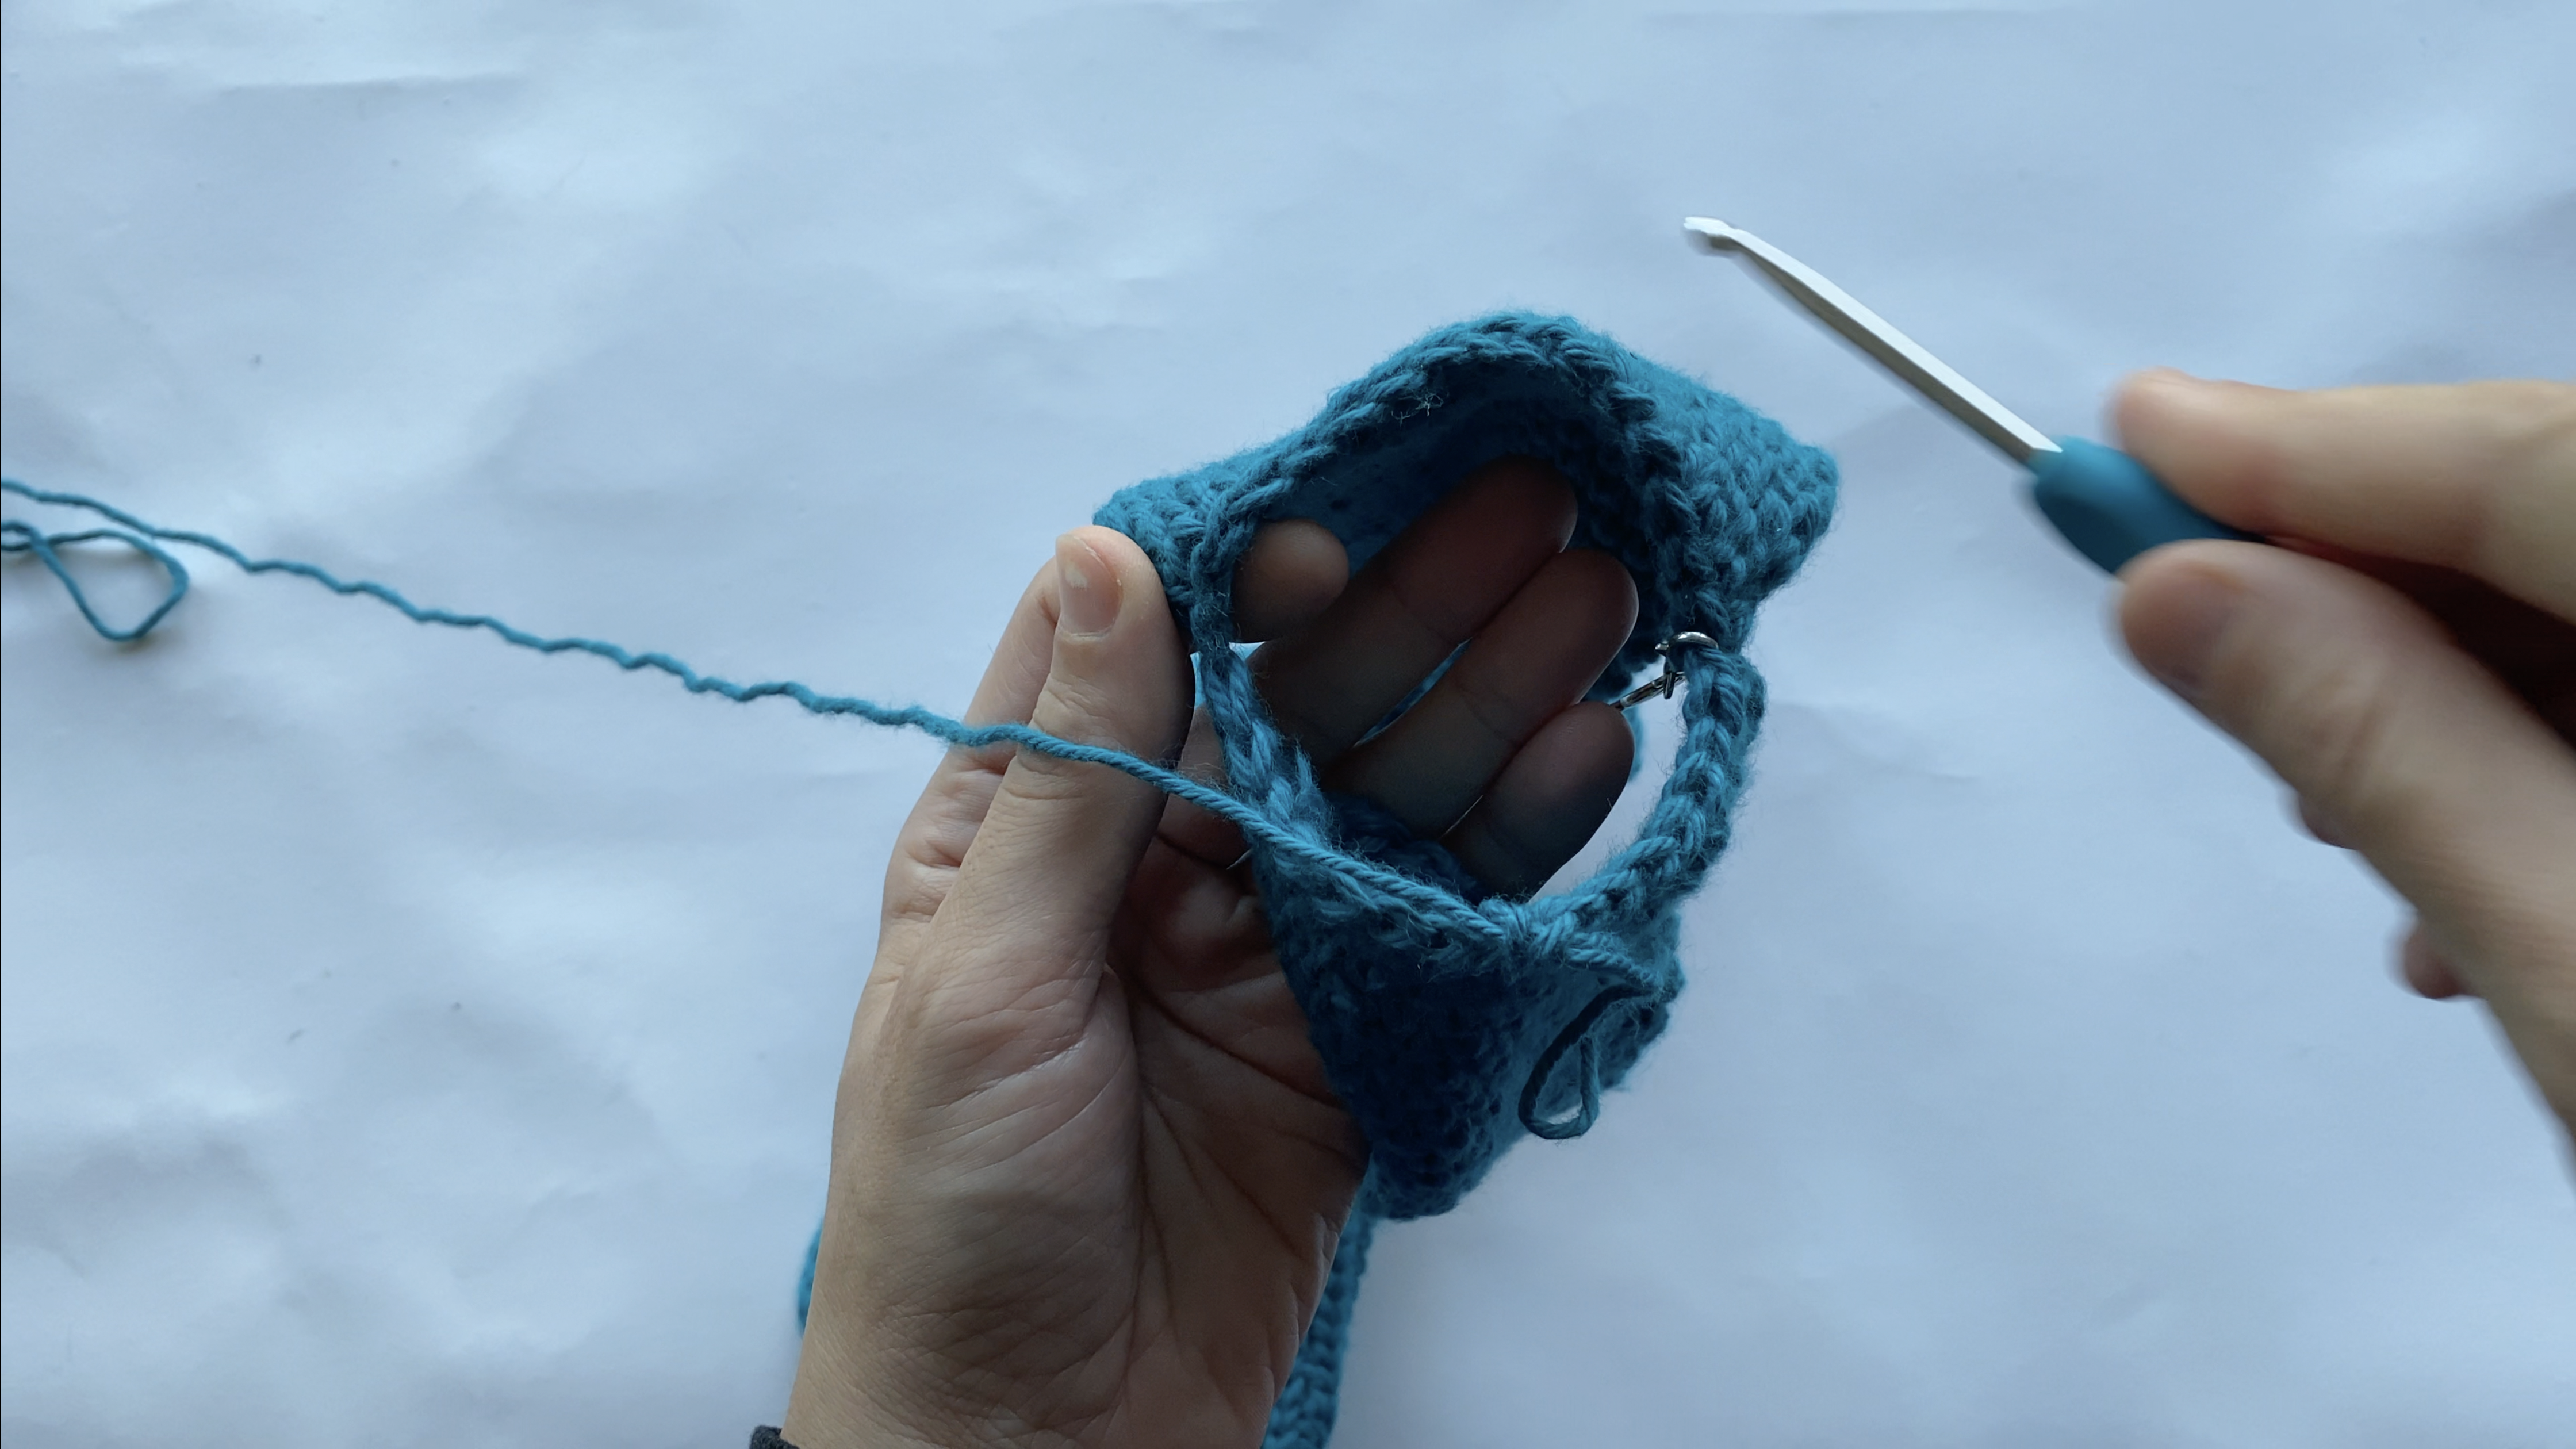
Dividing to 2 (Handles):

Row 1 (right side): 1 waistcoat st to each of 16 sts. Ch 1 and turn.

Rows 1:49: 1 waistcoat st to each of 16 sts. Ch 1 and turn. At the end of row 49, ch 1 and fasten off.

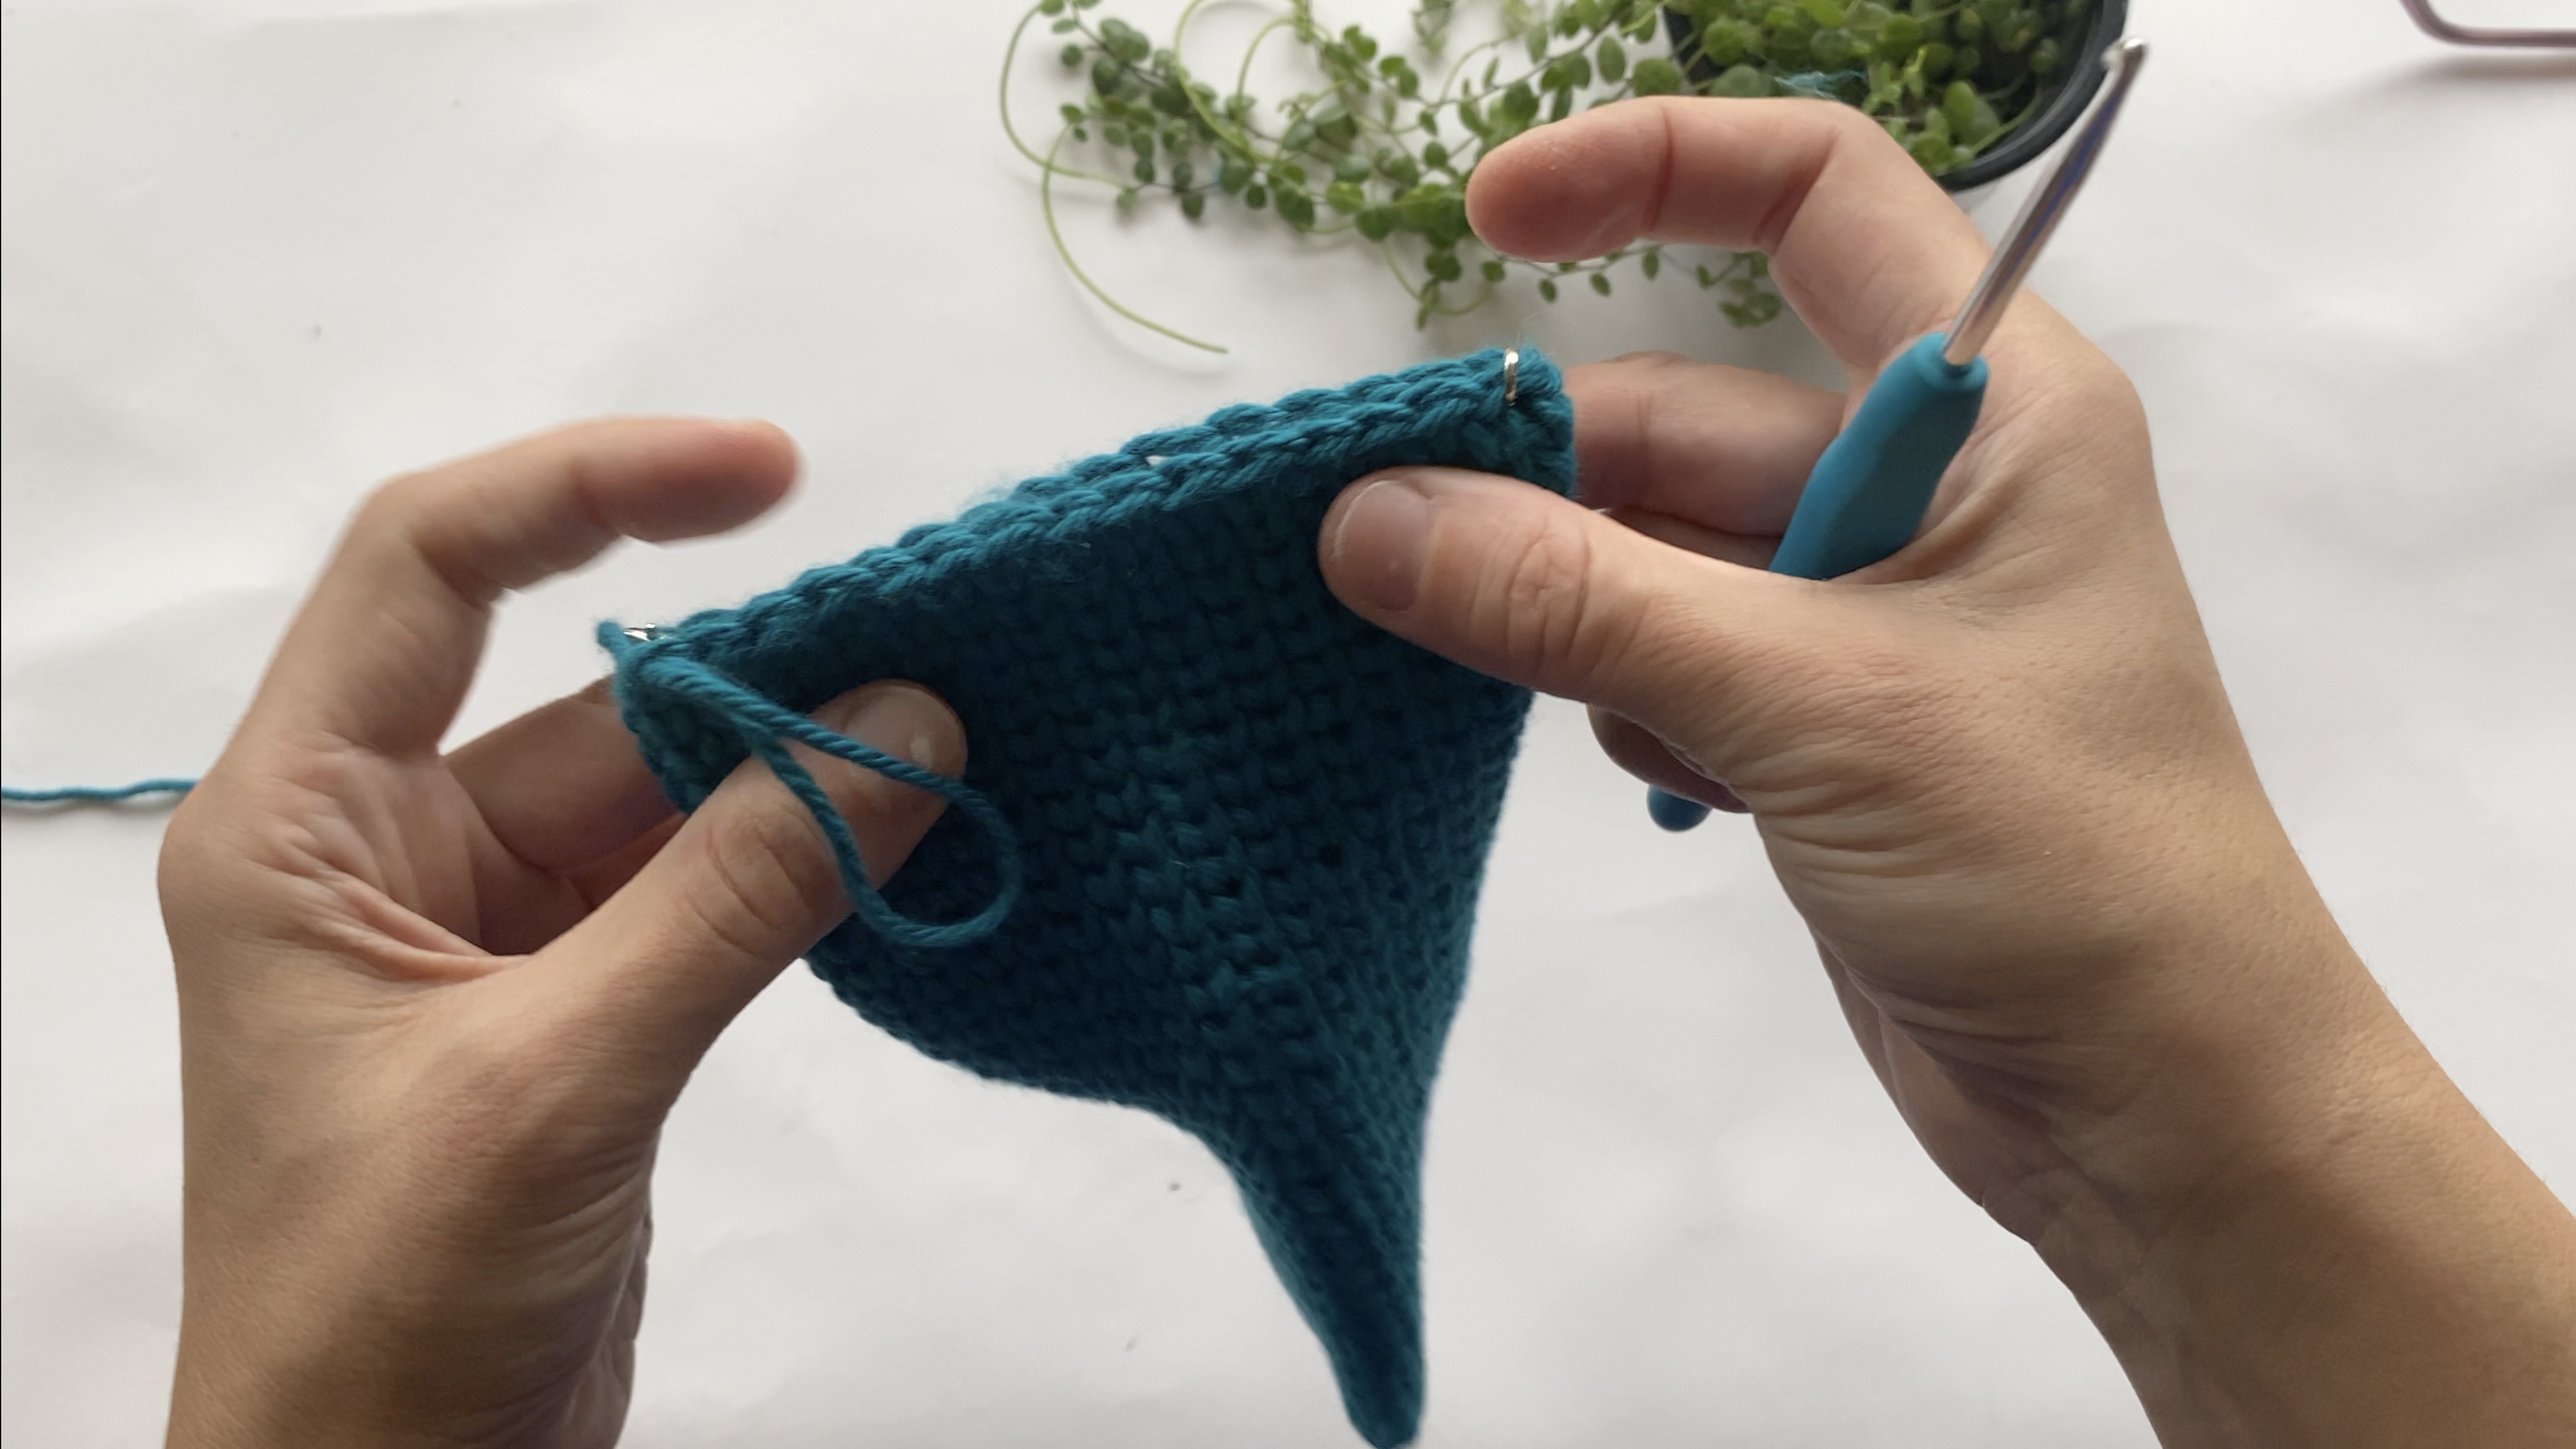
Do same thing on the left side:
Row 1 (left side): Attach the yarn to the far right and 1 waistcoat st to each of 16 sts. Ch 1 and turn.
Rows 1:49: 1 waistcoat st to each of 16 sts. Ch 1 and turn. At the end of row 49, ch 1 and not fasten off.
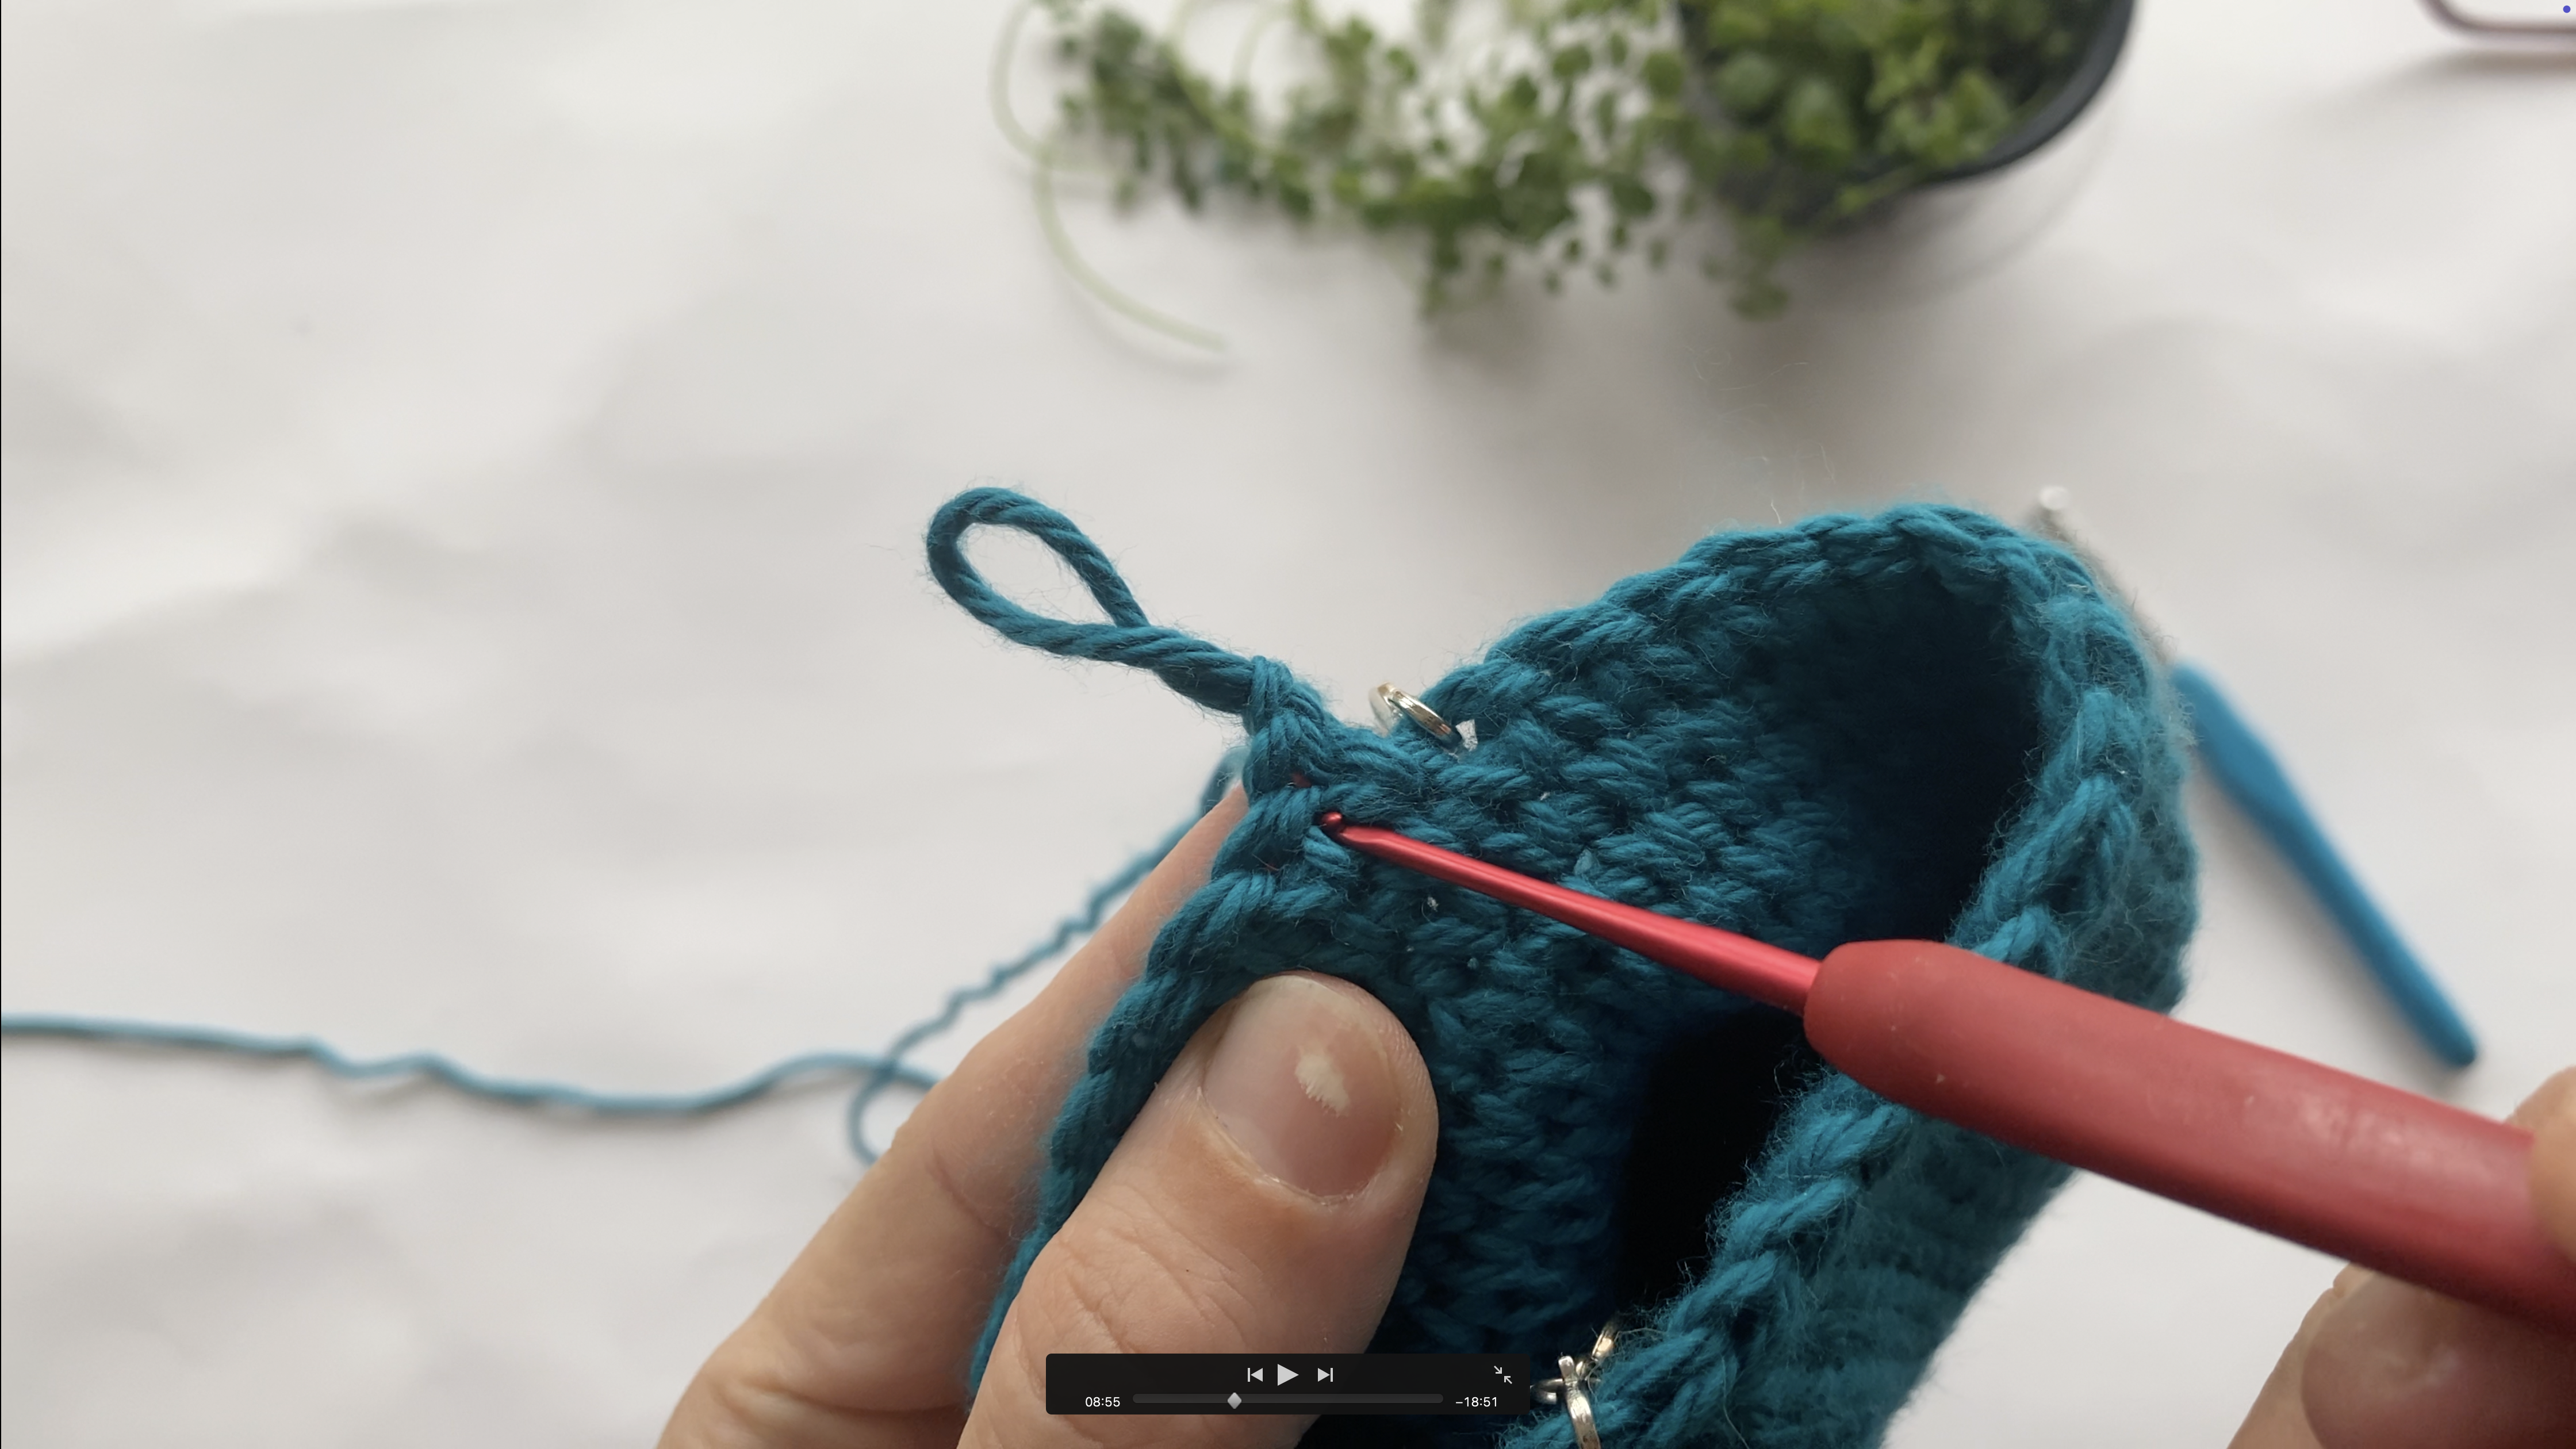
Connecting the handles:
At the end of row 49, continue with 1 waistcoat st to each, attaching the other handle, make sure to place a sm so you know where the beginning st is. You should have total of 32 sts.
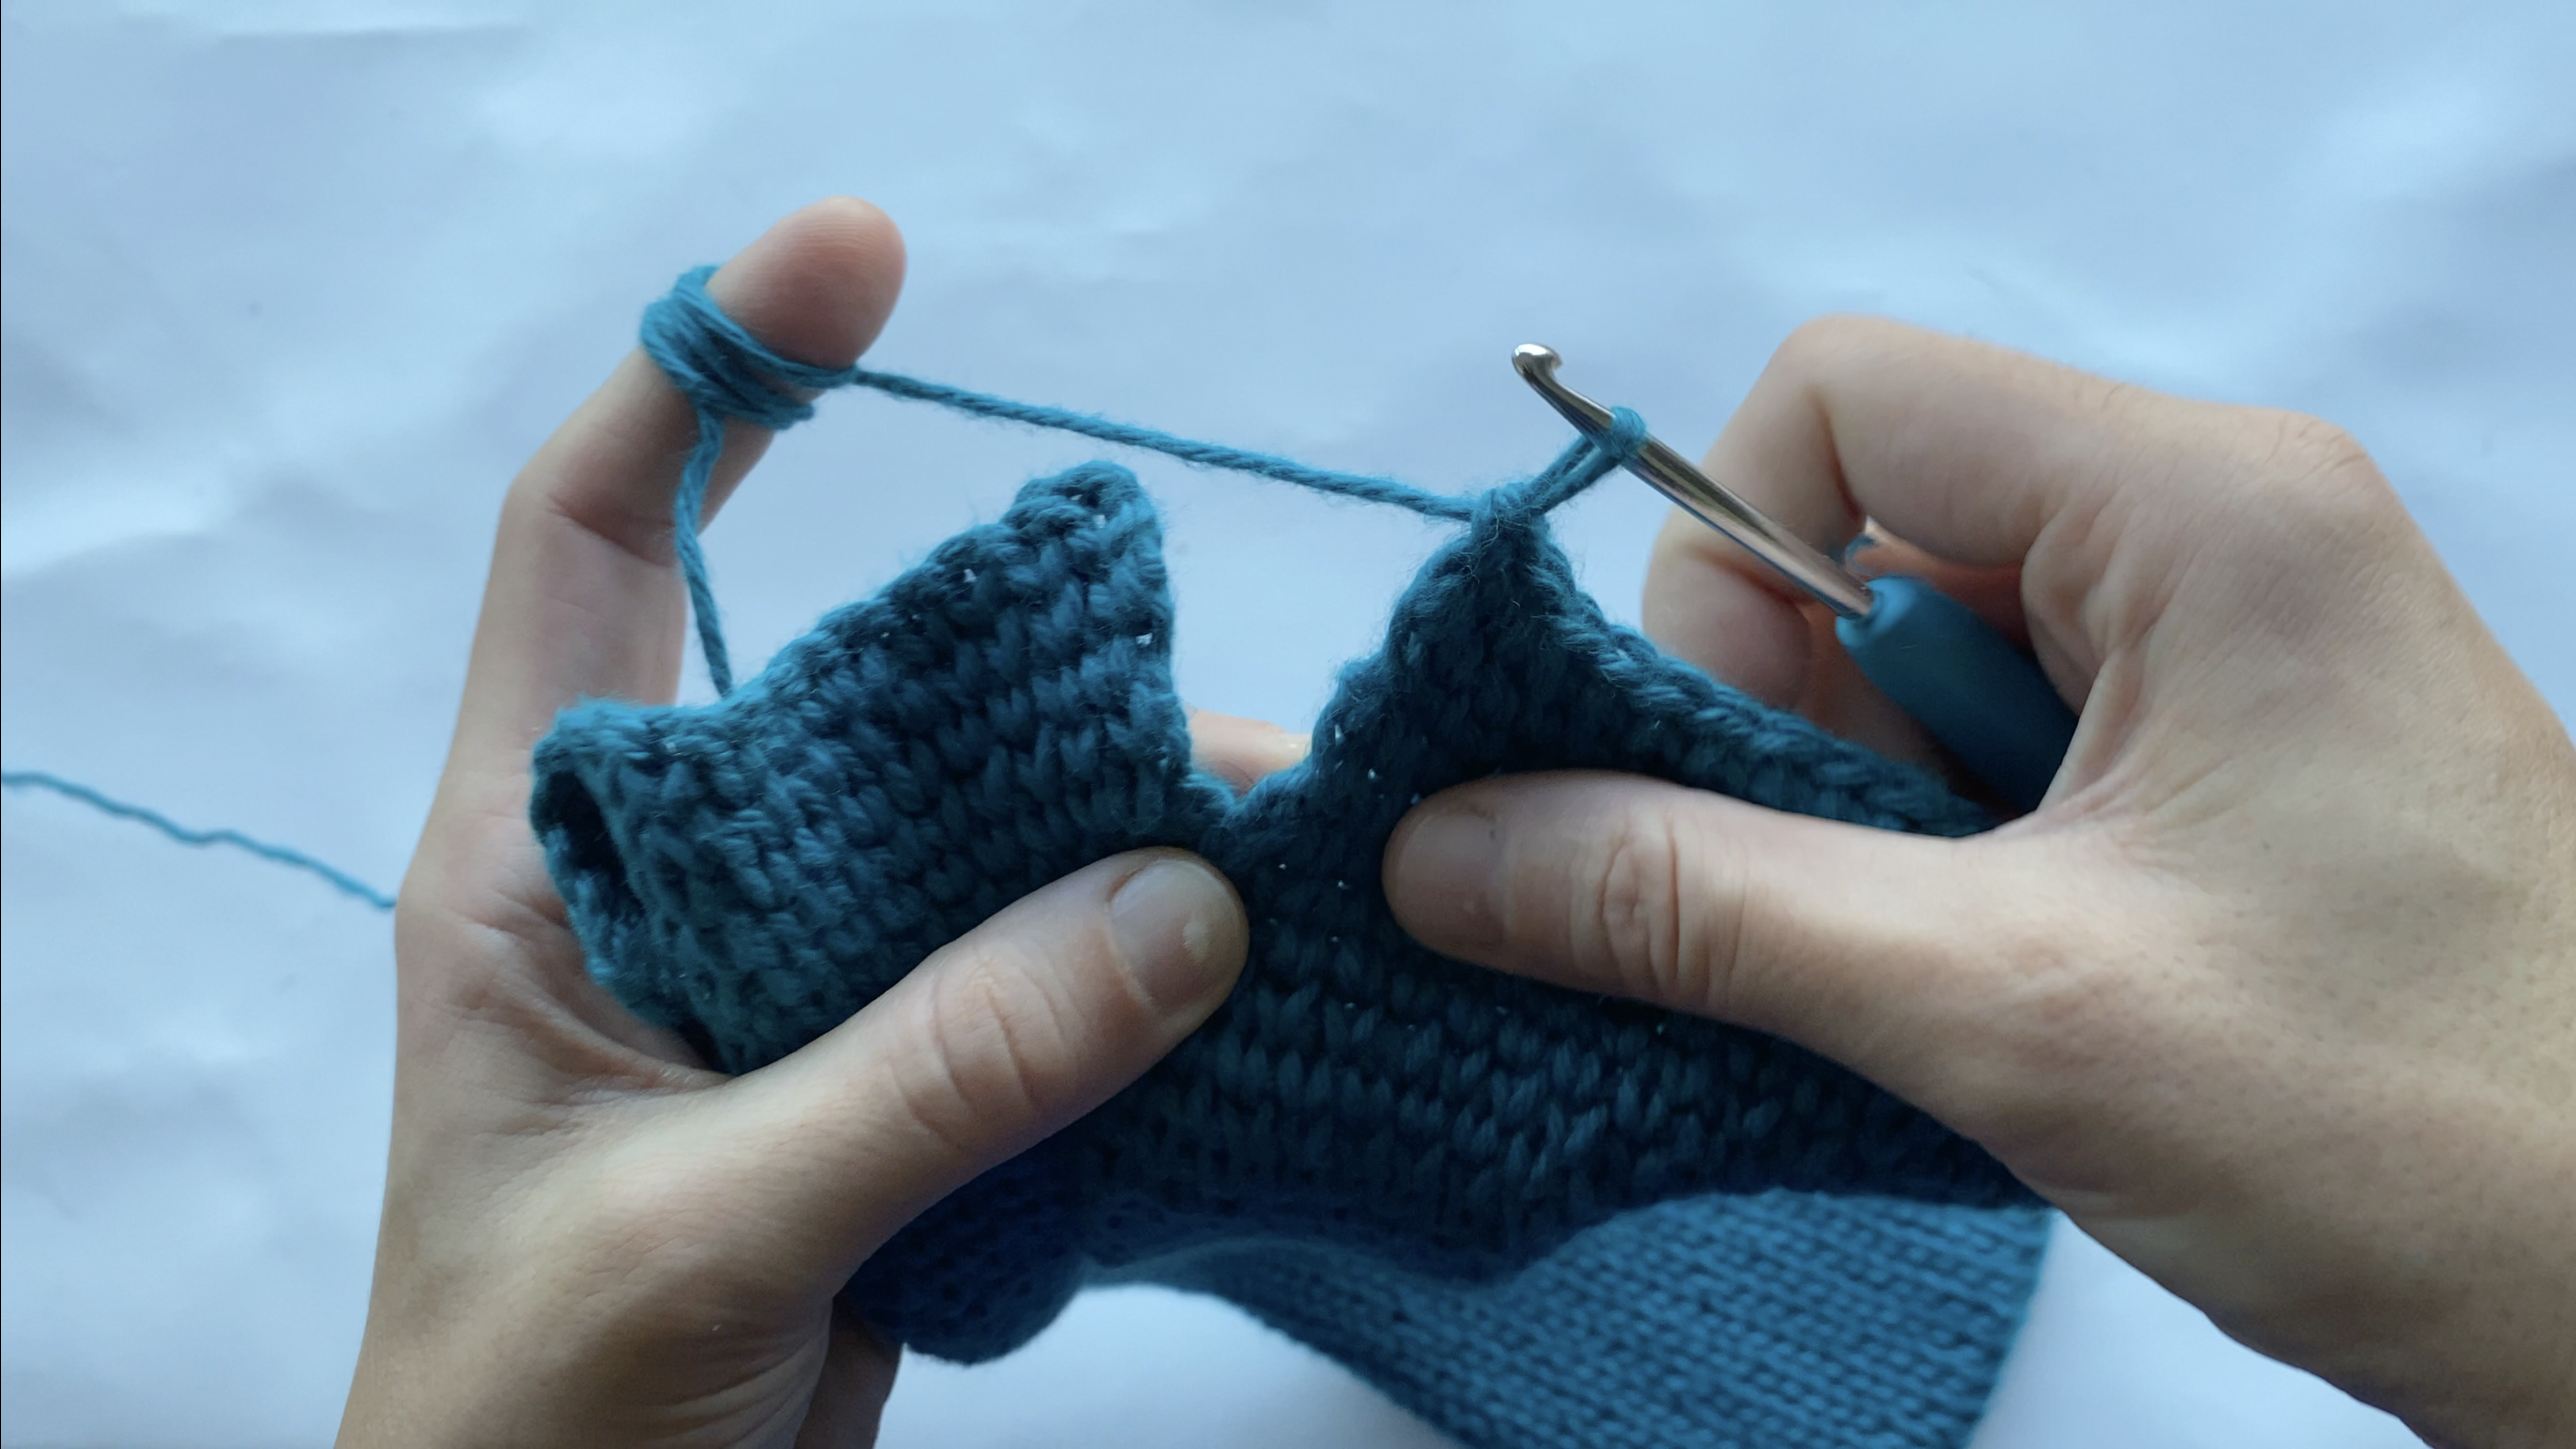
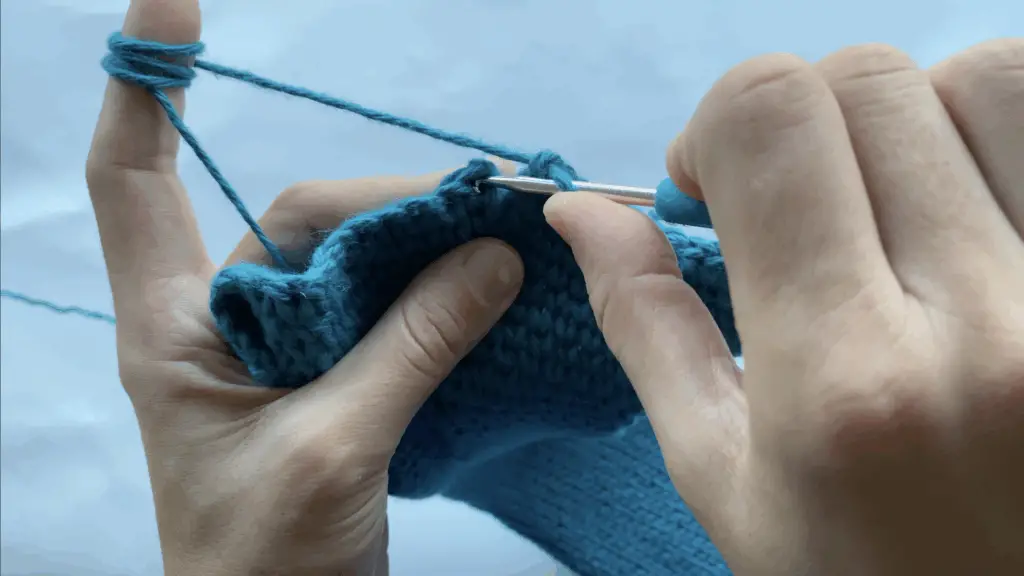
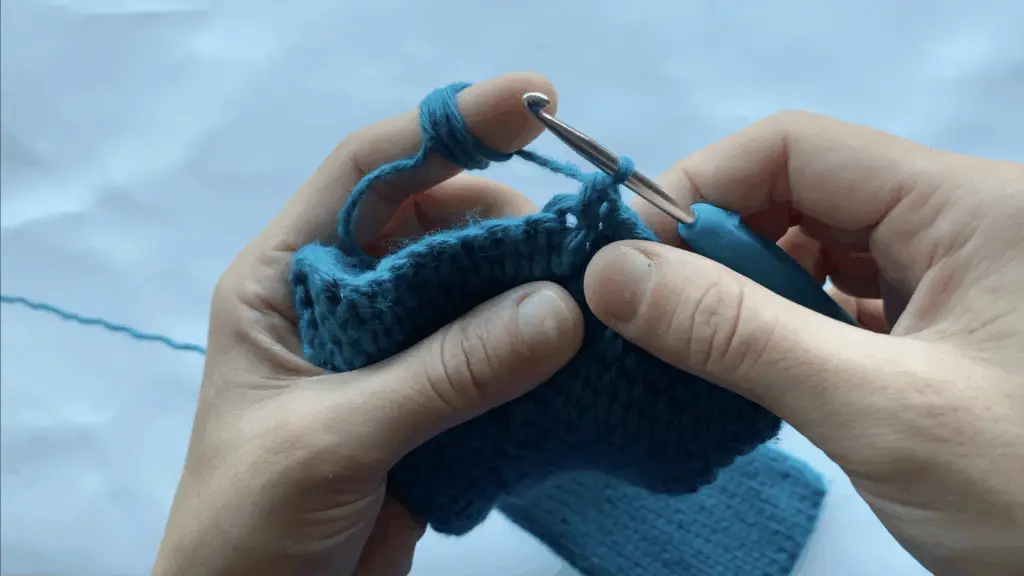
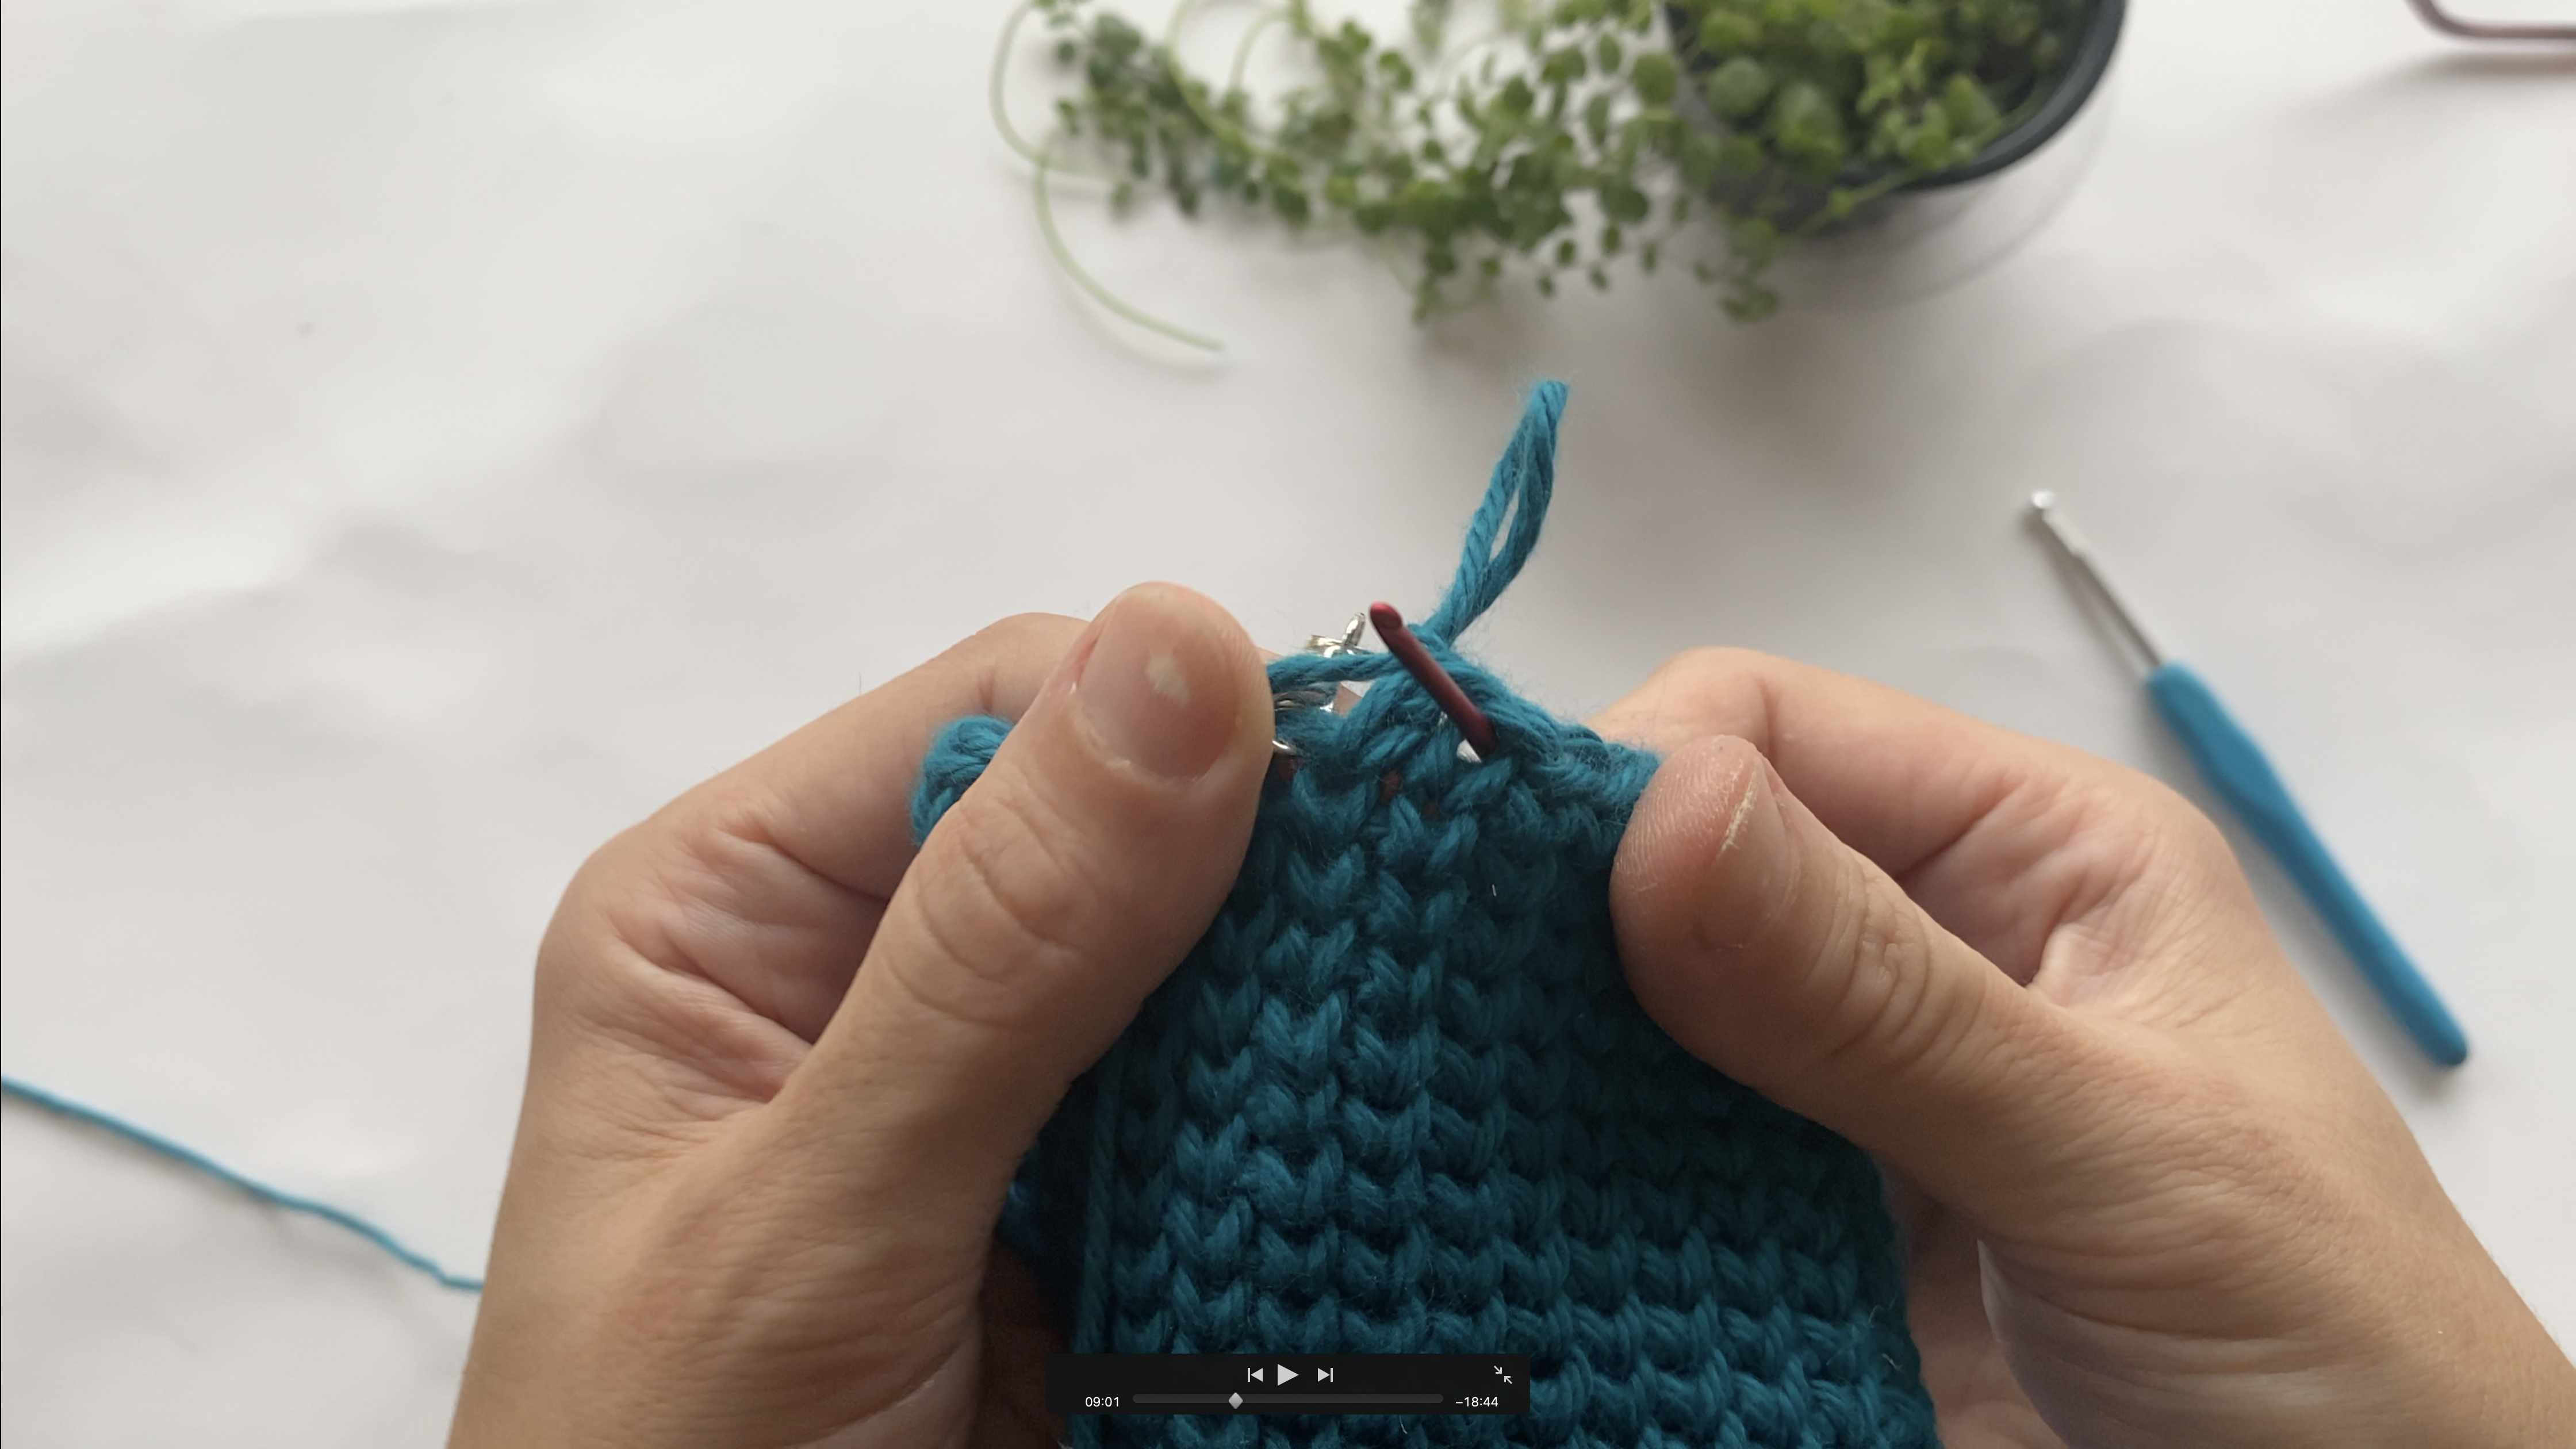
Rounds 50-56: 1 waistcoat st to each st around. 32 sc. At the end of round 56, ch 1 and fasten off.
Join the two pieces on top with whipstitch method.
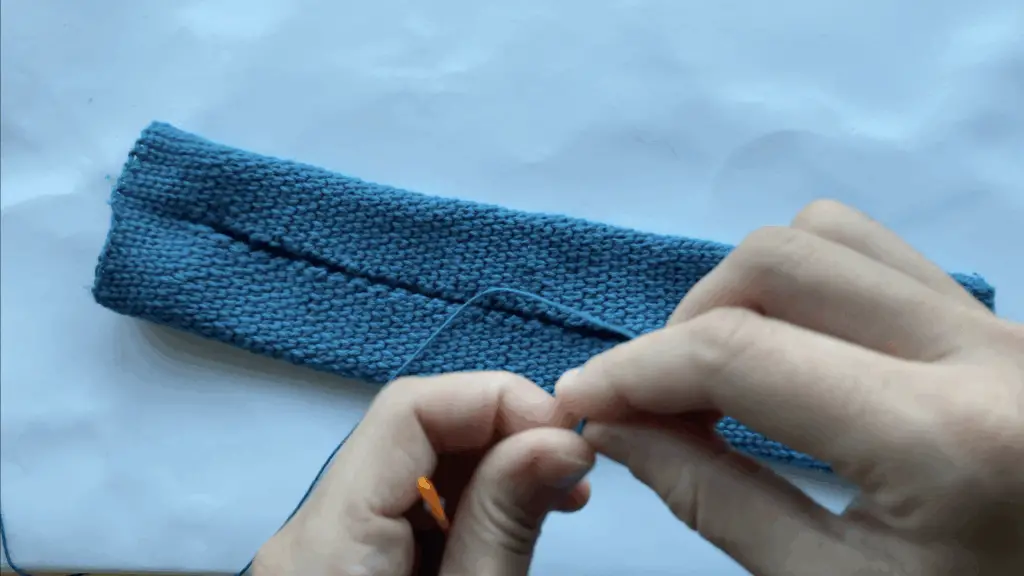
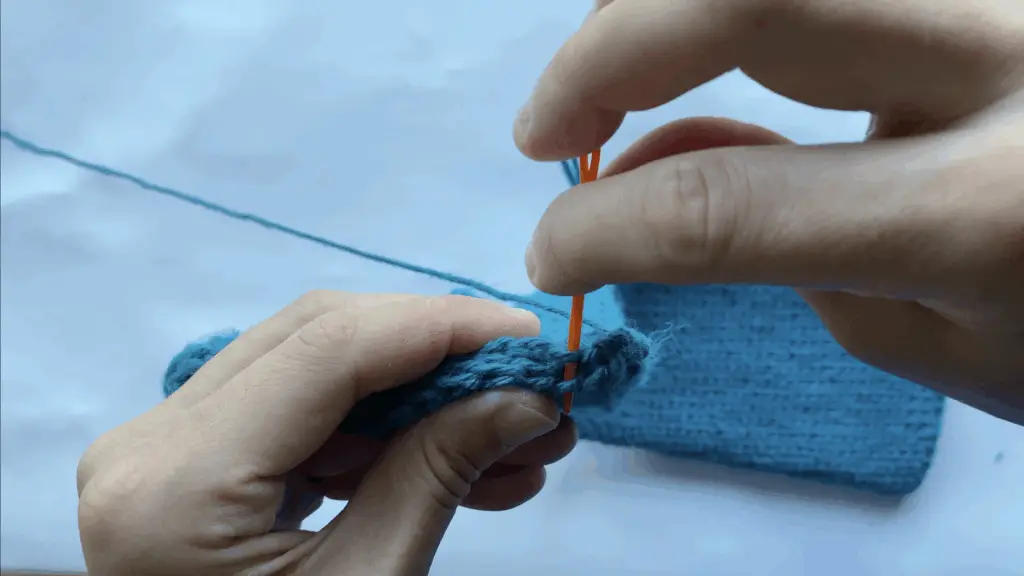
Weave the ends with darning needle and done with the bag.
This is a very quick and easy project that you can make it a day or two. Hope you like it.
VIDEO TUTORIAL:
Leave a Reply